
Indoor Radicchio Growing: Your Guide to a Vibrant Harvest
Indoor radicchio growing might sound intimidating, but I promise you, it’s easier than you think! Forget battling unpredictable weather and pest infestations; with a few simple tricks, you can enjoy crisp, vibrant radicchio leaves all year round, right from the comfort of your own home. This isn’t just about growing your own food; it’s about connecting with nature on a deeper level, bringing a touch of the garden indoors, and experiencing the immense satisfaction of harvesting your own delicious, homegrown produce.
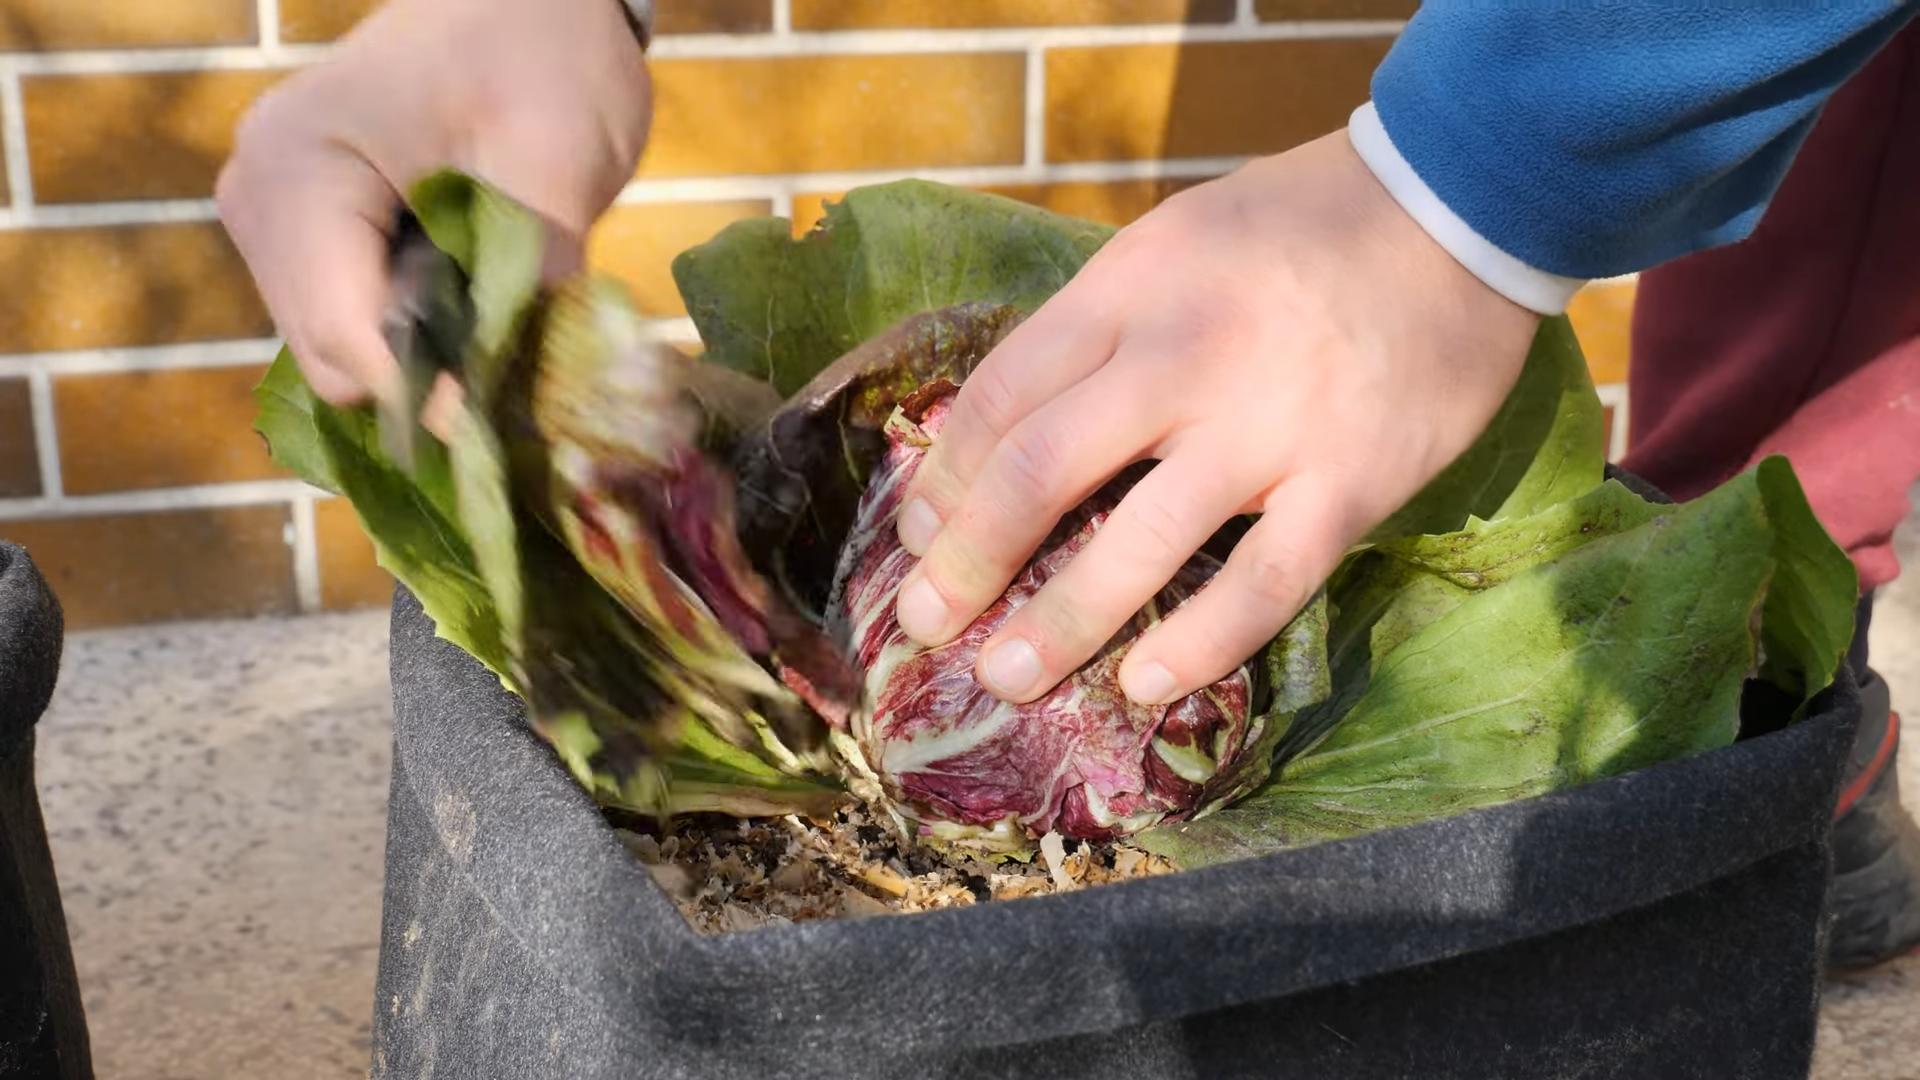
The history of radicchio, a chicory variety with its distinctive red leaves, is fascinating. Cultivated for centuries in Italy, it’s become a culinary staple, prized for its slightly bitter yet refreshing taste. But sourcing high-quality radicchio can be challenging, and the cost can add up. That’s where indoor radicchio growing comes in!
Why Grow Radicchio Indoors?
There are many reasons why you should consider indoor radicchio growing. Firstly, it allows you to bypass the limitations of seasonal availability. Secondly, you have complete control over the growing environment, ensuring optimal conditions for healthy growth. Finally, and perhaps most importantly, there’s an undeniable joy in nurturing a plant from seed to harvest, knowing exactly where your food comes from and how it was grown. This DIY guide will walk you through everything you need to know, from selecting the right seeds and containers to mastering the art of indoor cultivation. Let’s get started on your journey to delicious, homegrown radicchio!
Growing Artichokes Easily: A DIY Guide
I’ve always loved artichokes, but I used to think growing them was some kind of magical gardening feat. Turns out, it’s totally doable! Follow these steps, and you’ll be harvesting your own delicious artichokes in no time.
Choosing Your Artichoke Variety and Location
- Select a variety suited to your climate. Some artichokes are better suited to warmer climates, while others can tolerate cooler temperatures. Do your research to find a variety that thrives in your area. Local nurseries are a great resource for this!
- Pick a sunny spot. Artichokes need at least six hours of direct sunlight per day. More is better!
- Ensure well-drained soil. Artichokes don’t like soggy feet. Amend heavy clay soil with compost or other organic matter to improve drainage. A soil pH between 6.0 and 7.0 is ideal.
- Consider space requirements. Artichokes can grow quite large, so give each plant plenty of room – at least 3-4 feet apart.
Preparing the Soil and Planting
- Prepare the planting area. Clear the area of weeds, rocks, and debris. Till the soil to a depth of about 12 inches, incorporating plenty of compost or well-rotted manure. This will improve soil fertility and drainage.
- Amend the soil. If your soil is heavy clay, add plenty of organic matter like compost, peat moss, or aged manure to improve drainage and aeration. A soil test can help determine if you need to add any specific nutrients.
- Dig planting holes. Dig holes that are twice as wide and as deep as the artichoke’s root ball. Space the holes 3-4 feet apart.
- Plant the artichokes. Carefully remove the artichoke from its container, gently loosening the roots. Place the artichoke in the hole, ensuring the crown is level with the soil surface. Backfill the hole with soil, gently firming it around the plant.
- Water thoroughly. After planting, water deeply to settle the soil around the roots. This helps the plant establish itself.
Ongoing Care and Maintenance
- Watering. Artichokes need consistent moisture, especially during dry periods. Water deeply and regularly, aiming for about 1 inch of water per week. Mulching around the plants helps retain moisture and suppress weeds.
- Fertilizing. Feed your artichokes regularly during the growing season. Use a balanced fertilizer, following the package instructions. A slow-release fertilizer is a good option, as it provides a steady supply of nutrients.
- Weeding. Keep the area around your artichokes free of weeds, as they compete for water and nutrients. Mulching helps to suppress weeds.
- Pest and disease control. Monitor your artichokes for pests and diseases. Common pests include aphids and caterpillars. Treat any infestations promptly using appropriate methods, such as insecticidal soap or neem oil. Good air circulation can help prevent fungal diseases.
- Winter protection (in colder climates). In areas with cold winters, artichokes may need protection. Mulch heavily around the base of the plants to insulate them from freezing temperatures. You can also cover the plants with burlap or other protective material.
Harvesting Your Artichokes
- Harvesting time. Artichokes are ready for harvest when the buds are firm and the outer bracts are tightly closed. The buds should feel heavy.
- Harvesting technique. Use a sharp knife to cut the artichoke from the stem, leaving about an inch of stem attached. Harvest the artichokes when they reach the desired size. Smaller artichokes are more tender.
- Storage. Store harvested artichokes in the refrigerator for up to a week. They can also be frozen for longer storage.
Troubleshooting Common Problems
Yellowing Leaves
Yellowing leaves can indicate several problems, including nutrient deficiencies, overwatering, or pests. Check your watering practices and soil fertility. Inspect the plant for pests and treat accordingly.
Small or Few Artichokes
This could be due to insufficient sunlight, poor soil drainage, or lack of nutrients. Ensure your artichokes are getting enough sunlight and that the soil is well-drained and fertile. Consider adding fertilizer.
Flowering Too Early
Early flowering can be caused by stress, such as drought or nutrient deficiency. Ensure consistent watering and adequate fertilization.
Remember: Patience is Key!
Growing artichokes takes time and patience. Don’t get discouraged if you don’t see results immediately. With proper care and attention, you’ll be enjoying your homegrown artichokes in no time. Happy gardening!
Conclusion
So there you have it – a comprehensive guide to successfully growing your own radicchio indoors! This DIY trick isn’t just about saving money on grocery bills; it’s about experiencing the unparalleled satisfaction of nurturing a plant from seed to harvest, enjoying the freshest, most vibrant radicchio imaginable, and having a constant supply of this delicious, slightly bitter leaf readily available throughout the year. The ability to cultivate your own radicchio indoors, regardless of the season or climate, is truly transformative for any home cook or gardening enthusiast. It opens up a world of culinary possibilities, allowing you to experiment with different recipes and enjoy the unique flavor of homegrown produce. The process itself is surprisingly straightforward, requiring minimal space and effort, making it an accessible project for beginners and experienced gardeners alike. Beyond the delicious rewards, growing your own radicchio fosters a deeper connection with nature and promotes a sense of self-sufficiency. It’s a rewarding experience that will leave you feeling empowered and connected to your food source.
Beyond the basic method outlined, there are numerous ways to personalize your indoor radicchio growing journey. Experiment with different types of radicchio – there are many varieties with varying leaf colors and bitterness levels, each offering a unique culinary experience. Consider using different growing mediums, such as coco coir or a well-draining soil mix, to find what works best for your environment. You can also explore different lighting options, from simple grow lights to more sophisticated hydroponic systems, to optimize your radicchio’s growth. Don’t be afraid to get creative! Try incorporating your indoor radicchio garden into your kitchen décor, using attractive planters and creating a visually appealing display. The possibilities are endless.
We strongly encourage you to try this simple yet rewarding indoor radicchio growing method. Share your experiences, successes, and even your challenges with us and the wider gardening community. Post pictures of your thriving radicchio plants on social media using the hashtag #IndoorRadicchioGrowing and inspire others to embark on their own indoor gardening adventures. Your feedback is invaluable, and we’re excited to see the beautiful and delicious results of your efforts. Remember, the journey of growing your own food is as rewarding as the harvest itself. So, grab some seeds, get your hands dirty, and experience the joy of homegrown radicchio!
Frequently Asked Questions
What type of light is best for indoor radicchio growing?
Radicchio needs at least 6-8 hours of light per day to thrive indoors. Full-spectrum grow lights are ideal, as they mimic natural sunlight and provide the necessary wavelengths for healthy growth. However, you can also use fluorescent or LED lights, ensuring they are positioned close enough to the plants without burning the leaves. Experiment to find the optimal distance and light intensity for your setup. Observe your plants closely; if they appear leggy or pale, they may need more light. If the leaves are yellowing or browning, they may be getting too much light.
What kind of soil is best for growing radicchio indoors?
A well-draining potting mix is crucial for successful indoor radicchio cultivation. Avoid heavy clay soils, which can retain too much water and lead to root rot. A good quality seed-starting mix or a blend of potting soil and perlite or vermiculite will provide excellent drainage and aeration. Ensure the soil is consistently moist but not waterlogged. Overwatering is a common mistake that can damage the roots and hinder growth.
How often should I water my indoor radicchio?
Water your radicchio plants when the top inch of soil feels dry to the touch. Avoid overwatering, as this can lead to root rot and other fungal diseases. The frequency of watering will depend on factors such as the type of soil, the size of the pot, and the ambient temperature and humidity. It’s better to underwater slightly than to overwater. Check the soil moisture regularly and adjust your watering schedule accordingly. Consider using a moisture meter to help you determine when to water.
How long does it take for indoor radicchio to mature?
The time it takes for indoor radicchio to mature depends on the variety and growing conditions. Generally, it takes around 60-70 days from sowing seeds to harvest. However, with optimal light, temperature, and soil conditions, you might be able to harvest earlier. Regular monitoring of your plants will help you determine when they are ready for harvest. Look for compact heads with tightly packed leaves.
Can I grow radicchio from cuttings?
While radicchio can be grown from seed, it is not typically propagated from cuttings. Radicchio is a biennial plant, meaning it completes its life cycle in two years. The best method for growing radicchio indoors is from seed, ensuring you get a healthy and vigorous plant. Starting from seed allows for better control over the growing process and minimizes the risk of disease transmission.
What are some common problems when growing radicchio indoors?
Some common problems encountered when growing radicchio indoors include leggy growth (due to insufficient light), yellowing leaves (due to nutrient deficiencies or overwatering), and pest infestations (such as aphids or whiteflies). Providing adequate light, using a well-balanced fertilizer, and maintaining proper watering practices can help prevent these issues. Regularly inspect your plants for signs of pests and diseases and take appropriate action if necessary. Using organic pest control methods is recommended for indoor growing.
What can I do with my harvested radicchio?
Once harvested, your homegrown radicchio is ready to be enjoyed in a variety of ways! Add it to salads, sandwiches, pizzas, or pasta dishes. It can also be grilled, roasted, or sautéed. Its slightly bitter flavor pairs well with many other ingredients, including nuts, cheeses, and fruits. Experiment with different recipes and discover your favorite ways to use your fresh, homegrown radicchio. The possibilities are endless!


Leave a Comment