
Baking Soda Cleaning Uses: Unlocking the Power of This Kitchen Staple
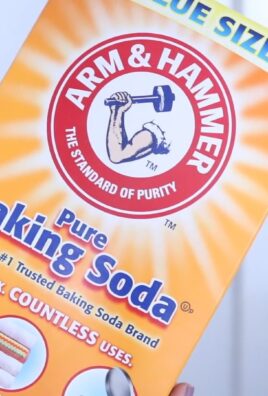
I’ve always been fascinated by the simple things that can make a huge difference, and few things embody that more than baking soda. It’s not just for baking cookies, you know! This humble ingredient, readily available in almost every kitchen, is a powerhouse of cleaning capabilities, and I’m excited to share some amazing baking soda cleaning uses with you today. We’ll explore clever DIY cleaning hacks that will leave your home sparkling and your wallet a little fuller.
The history of baking soda is surprisingly rich. Used for centuries in various forms, its modern production and widespread use as a leavening agent and cleaning aid only became truly common in the late 19th and early 20th centuries. This readily accessible ingredient quickly became a household staple, not just for culinary purposes, but also for its remarkable cleaning power. It’s a testament to the enduring appeal of simple, effective solutions.
Why You Need These Baking Soda Cleaning Uses
In today’s world, we’re constantly bombarded with expensive, chemical-laden cleaning products. Many of these contain harsh ingredients that can be harmful to our health and the environment. That’s where baking soda cleaning uses come in! These DIY tricks offer a natural, affordable, and eco-friendly alternative. You’ll learn how to tackle tough stains, deodorize your home, and even clean your appliances using this amazing ingredient. Not only will you save money, but you’ll also contribute to a healthier and more sustainable lifestyle. Ready to discover the secrets?
Let’s dive into these incredible baking soda cleaning uses and transform your cleaning routine!
Building a Custom Bookshelf from Reclaimed Wood
I love the look of reclaimed wood, and I’ve always wanted a unique bookshelf. So, I decided to build my own! This project took a bit of time, but the result is a beautiful, one-of-a-kind piece of furniture that I’m incredibly proud of. Here’s how I did it:
Gathering Your Materials
- Reclaimed wood planks (I used about 10, varying in width and length – aim for a mix for a rustic look!)
- Wood glue
- Wood screws (various lengths, depending on plank thickness)
- Wood filler
- Sandpaper (various grits – I used 80, 120, and 220)
- Wood stain (your choice of color – I went with a dark walnut)
- Wood sealant
- Measuring tape
- Level
- Drill with various drill bits
- Safety glasses
- Work gloves
- Clamps (lots of them!)
- Putty knife
- Paintbrushes
- Rags
Preparing the Wood
1. Clean the wood: Before you start, give your reclaimed wood planks a good cleaning. I used a stiff brush to remove any loose dirt, debris, or old paint. For stubborn grime, a pressure washer can be helpful, but be gentle to avoid damaging the wood.
2. Assess and cut: Once clean, lay out your planks to visualize your bookshelf design. I wanted a staggered, asymmetrical look, so I didn’t use perfectly uniform lengths. Measure and cut the planks to your desired lengths using a saw (a circular saw is ideal for this). Remember to always wear safety glasses when using power tools!
3. Sanding is key: This is where the patience comes in. Sand each plank thoroughly, starting with a coarser grit (80) and gradually moving to finer grits (120 and then 220). This will create a smooth surface for staining and ensure a professional finish. Pay special attention to any rough edges or splinters. Sanding is crucial for a beautiful final product.
Assembling the Bookshelf
1. Apply wood glue: I started by creating the base of my bookshelf. I chose three longer planks for the bottom, applying a generous amount of wood glue to the edges where they would meet.
2. Clamping is crucial: This is where having plenty of clamps comes in handy. Clamp the planks tightly together, ensuring they are aligned and level. Leave them clamped for at least 30 minutes to allow the glue to set properly. I left mine for an hour to be extra sure.
3. Adding the vertical supports: Next, I added vertical supports to create the shelves. I used shorter planks for these, again applying wood glue and clamping them securely to the base. I measured carefully to ensure even spacing between shelves. This step requires precision, so take your time and use a level to check for plumbness.
4. Securing with screws: Once the glue had set, I reinforced the joints by drilling pilot holes and screwing the planks together. I used wood screws of varying lengths, depending on the thickness of the planks. This adds significant strength and stability to the structure. Pre-drilling the pilot holes prevents the wood from splitting.
5. Filling the gaps: Even with careful measuring and cutting, there might be small gaps between the planks. Use wood filler to fill these gaps, ensuring a smooth, seamless finish. Let the filler dry completely before sanding it smooth.
Finishing Touches
1. Sanding again: After the wood filler has dried, sand the entire bookshelf again, using the finer grits of sandpaper (120 and 220). This will remove any remaining imperfections and create a perfectly smooth surface for staining.
2. Applying the stain: Apply your chosen wood stain according to the manufacturer’s instructions. I used a brush for even application, working with the grain of the wood. Let the stain dry completely before applying a second coat if needed.
3. Sealing the wood: Once the stain is dry, apply a wood sealant to protect the bookshelf from moisture and damage. This will also enhance the color and richness of the stain. Again, follow the manufacturer’s instructions for application and drying time. I used two coats of sealant for extra protection.
4. Final inspection: After everything is completely dry, give your bookshelf a final inspection. Make sure everything is level and secure. You can add felt pads to the bottom to protect your floors.
Tips and Tricks
Choosing Reclaimed Wood:
The beauty of reclaimed wood is its unique character. Look for planks with interesting textures, knots, and variations in color. However, be sure to check for any significant damage or rot before purchasing.
Pre-Drilling Pilot Holes:
This is essential to prevent the wood from splitting, especially when using screws. Use a drill bit slightly smaller than the diameter of your screws.
Clamping:
Don’t skimp on clamps! The more clamps you use, the tighter and more secure your joints will be.
Patience is a Virtue:
This project requires patience. Take your time with each step, and don’t rush the process. The result will be worth it!
Conclusion
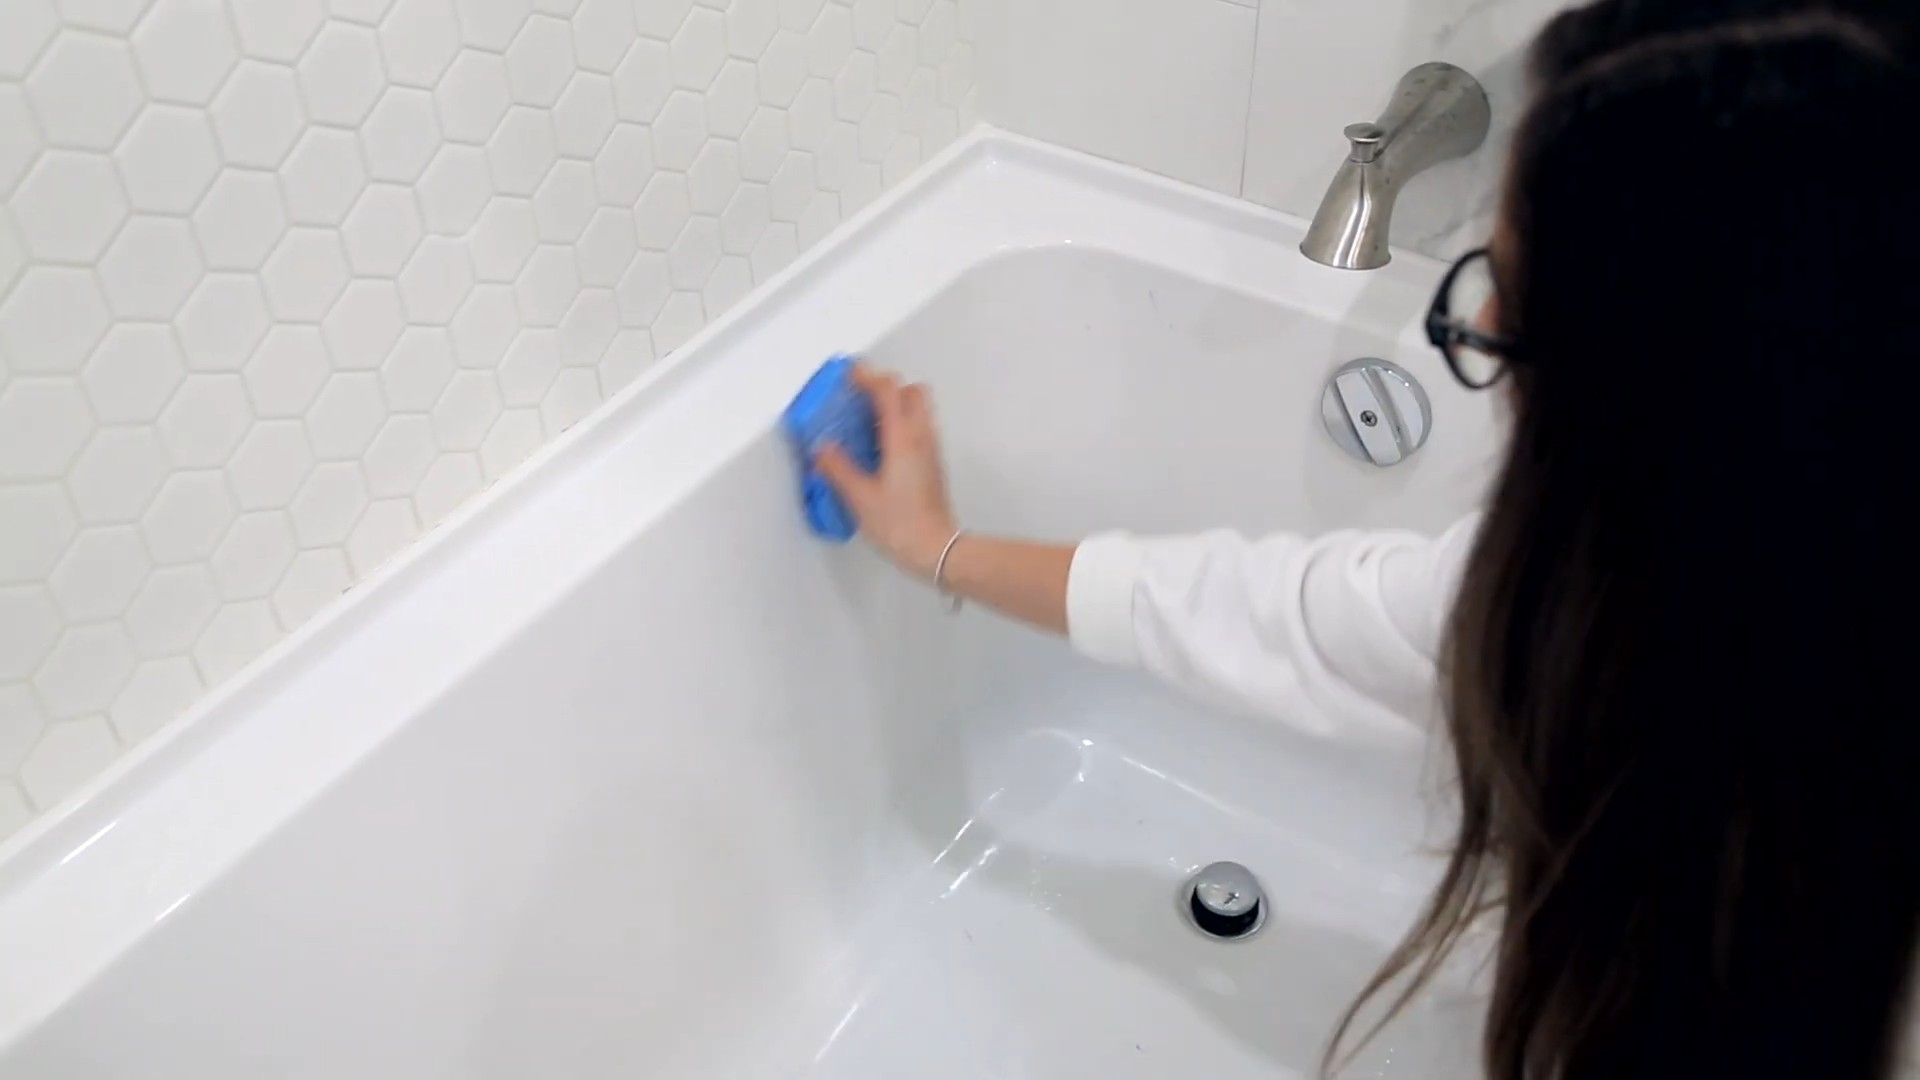
So there you have it! A comprehensive guide to unlocking the amazing cleaning power of baking soda. This versatile, inexpensive household staple truly deserves a place in your cleaning arsenal. From tackling stubborn grease in your oven to brightening your whites and deodorizing your fridge, the DIY baking soda cleaning uses are virtually limitless. We’ve explored a range of applications, proving that this simple powder is far more than just a baking ingredient; it’s a powerful, eco-friendly cleaning superhero. The best part? It’s gentle enough for most surfaces yet effective enough to tackle even the toughest grime. You’ll be amazed at how easily you can achieve sparkling clean results without resorting to harsh chemicals and their associated environmental impact. This truly is a must-try cleaning method for anyone looking for a natural, effective, and budget-friendly solution. Don’t just take our word for it – experiment with the different techniques and recipes we’ve shared, and discover the transformative power of baking soda for yourself. Share your experiences and results with us – we’d love to hear about your successful baking soda cleaning adventures! Let’s create a community of sparkling clean homes, powered by the humble yet mighty baking soda. Remember to always test a small inconspicuous area first before applying any cleaning solution to a larger surface.
Variations and Suggestions
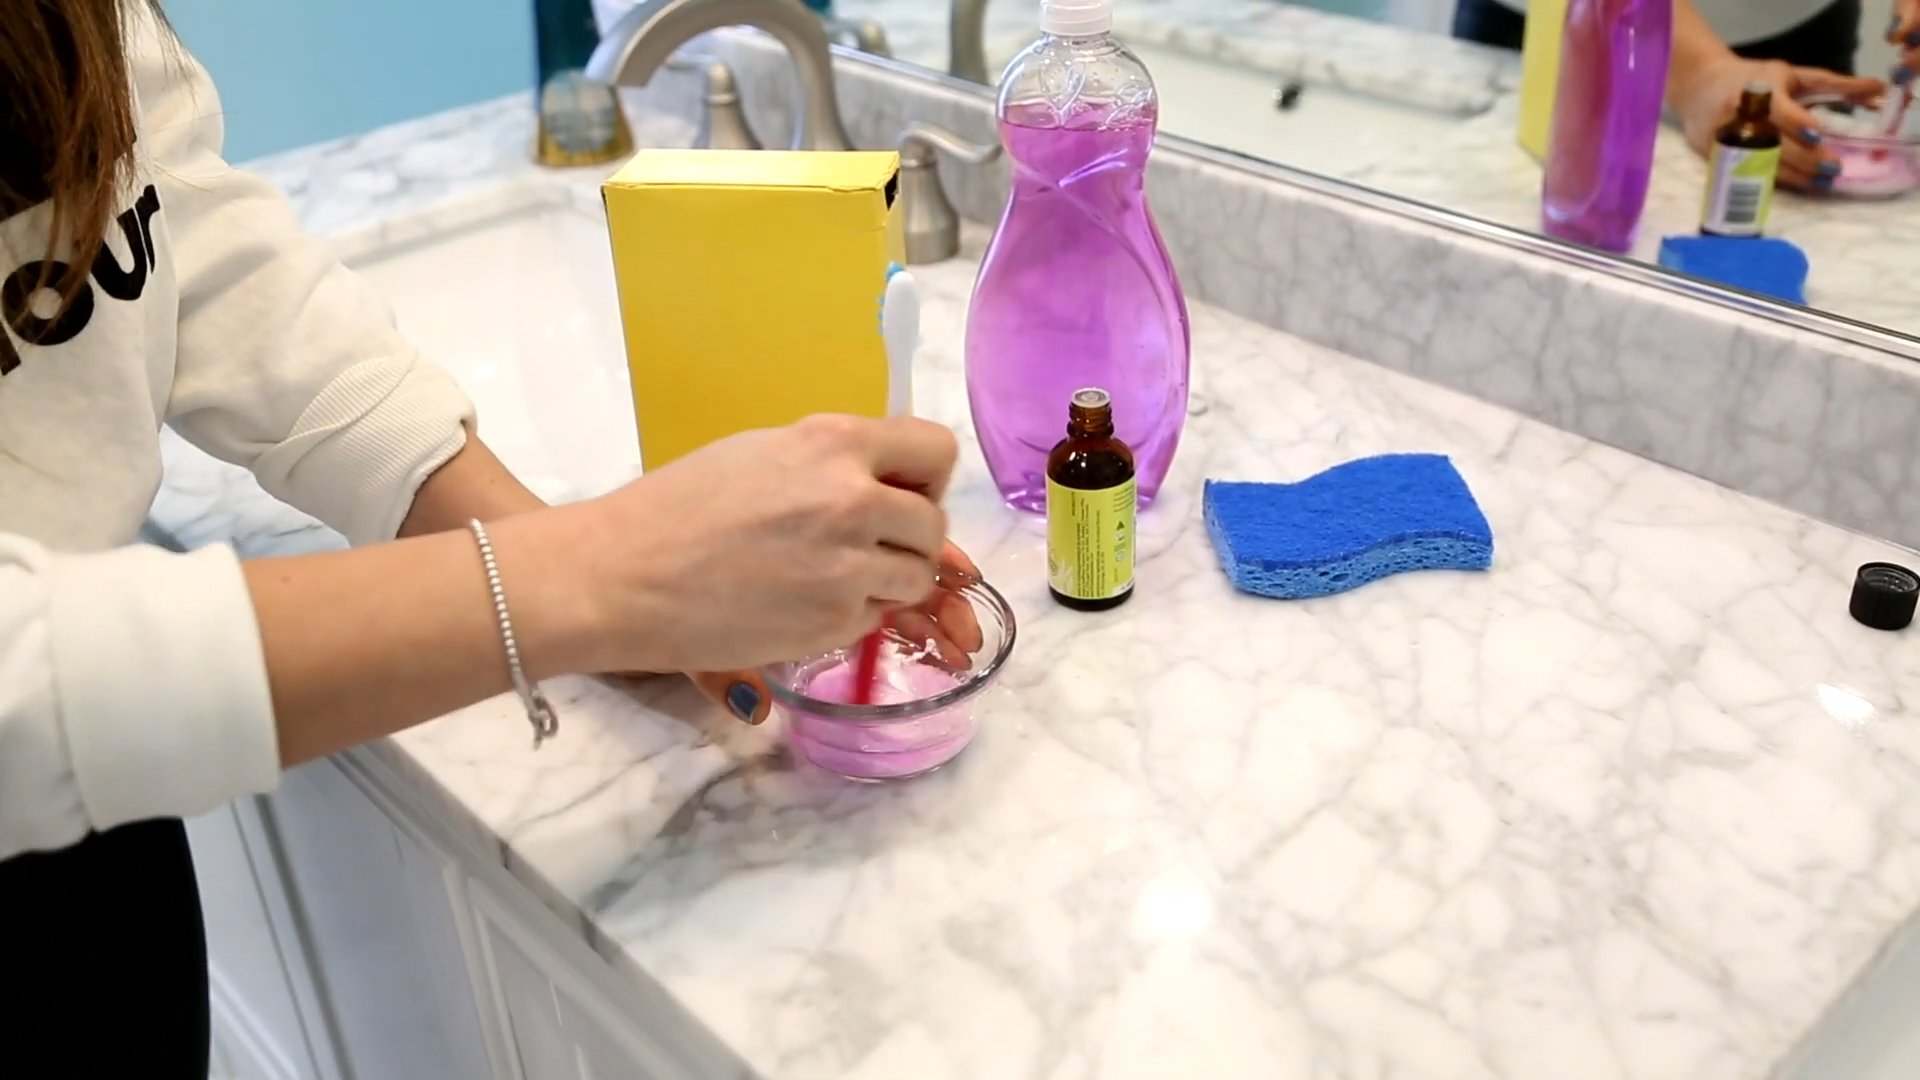
While we’ve covered a wide range of applications, the possibilities with baking soda are truly endless. Feel free to experiment with different combinations and ratios to find what works best for your specific needs and preferences. For instance, you can adjust the consistency of pastes by adding more or less water. If you find a paste too thick, add a little more water; if it’s too thin, add more baking soda. You can also enhance the cleaning power of baking soda by combining it with other natural ingredients like vinegar, lemon juice, or essential oils. The possibilities are endless! Consider adding a few drops of your favorite essential oil to your baking soda paste for a pleasant aroma while cleaning. For tougher stains, let the baking soda paste sit for a longer period before scrubbing. Remember, patience is key, especially when dealing with stubborn grime. Don’t be afraid to get creative and tailor your baking soda cleaning solutions to your specific cleaning challenges.
Beyond the Basics: Advanced Baking Soda Cleaning
For those looking to take their baking soda cleaning to the next level, consider exploring more advanced techniques. For example, you can create a homemade baking soda laundry booster to enhance the cleaning power of your detergent. Or, try using baking soda to clean your grout – the results are often surprisingly effective. Remember to always consult the manufacturer’s instructions for your specific appliances and surfaces before using baking soda. With a little experimentation, you’ll become a baking soda cleaning pro in no time!
Frequently Asked Questions
What are the safety precautions when using baking soda for cleaning?
While baking soda is generally safe, it’s crucial to take some precautions. Avoid inhaling large amounts of baking soda powder, especially in enclosed spaces. Always wear appropriate eye protection, such as safety glasses, when using baking soda in a paste or solution that might splatter. For sensitive skin, wear gloves to prevent irritation. Finally, always test a small, inconspicuous area first before applying any baking soda cleaning solution to a larger surface to ensure it doesn’t damage the material.
Can baking soda scratch surfaces?
Baking soda is a relatively soft abrasive, so it’s generally safe for most surfaces. However, it’s always best to exercise caution, especially on delicate surfaces like polished wood or certain types of countertops. Always test a small, inconspicuous area first before applying it to a larger surface. For delicate surfaces, a gentler approach might be necessary, such as using a damp cloth to wipe away residue rather than scrubbing vigorously.
How do I dispose of baking soda after cleaning?
Disposal is simple and environmentally friendly. Simply rinse away any baking soda residue down the drain with plenty of water. For larger amounts, you can dispose of it in your regular household trash. Baking soda is non-toxic and biodegradable, so it won’t harm the environment.
Can I use baking soda on all surfaces?
While baking soda is versatile, it’s not suitable for all surfaces. Avoid using it on aluminum, as it can react and cause discoloration. Also, be cautious with delicate surfaces like polished wood or certain types of stone countertops. Always test a small, inconspicuous area first before applying it to a larger surface. If you’re unsure, it’s always best to consult the manufacturer’s instructions for your specific surfaces.
Is baking soda effective against mold and mildew?
Baking soda can help control mold and mildew, but it’s not a replacement for a dedicated mold and mildew cleaner. It can help absorb odors and slightly inhibit growth, but for significant mold and mildew infestations, you’ll need a stronger solution. Baking soda can be a helpful addition to your cleaning routine, but it’s crucial to address the root cause of mold and mildew growth to prevent recurrence. Proper ventilation and moisture control are key to preventing mold and mildew growth.
What are the benefits of using baking soda over commercial cleaners?
Baking soda offers several advantages over commercial cleaners. It’s a natural, non-toxic alternative, making it a safer choice for your family and the environment. It’s also incredibly versatile, tackling a wide range of cleaning tasks. Furthermore, it’s significantly more affordable than many commercial cleaning products, making it a budget-friendly option. Finally, baking soda is readily available in most grocery stores, making it convenient to purchase.

Leave a Comment