
Easy Homegrown Carrots
I’ve always loved the sweet crunch of a perfectly grown carrot, but for years, I thought homegrown veggies were only for experienced gardeners. Then I discovered the surprisingly simple joy of growing my own carrots, and I’m here to share my secrets with you! This article is packed with easy homegrown carrots tips and tricks, transforming your backyard into a vibrant vegetable patch, even if you’ve never planted a seed before.
The history of carrots is fascinating! Originally purple or yellow, the orange carrot we know and love only became popular in the 17th century in the Netherlands. But regardless of their colorful past, carrots remain a staple in gardens and kitchens worldwide. And now, you can easily join the ranks of home gardeners enjoying the freshest, tastiest carrots imaginable.
Why Grow Your Own Carrots?
There’s nothing quite like biting into a carrot you’ve nurtured from seed to harvest. The flavor is unparalleled, far surpassing anything you’ll find in the supermarket. Plus, growing your own easy homegrown carrots offers a rewarding connection to nature and a sense of accomplishment. It’s a fantastic way to introduce children to the wonders of gardening, teaching them about where their food comes from. And let’s be honest, knowing exactly what’s gone into your vegetables, without pesticides or artificial fertilizers, is a huge bonus in today’s world.
So, whether you have a sprawling backyard or just a small balcony, get ready to embark on this rewarding journey. This guide is filled with practical advice and simple techniques to ensure your easy homegrown carrots are a resounding success. Let’s get growing!
Growing Your Own Delicious French Beans: A Complete DIY Guide
I love the taste of fresh, homegrown French beans. There’s nothing quite like it! And the best part? It’s surprisingly easy to grow your own, even if you’ve never gardened before. This guide will walk you through the entire process, from seed to delicious harvest.
Phase 1: Planning and Preparation
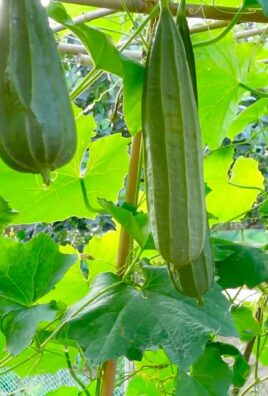
- Choose your beans: Decide on the type of French bean you want to grow. There are bush beans (compact plants) and pole beans (vining plants that need support). Bush beans are great for smaller spaces, while pole beans can produce a larger yield but require more space and support structures.
- Select a location: French beans need at least six hours of sunlight per day. Choose a sunny spot in your garden with well-drained soil. Avoid areas that are prone to flooding.
- Prepare the soil: French beans thrive in loose, fertile soil. Amend your soil with compost or well-rotted manure to improve drainage and add nutrients. A soil test can help determine if you need to add any specific nutrients.
- Gather your supplies: You’ll need bean seeds, gardening gloves, a trowel or small shovel, a watering can, and possibly stakes or a trellis for pole beans.
Phase 2: Sowing the Seeds
- Timing is key: The best time to plant French beans is after the last frost. Check your local frost dates to determine the optimal planting time. You can start seeds indoors 4-6 weeks before the last frost, but it’s often easier to direct sow outdoors.
- Direct sowing: If direct sowing, make small holes about 1 inch deep and 2-3 inches apart for bush beans, and 4-6 inches apart for pole beans. Place 2-3 seeds in each hole.
- Indoor sowing (optional): If starting indoors, use small seed trays or pots filled with seed-starting mix. Sow seeds about 1 inch deep. Keep the soil moist but not soggy.
- Cover and water: Gently cover the seeds with soil and water thoroughly. Keep the soil consistently moist until germination.
- Thinning (for direct sowing): Once the seedlings emerge and have a few true leaves, thin them out, leaving the strongest plant in each hole. For bush beans, leave one plant per 2-3 inches. For pole beans, leave one plant per 4-6 inches.
- Transplanting (for indoor sowing): Once seedlings have several true leaves (usually 2-3 inches tall), carefully transplant them outdoors, spacing them as described above. Make sure to harden them off gradually before transplanting to avoid shock.
Phase 3: Caring for Your Bean Plants
- Watering: Water regularly, especially during dry periods. Aim for consistent moisture, but avoid overwatering, which can lead to root rot. Water deeply at the base of the plants.
- Weeding: Keep the area around your bean plants free of weeds, which compete for water and nutrients. Regular weeding is essential for healthy growth.
- Support for pole beans: If you’re growing pole beans, provide support using stakes, trellises, or other structures. Train the vines to climb the support as they grow.
- Fertilizing: While French beans are not heavy feeders, a light application of balanced fertilizer can boost growth and yield. Follow the instructions on the fertilizer package.
- Pest and disease control: Regularly inspect your plants for pests and diseases. Common problems include aphids, bean beetles, and fungal diseases. Address any issues promptly using appropriate organic or chemical controls.
- Mulching: Applying a layer of mulch around your bean plants helps retain moisture, suppress weeds, and regulate soil temperature.
Phase 4: Harvesting Your French Beans
- Harvesting time: Bush beans are usually ready for harvest 50-60 days after planting, while pole beans may take a little longer. Harvest beans when they are young and tender, before the pods become too large or tough.
- Harvesting technique: Snap the beans off the plant, leaving a short stem attached. Harvest regularly to encourage continued production.
- Storage: Store freshly harvested beans in the refrigerator for up to a week. You can also freeze or can your beans for longer storage.
Phase 5: Troubleshooting Common Problems
Yellowing Leaves:
Yellowing leaves can indicate several issues, including nutrient deficiencies, overwatering, or pest infestations. Check your watering practices, soil conditions, and look for signs of pests.
Poor Yield:
A poor yield might be due to insufficient sunlight, poor soil quality, lack of watering, or pest problems. Review your growing conditions and address any deficiencies.
Bean Beetles:
Bean beetles can significantly damage your crop. Handpick them off the plants or use insecticidal soap to control them. Row covers can also help prevent infestation.
Fungal Diseases:
Fungal diseases can be a problem in humid conditions. Ensure good air circulation around your plants and avoid overhead watering. Consider using a fungicide if necessary.
Remember to always follow the instructions on any pesticides or fertilizers you use.
Conclusion
So there you have it – a simple, rewarding, and surprisingly effective method for growing your own delicious carrots right at home! This easy homegrown carrots guide proves that you don’t need acres of farmland or a green thumb to enjoy the sweet taste of freshly harvested vegetables. The entire process, from seed to succulent root, is incredibly satisfying, offering a tangible connection to your food source that’s hard to replicate with store-bought produce. This DIY trick is a must-try because it empowers you to control the quality and freshness of your carrots, ensuring they’re free from pesticides and brimming with natural flavor. Beyond the taste, the experience of nurturing a plant from seed to harvest is incredibly rewarding, especially for families with children – it’s a fantastic opportunity to teach about where food comes from and the importance of sustainable living.
Beyond the basic method outlined, there are countless ways to personalize your homegrown carrot experience. Experiment with different carrot varieties – from the classic Nantes to the vibrant purple Chantenay – to discover your favorites. Consider using different containers; larger containers allow for larger carrots, while smaller pots are perfect for balcony gardening. You can also explore companion planting, incorporating herbs like rosemary or thyme nearby to deter pests and potentially enhance the flavor of your carrots. For those with limited space, vertical gardening techniques can be surprisingly effective. And don’t be afraid to get creative with your soil mix – adding compost or other organic matter will significantly improve drainage and nutrient content, leading to healthier, more robust carrots.
We encourage you to try this easy homegrown carrots method and share your experience with us! Whether you’re a seasoned gardener or a complete novice, the satisfaction of harvesting your own homegrown carrots is an unparalleled experience. Post pictures of your thriving carrot patch on social media and tag us – we’d love to see your success! Remember, even small successes contribute to a larger movement towards more sustainable and fulfilling food practices. Let’s grow together!
Frequently Asked Questions
What type of soil is best for growing carrots?
Carrots thrive in loose, well-drained soil that’s free of rocks and clumps. Heavy clay soil can hinder root development, resulting in stunted or misshapen carrots. A sandy loam soil is ideal, but you can amend heavier soils by adding compost or other organic matter to improve drainage and aeration. Ensure the soil pH is slightly acidic to neutral (6.0-7.0).
How much sunlight do carrots need?
Carrots need at least six hours of direct sunlight per day to grow properly. Choose a sunny location in your garden or on your balcony. Insufficient sunlight can lead to poor growth and a lack of sweetness in the carrots.
How often should I water my carrots?
Consistent moisture is crucial for carrot growth, but avoid overwatering, which can lead to root rot. Water deeply and regularly, especially during dry periods. The soil should be consistently moist but not soggy. Mulching around the plants can help retain moisture and suppress weeds.
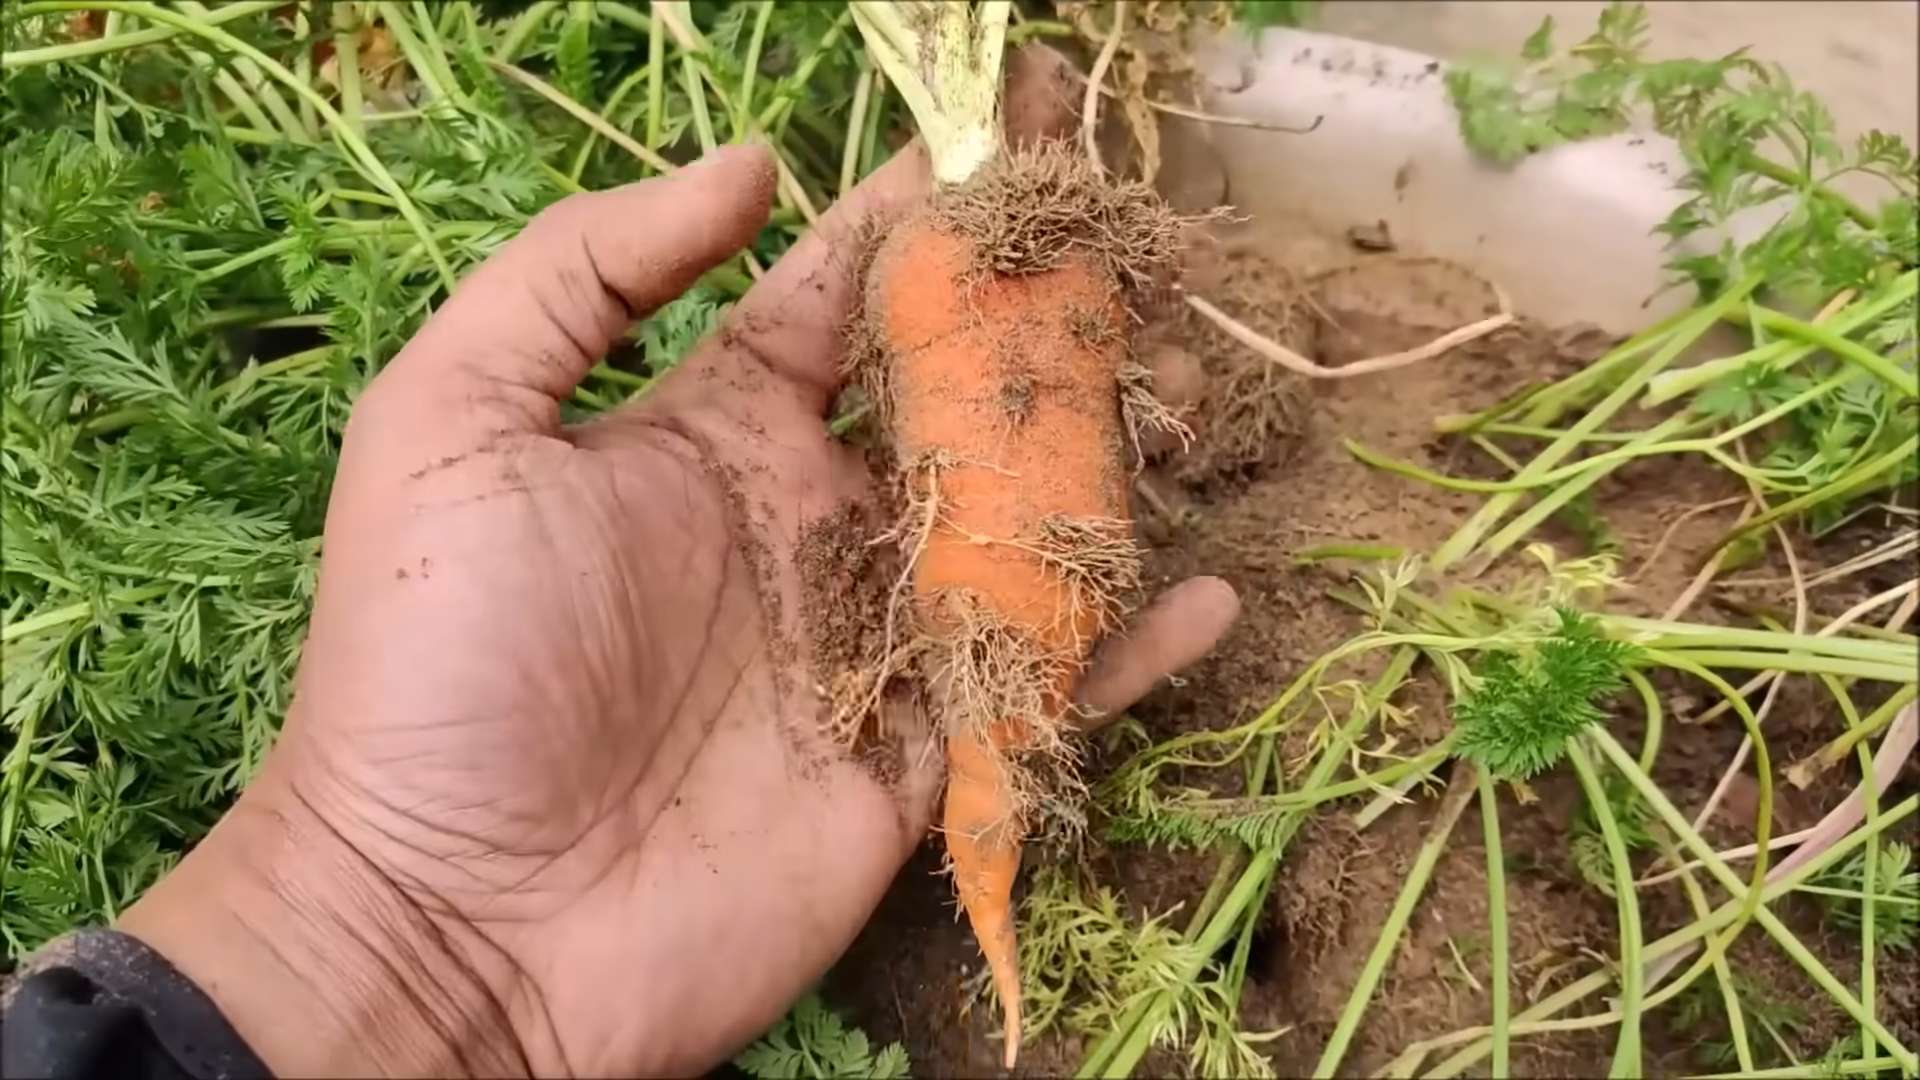
When are my carrots ready to harvest?
The harvesting time depends on the carrot variety and the growing conditions. Generally, carrots are ready for harvest 70-80 days after sowing. You can check for readiness by gently tugging on the tops of the plants; if they come out easily, the carrots are likely ready. For larger carrots, you may need to wait a bit longer.
What if my carrots are small or misshapen?
Several factors can contribute to small or misshapen carrots. Poor soil drainage, rocky soil, inconsistent watering, or overcrowding can all affect root development. Ensure you’re using well-drained soil, spacing your seeds appropriately, and providing consistent moisture. Using a container with sufficient depth is also crucial for proper root growth.
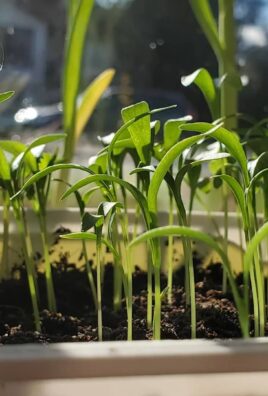
Can I grow carrots indoors?
Yes, you can grow carrots indoors, but you’ll need deep containers (at least 12 inches deep) to accommodate the taproot. Ensure you provide adequate sunlight, either through a sunny window or with grow lights. Indoor growing may require more attention to watering and humidity levels.
What are some common carrot pests and diseases?
Carrots can be susceptible to pests like carrot root flies and diseases like leaf blight. Practicing crop rotation, using pest-resistant varieties, and maintaining good soil hygiene can help prevent these problems. Regularly inspecting your plants for signs of pests or diseases is also important for early intervention.
Can I save seeds from my homegrown carrots?
While you can technically try to save seeds from your homegrown carrots, it’s often more challenging than simply purchasing new seeds. Hybrid carrot varieties often don’t produce true-to-type seeds, meaning the next generation may not resemble the parent plant. For reliable results, it’s generally recommended to purchase fresh seeds each year.

Leave a Comment