
DIY furniture polish: Ever looked at your beloved wooden furniture and wished it had that showroom shine back? I know I have! We often think achieving that lustrous glow requires expensive store-bought products, but what if I told you the secret to reviving your furniture’s beauty is likely hiding in your pantry right now?
For generations, resourceful homemakers have relied on homemade remedies to care for their homes. Before the age of mass-produced cleaners, crafting your own furniture polish was a necessity, a skill passed down through families. These time-tested recipes not only saved money but also avoided harsh chemicals that could damage delicate wood finishes.
In today’s world, the appeal of DIY furniture polish extends beyond just cost savings. We’re increasingly aware of the environmental impact of commercial products and the potential health risks associated with their ingredients. Plus, there’s a certain satisfaction in creating something yourself, knowing exactly what’s going onto your cherished furniture. This article will guide you through simple, effective recipes for DIY furniture polish that will breathe new life into your wooden pieces, leaving them gleaming and protected, all while being kind to your wallet and the planet. Let’s get started!
DIY Concrete Countertops: A Step-by-Step Guide to a Stunning Kitchen Upgrade
Okay, so you’re thinking about concrete countertops? Awesome! I’m telling you, they’re a fantastic way to add a modern, industrial chic vibe to your kitchen (or bathroom, or bar area – the possibilities are endless!). Plus, doing it yourself is surprisingly achievable, and way more affordable than buying pre-made ones. This guide will walk you through every step, from building the mold to the final sealing, so you can create a countertop you’ll be proud of.
What You’ll Need: The Essential Supplies
Before we dive in, let’s gather our supplies. Having everything on hand will make the process smoother and less stressful. Trust me, you don’t want to be running to the hardware store mid-pour!
* **Concrete Mix:** This is the heart of your countertop. I recommend a high-strength concrete mix specifically designed for countertops. Look for one that’s pre-blended with fibers to minimize cracking. You’ll need to calculate how much you need based on the dimensions of your countertop and the recommended mix ratio on the bag. Err on the side of caution and buy a little extra – better to have too much than not enough!
* **Melamine Boards:** These will form the mold for your countertop. Melamine is smooth and non-porous, which will give you a nice, clean finish. I usually go for ¾-inch thick boards for stability.
* **Screws:** You’ll need screws to assemble the mold. I prefer using drywall screws because they’re readily available and easy to work with.
* **Silicone Caulk:** This is crucial for sealing the seams of the mold and preventing concrete from leaking out. Make sure you get a paintable silicone caulk.
* **Reinforcement:** This is what gives your countertop its strength. You can use wire mesh, rebar, or a combination of both. I personally like using wire mesh for smaller countertops and rebar for larger ones.
* **Concrete Sealer:** This protects your countertop from stains and water damage. Choose a food-safe sealer specifically designed for concrete countertops. There are different types available, so do your research to find one that suits your needs and aesthetic preferences.
* **Concrete Pigment (Optional):** If you want to add color to your countertop, you’ll need concrete pigment. This comes in a variety of colors, so you can get creative and customize your countertop to match your décor.
* **Mixing Tools:** You’ll need a concrete mixer (a wheelbarrow and shovel will work for smaller projects, but a powered mixer is highly recommended for larger ones), buckets, and a measuring cup.
* **Finishing Tools:** This includes a trowel, a concrete float, a sponge, and sandpaper (various grits).
* **Safety Gear:** Don’t forget your safety gear! This includes gloves, safety glasses, and a dust mask. Concrete dust can be harmful to your lungs, so it’s important to protect yourself.
* **Release Agent:** A concrete release agent will help you remove the countertop from the mold once it’s cured. You can use a commercial release agent or a simple vegetable oil spray.
* **Vibrating Tool (Optional but Recommended):** A concrete vibrator helps to remove air bubbles from the concrete mix, resulting in a stronger and more visually appealing countertop. You can rent one from most tool rental stores.
Phase 1: Building the Mold
This is where the magic begins! A well-built mold is essential for a successful concrete countertop. Take your time and pay attention to detail.
1. **Measure and Cut the Melamine:** Carefully measure the dimensions of your desired countertop. Remember to account for any overhangs or special features. Cut the melamine boards to size using a circular saw or table saw. Accuracy is key here, so double-check your measurements before cutting.
2. **Assemble the Mold:** Assemble the melamine boards to form a box that represents the shape of your countertop. Use screws to secure the boards together. Make sure the corners are square and the seams are tight.
3. **Create Cutouts (If Necessary):** If your countertop will have a sink or other cutouts, now’s the time to create them. You can use a jigsaw to cut the holes in the melamine. Remember to reinforce the edges of the cutouts with extra melamine strips to prevent them from collapsing during the pour.
4. **Seal the Seams:** This is super important! Apply a generous bead of silicone caulk to all the seams of the mold, both inside and out. Smooth the caulk with your finger to create a watertight seal. Let the caulk dry completely before moving on to the next step.
5. **Apply Release Agent:** Apply a thin, even coat of concrete release agent to the inside of the mold. This will prevent the concrete from sticking to the melamine and make it easier to remove the countertop once it’s cured.
Phase 2: Mixing and Pouring the Concrete
Now for the fun part! Mixing and pouring the concrete can be a bit messy, so be prepared to get your hands dirty.
1. **Mix the Concrete:** Follow the instructions on the concrete mix bag to determine the correct water-to-concrete ratio. Add the water gradually while mixing, until you achieve a thick, oatmeal-like consistency. Be careful not to add too much water, as this can weaken the concrete. If you’re using concrete pigment, add it to the water before mixing it with the concrete.
2. **Pour the First Layer:** Pour a layer of concrete into the mold, about halfway up. Use a trowel to spread the concrete evenly and work it into all the corners and crevices.
3. **Add Reinforcement:** Place your wire mesh or rebar reinforcement on top of the first layer of concrete. Make sure the reinforcement is completely embedded in the concrete.
4. **Pour the Second Layer:** Pour the remaining concrete into the mold, filling it to the top. Again, use a trowel to spread the concrete evenly and work it into all the corners and crevices.
5. **Vibrate the Concrete:** This is where the vibrating tool comes in handy. Insert the vibrator into the concrete and move it around to remove any air bubbles. This will result in a stronger and more visually appealing countertop. If you don’t have a vibrator, you can tap the sides of the mold with a rubber mallet to help release air bubbles.
6. **Screed the Surface:** Use a straightedge (like a piece of wood or metal) to screed the surface of the concrete, removing any excess and creating a level surface.
Phase 3: Curing and Demolding
Patience is key during this phase! The concrete needs time to cure properly before you can remove it from the mold.
1. **Cure the Concrete:** Cover the mold with plastic sheeting to prevent the concrete from drying out too quickly. Keep the concrete moist for at least 7 days. You can do this by spraying it with water several times a day.
2. **Demold the Countertop:** After 7 days, carefully remove the screws from the mold and gently pry the melamine boards away from the concrete. Be careful not to damage the countertop during this process.
Phase 4: Finishing and Sealing
Almost there! This is where you’ll refine the look of your countertop and protect it from stains and water damage.
1. **Grind the Surface:** Use a concrete grinder with progressively finer grits of sandpaper to smooth the surface of the countertop. Start with a coarse grit (like 60 grit) and gradually work your way up to a finer grit (like 400 grit). This will remove any imperfections and create a smooth, polished surface.
2. **Fill Voids (If Necessary):** If you notice any small voids or air bubbles in the concrete, you can fill them with a concrete patching compound. Follow the instructions on the patching compound to apply it correctly.
3. **Hone the Edges:** Use a diamond hand pad to hone the edges of the countertop, creating a smooth, rounded edge.
4. **Clean the Surface:** Thoroughly clean the surface of the countertop with a concrete cleaner to remove any dust or debris.
5. **Apply Sealer:** Apply several coats of concrete sealer, following the manufacturer’s instructions. Allow each coat to dry completely before applying the next. This will protect your countertop from stains and water damage.
6. **Optional: Waxing:** For added protection and a slight sheen, you can apply a concrete wax after the sealer has dried completely.
Tips and Tricks for Concrete Countertop Success
* Practice makes perfect: Consider making a small practice piece before tackling your full countertop. This will give you a chance to get comfortable with the process and experiment with different techniques.
* Control the environment: Avoid pouring concrete in extreme temperatures (too hot or too cold). The ideal temperature for curing concrete is between 50°F and 80°F.
* Don’t rush the curing process: The longer you let the concrete cure, the stronger it will be.
* Be patient: This is a time-consuming project, so don’t get discouraged if things don
Conclusion
So, there you have it! Ditching the store-bought chemicals and embracing this simple, effective DIY furniture polish is a game-changer for your home. Not only will you be saving money and reducing your environmental impact, but you’ll also be treating your beloved furniture to a gentle, nourishing polish that enhances its natural beauty. The subtle sheen and revitalized wood grain you’ll achieve are simply unmatched by many commercial products.
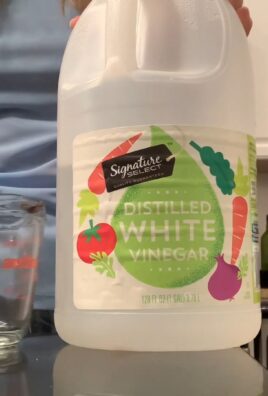
This isn’t just about cleaning; it’s about caring for your furniture and extending its lifespan. Think of it as a spa day for your tables, chairs, and cabinets! The natural oils in the recipe penetrate the wood, preventing it from drying out and cracking, while the vinegar gently removes grime and build-up. The result is a refreshed, rejuvenated piece that looks and feels its best.
But the beauty of this DIY approach lies in its adaptability. Feel free to experiment with different essential oils to create a custom scent that perfectly complements your home’s ambiance. Lavender for a calming effect, citrus for a burst of energy, or cedarwood for a warm, woody aroma – the possibilities are endless! You can also adjust the ratio of oil to vinegar depending on the type of wood you’re working with. For drier woods, you might want to increase the oil content, while for more delicate finishes, a slightly higher vinegar concentration might be preferable.
Don’t be intimidated by the “DIY” label. This recipe is incredibly easy to follow, even for beginners. With just a few common household ingredients and a few minutes of your time, you can create a furniture polish that rivals the best store-bought brands. Plus, you’ll have the satisfaction of knowing exactly what’s going onto your furniture – no hidden chemicals or mystery ingredients!
We wholeheartedly encourage you to give this DIY furniture polish a try. You’ll be amazed at the difference it makes. And once you’ve experienced the magic of natural furniture care, we’d love to hear about it! Share your results, variations, and tips in the comments below. Let’s build a community of DIY enthusiasts who are passionate about creating beautiful, healthy homes. Your feedback will not only help others but also inspire us to continue sharing valuable DIY solutions. So, grab your ingredients, get polishing, and prepare to be amazed!
Frequently Asked Questions (FAQ)
What types of furniture can I use this DIY polish on?
This DIY furniture polish is generally safe for most types of finished wood furniture, including tables, chairs, cabinets, dressers, and antiques. However, it’s always a good idea to test it on an inconspicuous area first, especially if you’re dealing with delicate or antique pieces. Avoid using it on unfinished wood, as the vinegar could potentially stain or damage the surface. Also, be cautious when using it on furniture with a very high gloss finish, as the vinegar might dull the shine slightly. If you’re unsure, consult a professional furniture restorer.
How often should I use this DIY furniture polish?
The frequency of polishing depends on how often your furniture is exposed to dust, dirt, and sunlight. As a general rule, polishing every one to three months is sufficient for most pieces. However, if your furniture is in a high-traffic area or exposed to direct sunlight, you might need to polish it more frequently. Over-polishing can actually lead to a build-up of residue, so it’s best to err on the side of caution. Always observe your furniture and polish it only when it starts to look dull or dusty.
Can I use different types of oil in this recipe?
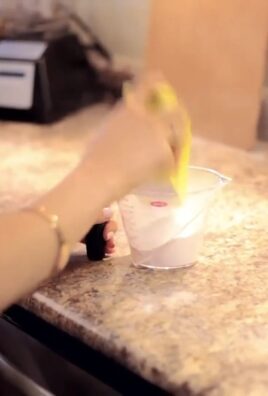
Absolutely! While olive oil is a great all-purpose option, you can experiment with other oils to achieve different results. Almond oil is a good choice for lighter woods, as it’s less likely to darken the finish. Jojoba oil is another excellent option, as it’s very similar to the natural oils produced by the skin and wood. Coconut oil can also be used, but be sure to use fractionated coconut oil, which stays liquid at room temperature. Avoid using vegetable oil, as it can become sticky and rancid over time. Remember to always test a small area first to ensure the oil doesn’t react negatively with your furniture’s finish.
What if I don’t have essential oils? Can I still make the polish?
Yes, you can definitely make the polish without essential oils. The essential oils are primarily for fragrance and don’t contribute significantly to the cleaning or polishing properties of the recipe. If you don’t have any on hand, simply omit them. The polish will still be effective at cleaning and protecting your furniture. You can also add a few drops of lemon juice for a subtle citrus scent, but be sure to use it sparingly, as lemon juice is acidic.
How should I store the DIY furniture polish?
Store your DIY furniture polish in an airtight container in a cool, dark place. A glass jar or bottle is ideal, as it won’t react with the ingredients. Be sure to label the container clearly so you don’t accidentally use it for something else. The polish should last for several months if stored properly. If you notice any changes in color, smell, or consistency, it’s best to discard it and make a fresh batch.
My furniture has a lot of build-up. Will this polish remove it?
This DIY furniture polish is effective at removing light to moderate build-up. However, if your furniture has a significant amount of grime or wax build-up, you might need to pre-clean it with a mild soap and water solution before polishing. Be sure to dry the furniture thoroughly before applying the polish. For stubborn build-up, you can also try using a specialized furniture cleaner designed for removing wax and polish residue. Always follow the manufacturer’s instructions carefully.
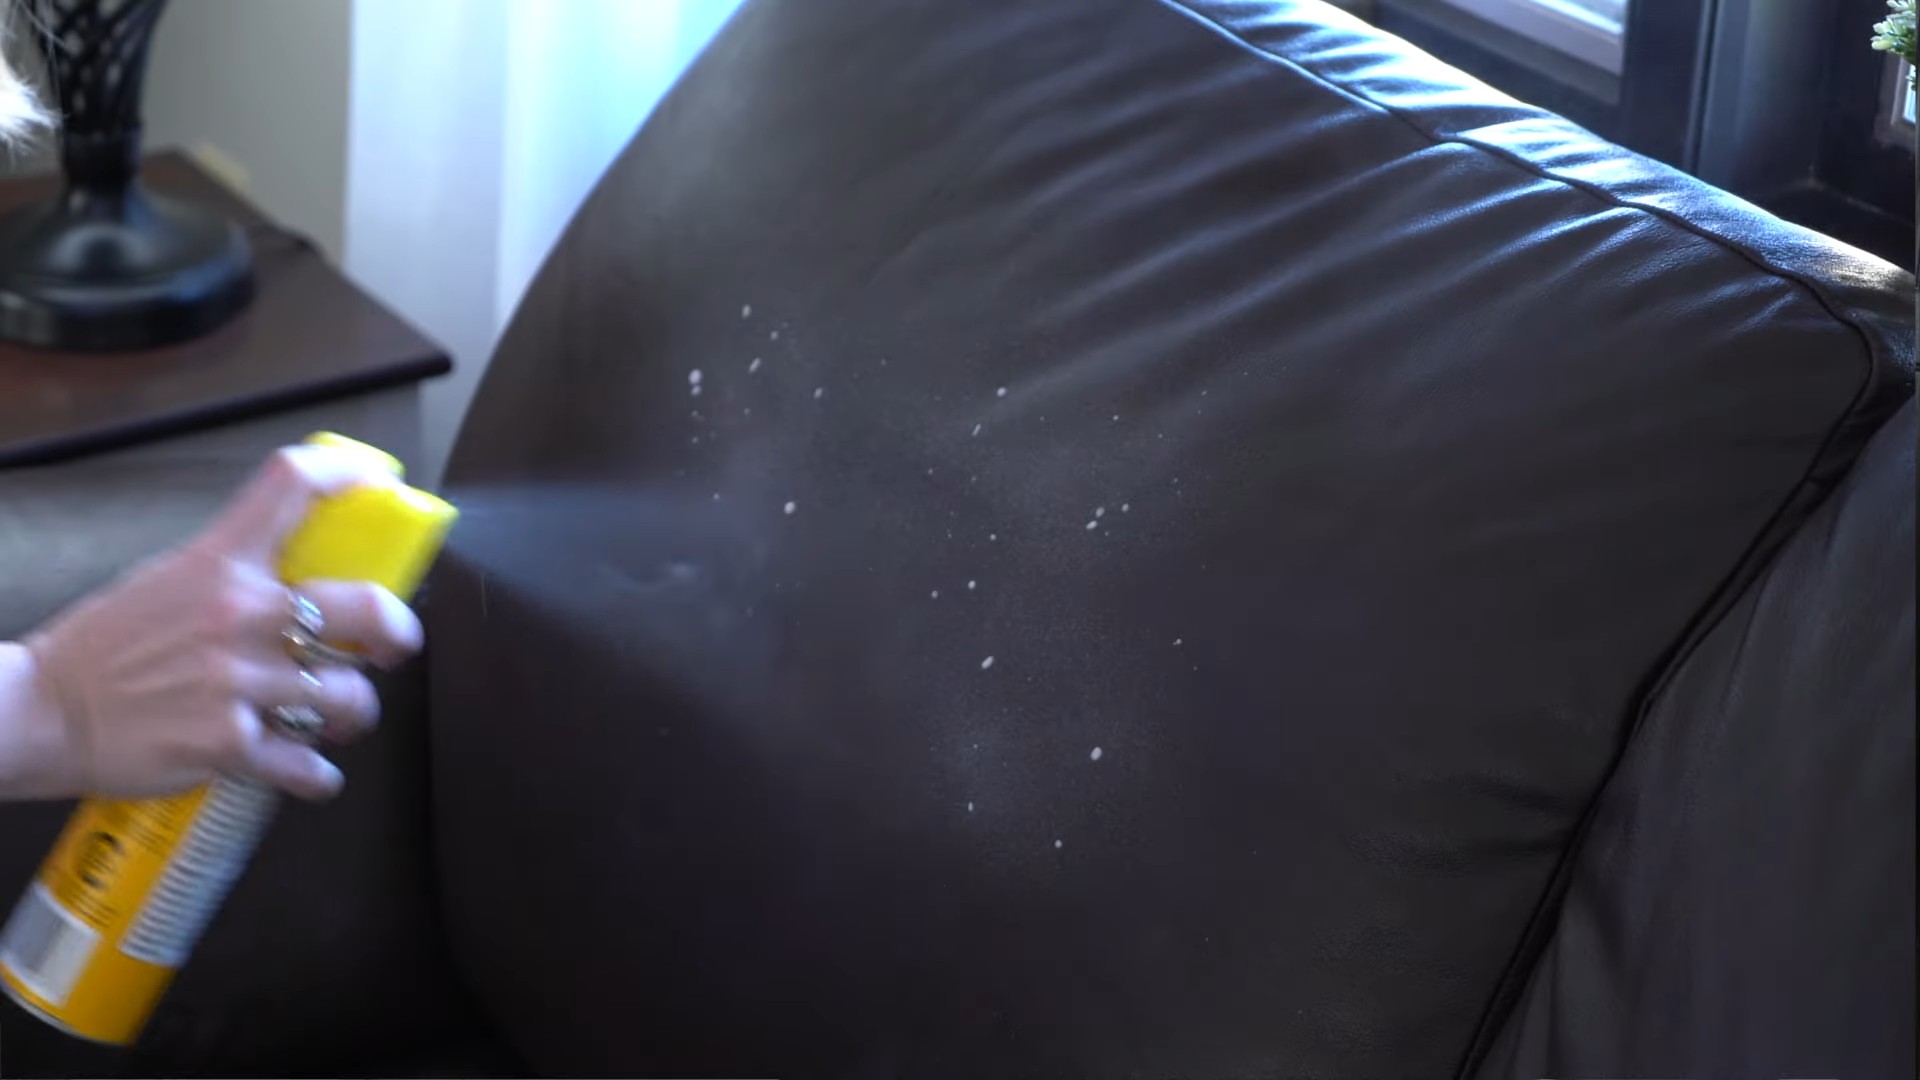
Can I use this polish on leather furniture?
No, this DIY furniture polish is not suitable for leather furniture. Leather requires specialized cleaning and conditioning products that are specifically formulated for its unique properties. Using this polish on leather could damage the surface and cause discoloration or cracking.
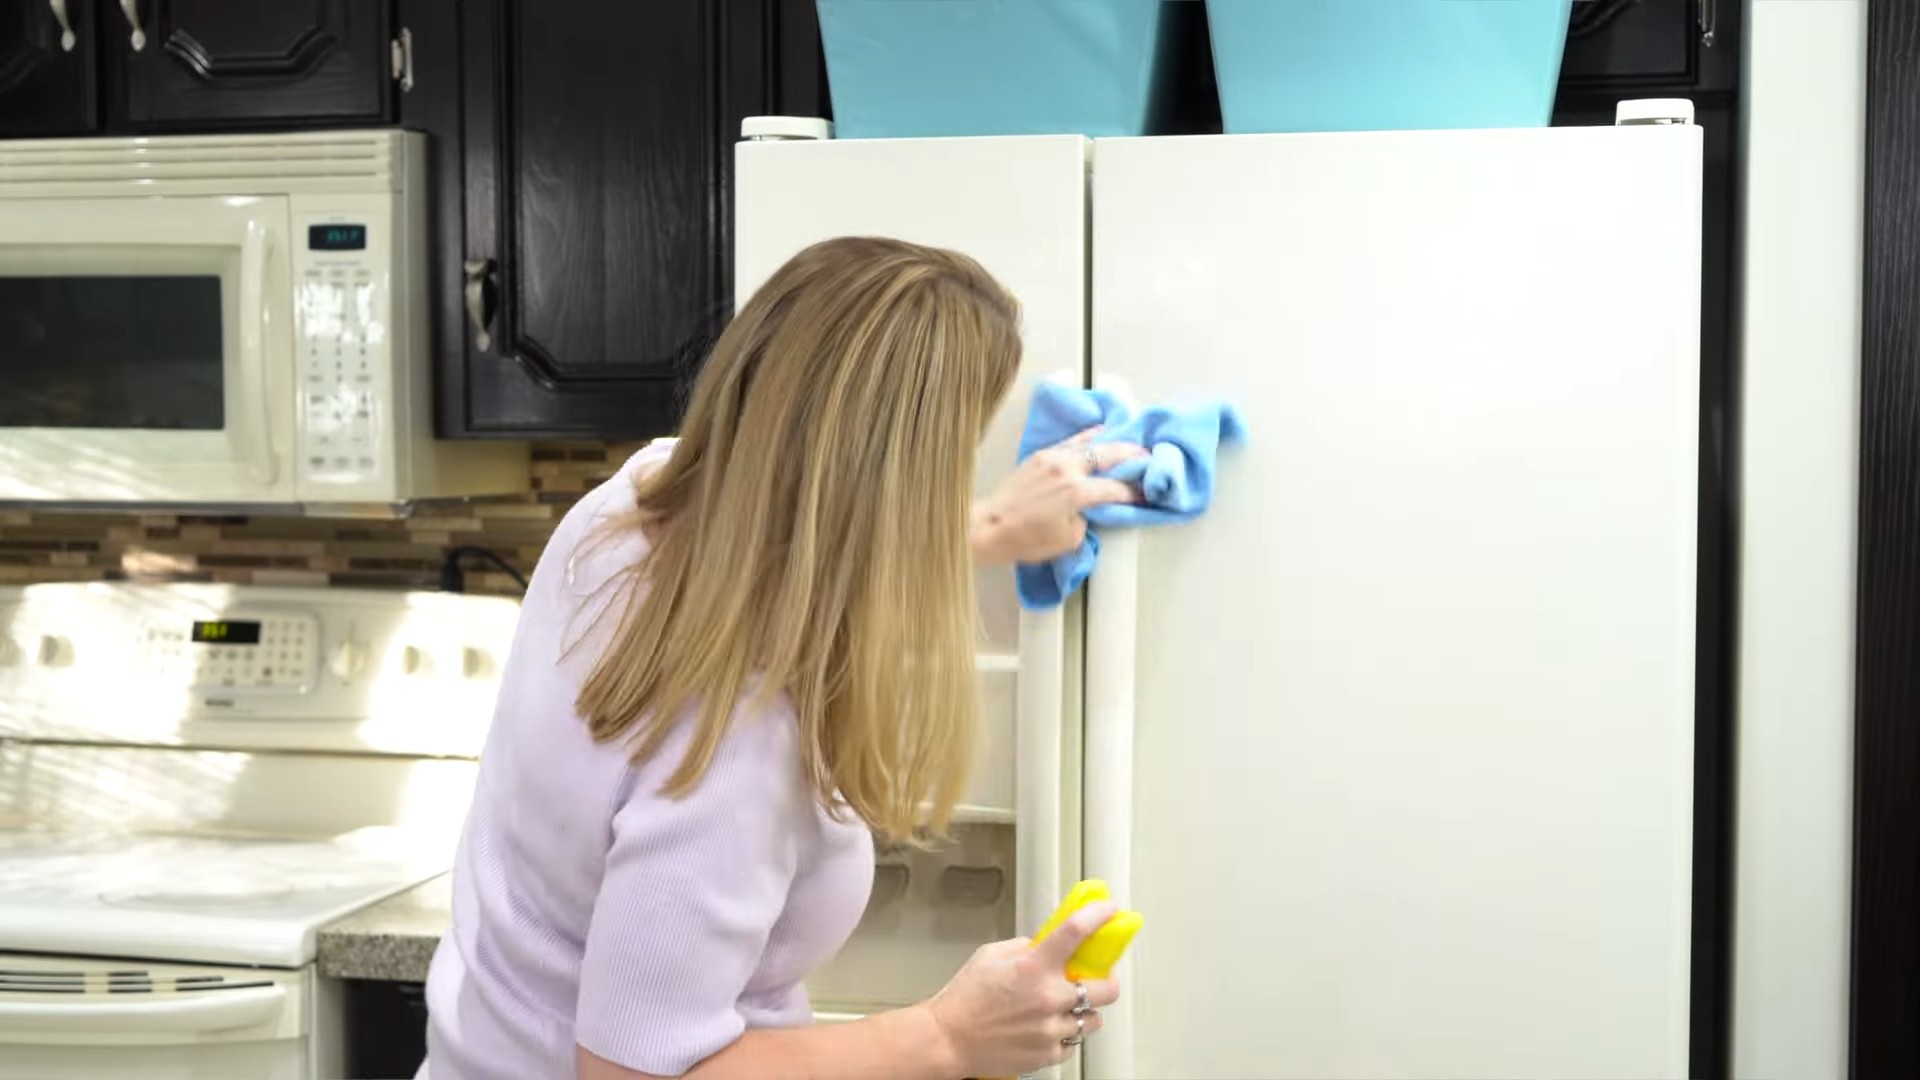
What kind of cloth should I use to apply the polish?
A soft, lint-free cloth is ideal for applying and buffing the polish. Microfiber cloths are a great option, as they’re gentle on the furniture and effectively remove dust and dirt. Avoid using abrasive cloths or paper towels, as they can scratch the finish. You can also use an old t-shirt or flannel cloth, as long as it’s clean and free of lint.
The polish seems oily after I apply it. What am I doing wrong?
If the polish seems oily after application, you’re likely using too much. A little goes a long way! Apply a very thin layer of polish to the cloth and then gently rub it onto the furniture. Be sure to buff the surface thoroughly with a clean, dry cloth to remove any excess oil. You can also try reducing the amount of oil in the recipe slightly.
Is this polish safe for children and pets?
While the ingredients in this DIY furniture polish are generally considered safe, it’s always best to keep it out of reach of children and pets. Essential oils can be irritating if ingested, and vinegar can cause stomach upset. If you’re concerned about safety, you can omit the essential oils altogether. As with any cleaning product, it’s important to use it responsibly and follow the instructions carefully.

Leave a Comment