
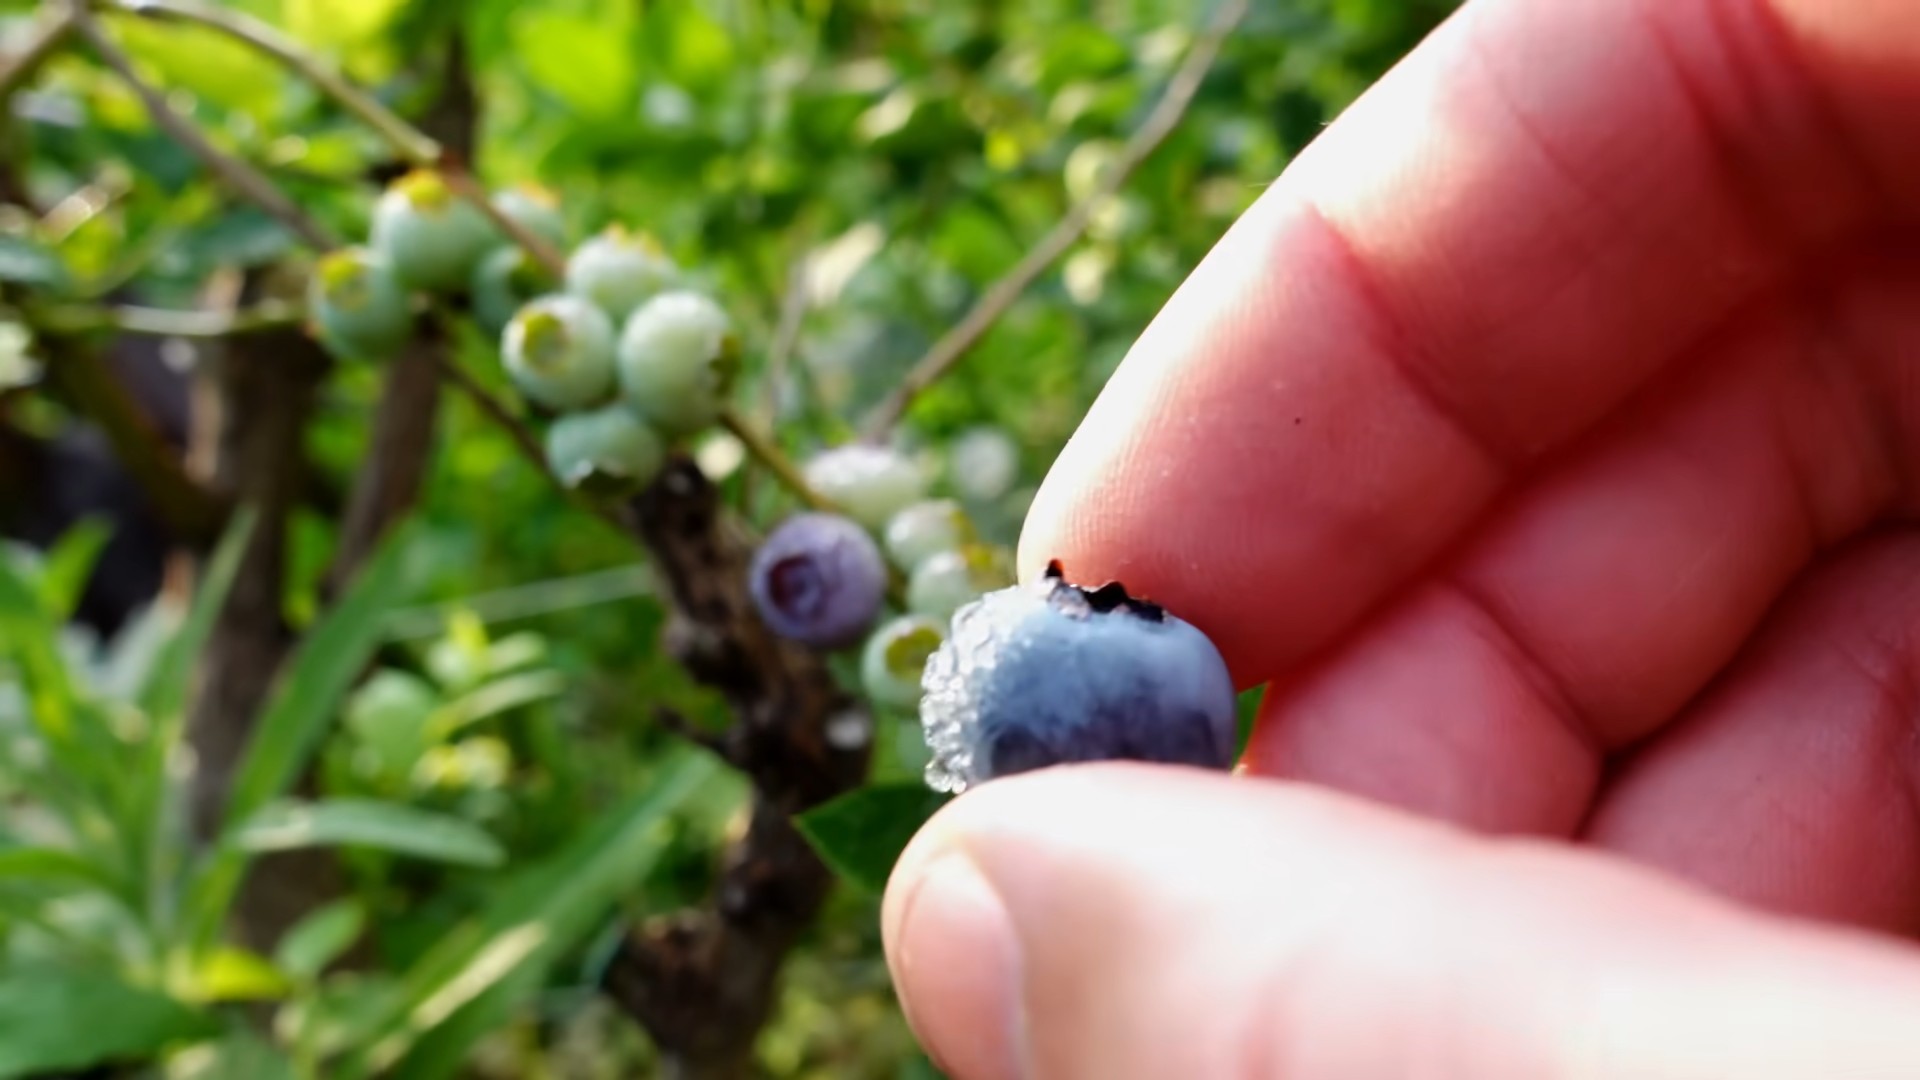
Growing Blueberries at Home can seem like a daunting task, but trust me, with a few simple tricks and a little DIY magic, you can be enjoying homegrown blueberries in no time! Imagine stepping out into your backyard and plucking juicy, sweet blueberries straight from the bush – a taste of summer that you cultivated yourself.
Blueberries have a rich history, not just as a delicious treat, but also as a vital part of indigenous cultures in North America. For centuries, they’ve been used for food, medicine, and even dyes. Now, you can bring that heritage into your own garden!
Why bother with the grocery store when you can have a thriving blueberry patch right outside your door? Growing Blueberries at Home offers a fantastic way to enjoy fresh, organic fruit, save money, and connect with nature. Plus, it’s incredibly rewarding to nurture something from a tiny plant to a bountiful bush. This DIY guide will walk you through everything you need to know, from choosing the right variety to mastering the art of soil acidity. Get ready to roll up your sleeves and transform your backyard into a blueberry paradise!
Growing Onions From Scraps: A Gardener’s Delight!
Hey there, fellow green thumbs! Ever feel like you’re throwing away perfectly good onion scraps? Well, stop right there! I’m going to show you how to regrow onions from those seemingly useless bits and pieces. It’s a fantastic way to save money, reduce waste, and enjoy fresh onions right from your own little garden (or windowsill!).
What You’ll Need
Before we dive in, let’s gather our supplies. This is a pretty low-key project, so you probably have most of this stuff already:
- Onion Scraps: The bottom 1-2 inches of an onion bulb, with the roots still attached. Don’t worry if they look a little sad; we can revive them!
- Potting Soil: A good quality potting mix will give your onions the nutrients they need.
- A Pot or Container: Choose a pot that’s at least 6 inches deep and wide enough to accommodate the number of onion scraps you want to plant. Drainage holes are a must!
- Water: Essential for life, of course!
- Optional: Rooting hormone (can help speed up the process, but not necessary)
Choosing Your Onion Scraps
Not all onion scraps are created equal. Here’s what to look for to maximize your chances of success:
- Roots: The more roots, the better! Look for scraps with a good cluster of roots still attached.
- Firmness: Avoid scraps that are mushy or have a strong, unpleasant odor. A healthy scrap should feel firm to the touch.
- Variety: You can regrow different types of onions (yellow, white, red) from scraps. Just keep in mind that the flavor of the regrown onion might be slightly different from the original.
Planting Your Onion Scraps: The Step-by-Step Guide
Alright, let’s get our hands dirty! Here’s how to plant your onion scraps and give them the best possible start:
- Prepare the Pot: Fill your pot with potting soil, leaving about an inch of space at the top. Gently pat down the soil to remove any large air pockets.
- Plant the Scrap: Make a small hole in the soil, deep enough to bury the onion scrap up to its “shoulder” (where the bulb starts to widen). The roots should be pointing downwards, of course!
- Space Them Out: If you’re planting multiple scraps in the same pot, make sure to space them at least 2-3 inches apart to give them room to grow.
- Water Thoroughly: Water the soil until it’s evenly moist, but not soggy. You want the water to reach the roots and encourage them to grow.
- Find a Sunny Spot: Onions need plenty of sunlight to thrive. Place your pot in a location that receives at least 6 hours of direct sunlight per day. A south-facing window is ideal if you’re growing indoors.
Caring for Your Regrowing Onions
Now that your onion scraps are planted, it’s time to provide them with the care they need to flourish.
Watering
* Keep the soil consistently moist: Check the soil moisture regularly by sticking your finger about an inch deep. If it feels dry, it’s time to water.
* Avoid overwatering: Soggy soil can lead to root rot, which is a death sentence for your onions. Make sure the pot has good drainage and don’t let it sit in standing water.
* Water at the base of the plant: Avoid getting the leaves wet, as this can encourage fungal diseases.
Fertilizing
* Start fertilizing after a few weeks: Once your onion scraps have started to sprout new growth, you can begin fertilizing them with a balanced liquid fertilizer.
* Dilute the fertilizer: Follow the instructions on the fertilizer label, but dilute it to half strength to avoid burning the roots.
* Fertilize every 2-3 weeks: This will provide your onions with the nutrients they need to grow strong and healthy.
Sunlight
* Ensure adequate sunlight: As mentioned earlier, onions need at least 6 hours of direct sunlight per day. If you’re growing indoors and don’t have enough natural light, you can supplement with a grow light.
* Rotate the pot: If you’re growing indoors, rotate the pot regularly to ensure that all sides of the plant receive equal sunlight. This will prevent the plant from leaning towards the light source.
Pest Control
* Keep an eye out for pests: Onions can be susceptible to pests like aphids, thrips, and onion maggots.
* Inspect your plants regularly: Check the leaves and stems for any signs of infestation.
* Use organic pest control methods: If you find pests, try using organic pest control methods like insecticidal soap or neem oil.
Harvesting Your Regrown Onions
The exciting part! When can you actually harvest your regrown onions? Well, it depends on what you’re hoping to get.
Harvesting Green Onions (Scallions)
* Ready in a few weeks: If you’re just looking for green onions (scallions), you can start harvesting them as soon as the green shoots are a few inches tall.
* Cut the leaves: Simply snip off the green leaves with scissors, leaving about an inch of the base intact. The plant will continue to produce new leaves.
* Harvest gradually: Harvest only what you need at a time to keep the plant producing.
Harvesting Onion Bulbs
* Takes longer: If you want to grow full-sized onion bulbs, it will take several months.
* Wait for the tops to fall over: The onions are ready to harvest when the green tops start to turn yellow and fall over.
* Gently dig up the bulbs: Use a garden fork to gently loosen the soil around the bulbs and lift them out.
* Cure the onions: After harvesting, cure the onions by laying them out in a dry, well-ventilated place for a week or two. This will help them to develop a papery skin and prevent them from rotting.
Troubleshooting
Sometimes, things don’t go exactly as planned. Here are a few common problems you might encounter and how to fix them:
* Yellowing Leaves: This could be a sign of overwatering, underwatering, or nutrient deficiency. Check the soil moisture and adjust your watering schedule accordingly. If the soil is dry, water more frequently. If it’s soggy, water less frequently. You can also try fertilizing with a balanced liquid fertilizer.
* Slow Growth: This could be due to insufficient sunlight, poor soil, or lack of nutrients. Make sure your onions are getting enough sunlight and that the soil is well-draining and fertile. You can also try fertilizing with a balanced liquid fertilizer.
* Root Rot: This is caused by overwatering and can be fatal to your onions. If you suspect root rot, stop watering immediately and allow the soil to dry out completely. You may also need to repot the onion in fresh, well-draining soil.
* Pests: As mentioned earlier, onions can be susceptible to pests. Inspect your plants regularly and use organic pest control methods if you find any pests.
Tips for Success
Here are a few extra tips to help you succeed in regrowing onions from scraps:
* Use fresh onion scraps: The fresher the scrap, the better the chances of success.
* Don’t be afraid to experiment: Try regrowing different types of onions and see which ones do best in your area.
* Be patient: Regrowing onions from scraps takes time and effort. Don’t get discouraged if you don’t see results immediately.
* Have fun! Gardening should be enjoyable. Relax, experiment, and learn from your mistakes.
Beyond the Basics: Advanced Techniques
Want to take your onion-regrowing game to the next level? Here are a few advanced techniques to try:
* Hydroponics: Grow your onion scraps in a hydroponic system for faster growth and higher yields.
* Composting: Use your onion scraps to make compost for your garden.
* Seed Saving: If you allow your onions to flower, you can collect the seeds and plant them to grow new onions.
Why Regrow Onions?
Besides being a fun and rewarding project, regrowing onions from scraps offers several benefits:
* Saves Money: Reduces your grocery bill by providing you with free onions.
* Reduces Waste: Prevents food waste by giving new life to onion scraps.
* Sustainable Gardening
Conclusion
So, there you have it! Growing blueberries at home isn’t just a whimsical dream; it’s an achievable reality with a little know-how and dedication. We’ve walked you through the essential steps, from selecting the right varieties and preparing the perfect acidic soil to providing consistent watering and protecting your precious plants from pests and diseases.
Why is this DIY trick a must-try? Because the reward is immeasurable. Imagine stepping into your backyard and plucking plump, juicy, sun-ripened blueberries straight from the bush. The taste is far superior to anything you can find in a grocery store – a burst of sweetness and tartness that embodies the essence of summer. Beyond the flavor, you’ll gain a sense of accomplishment and connection to nature, knowing you nurtured these delicious berries from tiny plants to thriving producers. Plus, you’ll be saving money in the long run, as blueberries can be quite expensive to buy regularly.
But the benefits don’t stop there. Growing your own blueberries allows you to control exactly what goes into your food. You can choose to grow organically, avoiding harmful pesticides and herbicides, ensuring that you and your family are consuming the healthiest possible fruit. It’s a sustainable and environmentally friendly way to enjoy one of nature’s most nutritious gifts.
Looking for variations? Consider experimenting with different blueberry varieties to find your personal favorites. Some popular choices include ‘Bluecrop’ (a reliable and productive mid-season variety), ‘Elliott’ (a late-season variety with excellent flavor), and ‘Sunshine Blue’ (a compact, self-pollinating variety perfect for containers). You can also try companion planting with other acid-loving plants like azaleas and rhododendrons to create a beautiful and thriving garden ecosystem. For those with limited space, growing blueberries in containers is an excellent option. Just be sure to choose a large pot and use an acidic potting mix.
Don’t be intimidated by the perceived difficulty of growing blueberries. With the right preparation and ongoing care, you can successfully cultivate these delicious berries in your own backyard. The key is to understand their specific needs and provide them with the proper environment to thrive.
We wholeheartedly encourage you to give this DIY trick a try. Start small, perhaps with just one or two plants, and learn as you go. The journey of growing your own blueberries is a rewarding one, filled with challenges and triumphs. And the ultimate reward – a bountiful harvest of homegrown blueberries – is well worth the effort.
Once you’ve experienced the joy of growing your own blueberries, we’d love to hear about it! Share your experiences, tips, and photos with us in the comments below. Let’s create a community of blueberry enthusiasts and inspire others to embark on this delicious and rewarding adventure. Let us know what challenges you faced and how you overcame them. Did you try any unique techniques or variations? Your insights could be invaluable to other aspiring blueberry growers. So, get your hands dirty, embrace the challenge, and enjoy the sweet taste of success! Remember, the best blueberries are the ones you grow yourself!
Frequently Asked Questions (FAQ)
What kind of soil is best for growing blueberries?
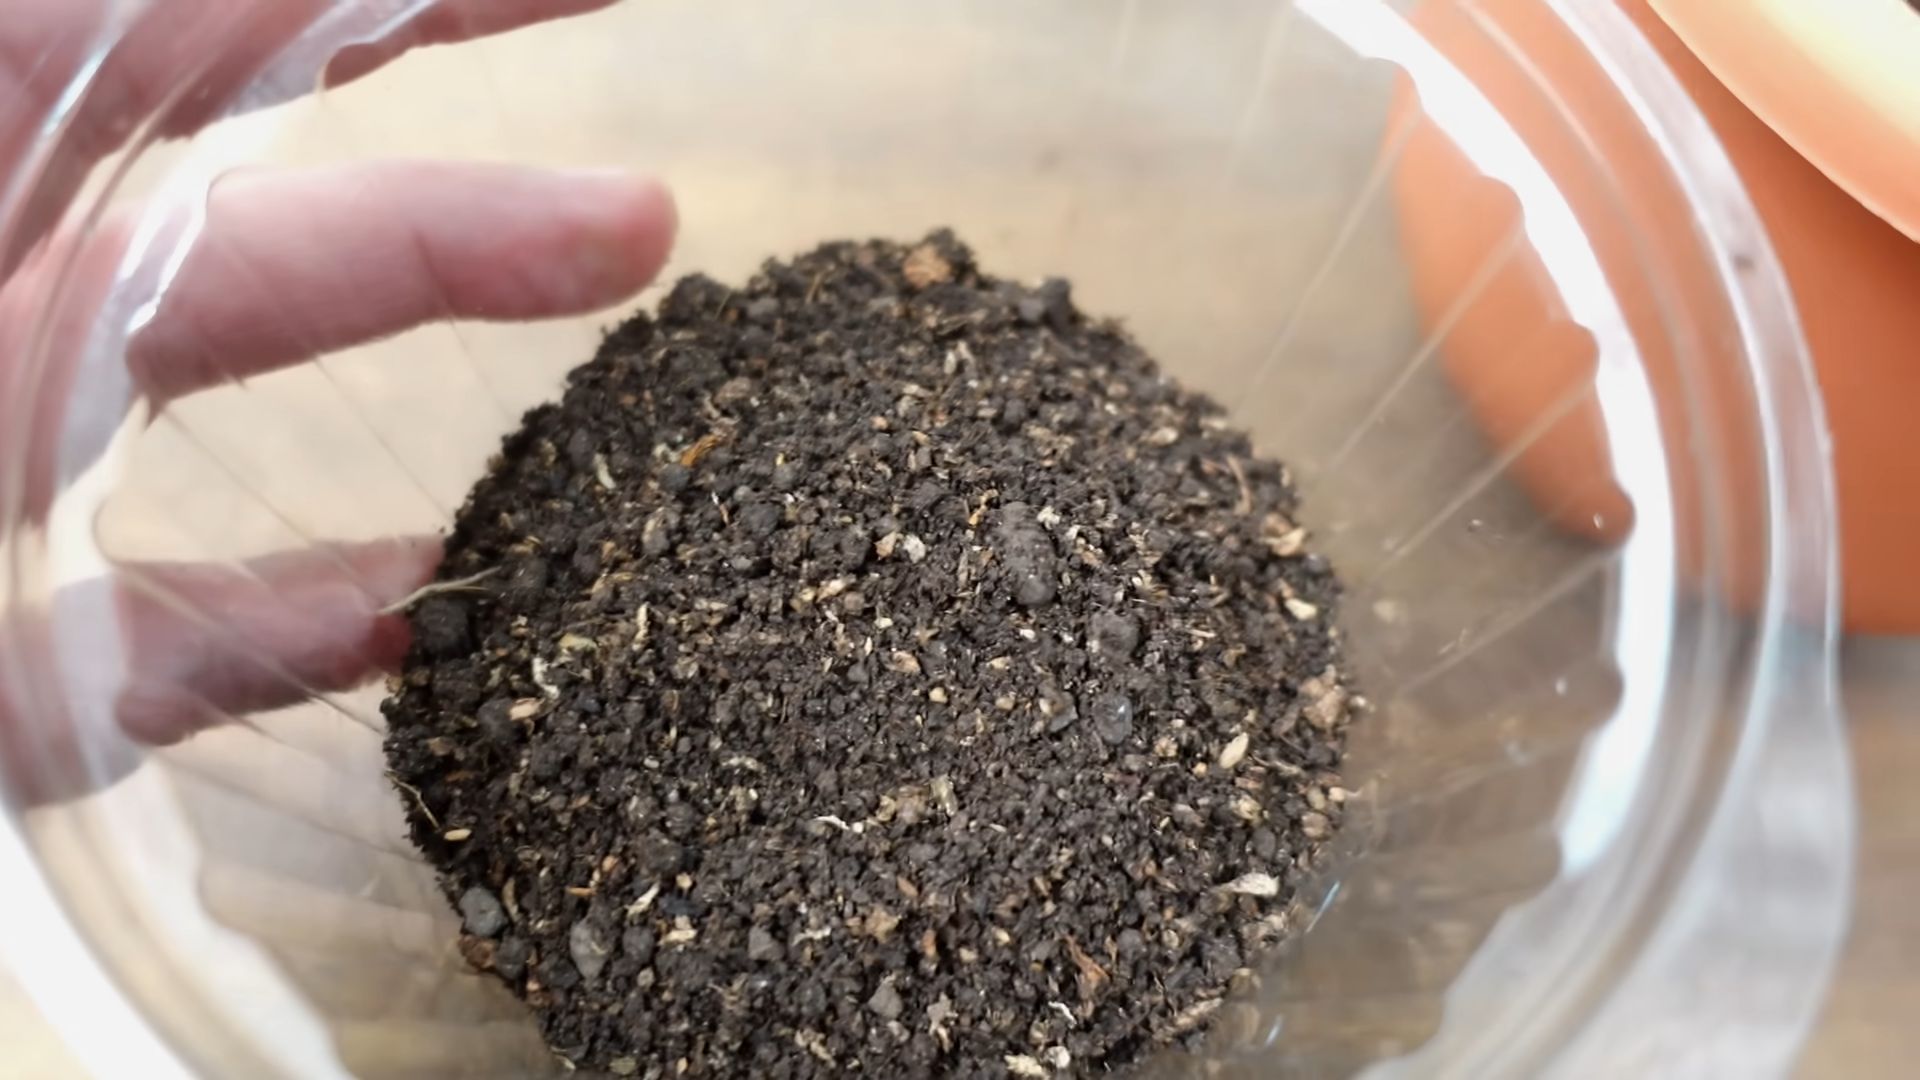
Blueberries are acid-loving plants, meaning they thrive in soil with a pH between 4.5 and 5.5. Most garden soils are not acidic enough, so you’ll need to amend the soil before planting. You can do this by adding sulfur, peat moss, or an acidic soil amendment specifically designed for blueberries. Regularly testing your soil pH is crucial to ensure it remains within the optimal range. You can purchase a soil testing kit at most garden centers or send a soil sample to a local agricultural extension office for professional analysis. Remember to follow the instructions on the soil amendment product carefully to avoid over-acidifying the soil, which can also harm your plants.
How often should I water my blueberry plants?
Blueberries need consistent moisture, especially during the growing season. Water deeply and regularly, aiming to keep the soil consistently moist but not waterlogged. A good rule of thumb is to water when the top inch of soil feels dry to the touch. Mulching around the base of the plants with pine needles, wood chips, or shredded bark can help retain moisture and suppress weeds. During hot, dry periods, you may need to water more frequently. Be mindful of drainage; blueberries don’t like to sit in standing water, which can lead to root rot. Consider using a soaker hose or drip irrigation system to deliver water directly to the roots.
How much sunlight do blueberries need?
Blueberries need at least six hours of direct sunlight per day to produce a good crop of berries. Choose a planting location that receives full sun for most of the day. If you live in a particularly hot climate, some afternoon shade can be beneficial to prevent the plants from overheating. Insufficient sunlight can result in reduced fruit production and smaller, less flavorful berries. Observe the sunlight patterns in your yard throughout the day to determine the best location for your blueberry plants.
When is the best time to plant blueberries?
The best time to plant blueberries is in the early spring or late fall, when the plants are dormant. This gives them time to establish their root systems before the heat of summer or the cold of winter. If you live in a region with mild winters, fall planting is often preferred. When planting, dig a hole that is twice as wide as the root ball and just as deep. Gently loosen the roots before placing the plant in the hole and backfilling with amended soil. Water thoroughly after planting.
What kind of fertilizer should I use for blueberries?
Use a fertilizer specifically formulated for acid-loving plants, such as azalea or rhododendron fertilizer. Apply the fertilizer in the spring, following the instructions on the product label. Avoid over-fertilizing, as this can damage the plants. You can also use organic fertilizers, such as compost or aged manure, but be sure to test the soil pH regularly to ensure it remains within the optimal range. A slow-release fertilizer is often a good choice, as it provides a steady supply of nutrients over a longer period.
How do I protect my blueberries from birds?
Birds love blueberries just as much as we do! To protect your crop, you can cover the plants with netting. Be sure to secure the netting tightly to the ground to prevent birds from getting underneath. You can also use bird repellent devices, such as reflective tape or scarecrows, but these may not be as effective as netting. Regularly inspect your plants for signs of bird damage and take action promptly to protect your harvest.
How do I prune my blueberry plants?
Pruning is essential for maintaining the health and productivity of your blueberry plants. Prune in late winter or early spring, before new growth begins. Remove any dead, damaged, or crossing branches. Also, remove some of the older, less productive canes to encourage new growth. The goal is to create an open, airy structure that allows sunlight to penetrate the center of the plant. Proper pruning will result in larger, more flavorful berries and a longer lifespan for your plants.
How long does it take for blueberry plants to produce fruit?
Most blueberry plants will start producing fruit within one to two years of planting, but it may take three to five years to reach full production. Be patient and continue to provide proper care, and you will be rewarded with a bountiful harvest. The amount of fruit produced will depend on the variety, the age of the plant, and the growing conditions.
Can I grow blueberries in containers?
Yes, you can absolutely grow blueberries in containers! Choose a large pot (at least 15-20 gallons) with good drainage. Use an acidic potting mix specifically designed for blueberries. Water regularly and fertilize as needed. Container-grown blueberries may need to be watered more frequently than those grown in the ground, especially during hot weather. Select a compact, self-pollinating variety for best results.
What are some common pests and diseases that affect blueberries?
Some common pests that affect blueberries include aphids, spider mites, and blueberry maggots. Common diseases include fungal diseases like powdery mildew and root rot. Regularly inspect your plants for signs of pests or diseases and take action promptly. You can use organic pest control methods, such as insecticidal soap or neem oil, to control pests. Ensure good air circulation around the plants to prevent fungal diseases. Proper watering and drainage are essential for preventing root rot.

Leave a Comment