
Growing Brussels Sprouts Containers: Ever dreamt of harvesting your own mini cabbages right from your patio? I know I have! There’s something incredibly satisfying about nurturing a plant from a tiny seedling to a bountiful source of fresh, homegrown food. But let’s be honest, the idea of growing Brussels sprouts can seem a little daunting, especially if you’re short on garden space. That’s where the magic of container gardening comes in!
For centuries, humans have cultivated food in containers, from ancient Egyptians growing herbs in terracotta pots to Renaissance gardeners creating elaborate orangeries. This tradition continues today, offering a practical and beautiful way to connect with nature, even in the most urban environments.
And that’s why I’m so excited to share my favorite DIY tricks and hacks for successfully growing Brussels Sprouts Containers. Whether you’re a seasoned gardener or just starting out, these tips will help you overcome common challenges and enjoy a delicious harvest. Imagine the satisfaction of serving up a plate of perfectly roasted Brussels sprouts, knowing you grew them yourself! Plus, with rising grocery prices and a growing desire for sustainable living, learning to grow your own food is more important than ever. So, grab your gardening gloves, and let’s get started!
Growing Brussels Sprouts in Containers: A Beginner’s Guide
Okay, so you want to grow Brussels sprouts, but you’re short on space? No problem! Container gardening is the answer. I’ve successfully grown these little cabbages in pots for years, and I’m here to share my secrets. It’s easier than you think, and the reward of fresh, homegrown Brussels sprouts is totally worth it.
Choosing the Right Container and Soil
First things first, let’s talk about the home for your future sprouts. This is crucial for success.
* Container Size: Brussels sprouts need room to grow. I recommend a container that’s at least 12 inches in diameter and 12 inches deep. Bigger is generally better, so if you have the space, go for a 15-gallon container or larger. This gives the roots plenty of space to spread out.
* Material: Plastic, terracotta, or even fabric pots will work. Just make sure your chosen container has good drainage holes. Brussels sprouts don’t like soggy feet!
* Soil: Forget garden soil! It’s too heavy and compacts easily in containers. You need a well-draining potting mix. I like to use a mix of compost, peat moss (or coconut coir as a sustainable alternative), and perlite or vermiculite. This combination provides nutrients, retains moisture, and ensures good drainage.
Planting Your Brussels Sprouts
Now for the fun part – getting those little guys in the ground (or, well, in the pot!).
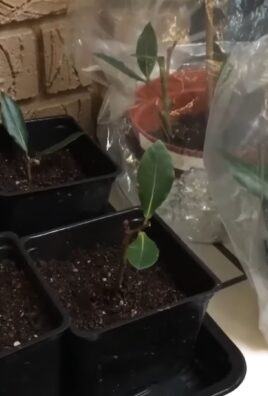
1. Starting from Seed (Optional, but Rewarding): If you’re feeling ambitious, you can start Brussels sprouts from seed indoors about 4-6 weeks before the last expected frost.
* Sow seeds about ½ inch deep in seed-starting trays or small pots filled with seed-starting mix.
* Keep the soil consistently moist but not soggy.
* Provide plenty of light, either from a sunny window or a grow light.
* Once the seedlings have a few sets of true leaves, you can transplant them into larger pots.
2. Buying Transplants (The Easier Route): This is what I usually do. It saves time and effort. Look for healthy-looking transplants at your local garden center. Choose plants that are about 4-6 inches tall with sturdy stems and green leaves. Avoid plants that are yellowing, wilting, or have signs of pests or diseases.
3. Planting Time: Whether you started from seed or bought transplants, wait until after the last frost to plant your Brussels sprouts outdoors.
* Fill your container with your chosen potting mix, leaving a few inches of space at the top.
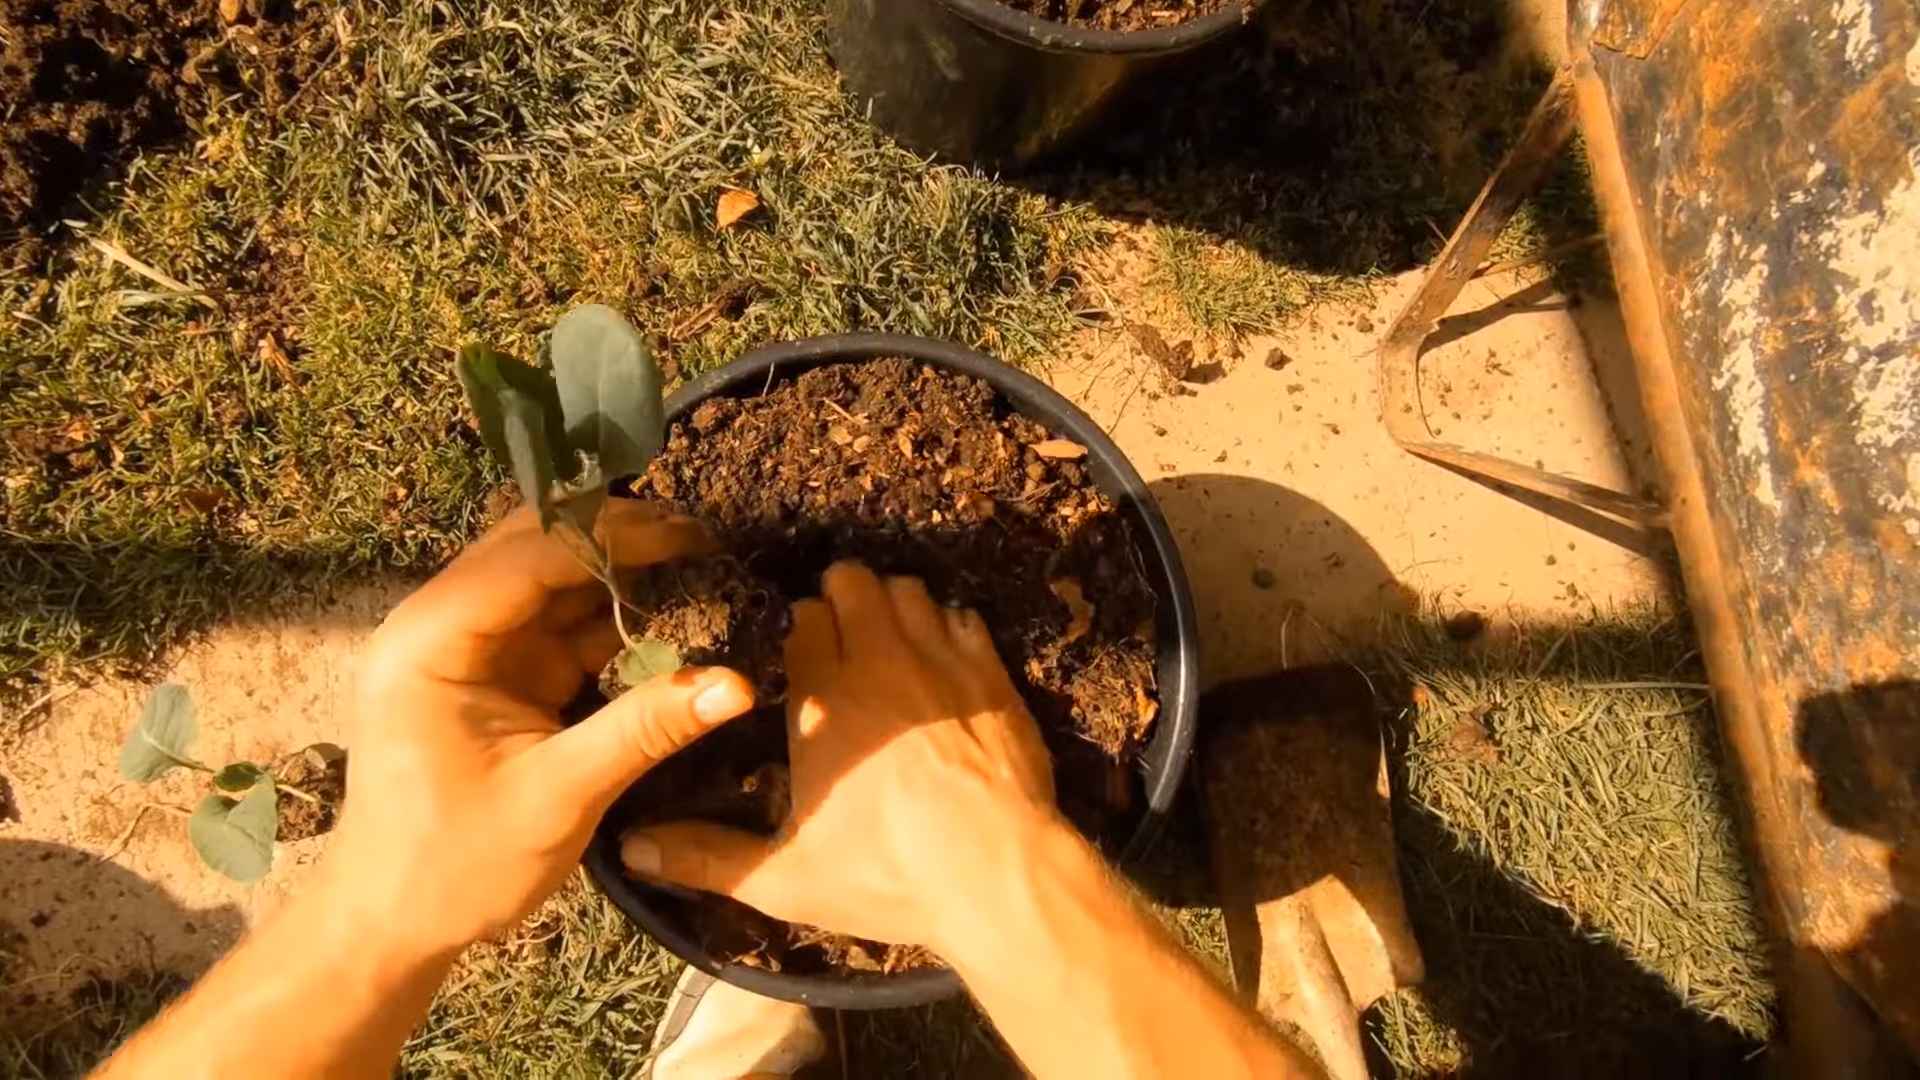
* If you’re using transplants, gently remove them from their nursery pots. Loosen the roots slightly if they’re root-bound.
* Dig a hole in the potting mix that’s large enough to accommodate the root ball.
* Place the transplant in the hole and backfill with potting mix, gently firming the soil around the base of the plant.
* Water thoroughly after planting.
4. Spacing: If you’re planting multiple Brussels sprouts in the same container (and you have a large enough container!), space them about 18-24 inches apart. This gives them enough room to grow and prevents overcrowding.
Caring for Your Brussels Sprouts
Okay, they’re planted! Now comes the ongoing care to ensure a bountiful harvest.
1. Watering: Brussels sprouts need consistent moisture, especially during hot weather. Water deeply whenever the top inch of soil feels dry to the touch. Avoid overwatering, as this can lead to root rot. I usually water every 2-3 days, but it depends on the weather.
2. Fertilizing: Brussels sprouts are heavy feeders, meaning they need plenty of nutrients to grow well.
* At planting time, mix a slow-release fertilizer into the potting mix.
* Throughout the growing season, fertilize every 2-3 weeks with a liquid fertilizer that’s high in nitrogen. I like to use fish emulsion or seaweed extract.
3. Sunlight: Brussels sprouts need at least 6 hours of sunlight per day. Place your container in a sunny location where it will receive plenty of direct sunlight.
4. Support: As your Brussels sprouts grow, they may need some support to prevent them from falling over. You can use stakes or tomato cages to provide support. I usually use bamboo stakes and tie the stems to the stakes with twine.
5. Pest Control: Keep an eye out for pests like aphids, cabbage worms, and flea beetles.
* You can handpick pests off the plants.
* Use insecticidal soap or neem oil to control infestations.
* Cover your plants with row covers to prevent pests from reaching them.
6. Weed Control: Keep your container free of weeds. Weeds compete with your Brussels sprouts for nutrients and water. Hand-pull weeds as soon as you see them.
Harvesting Your Brussels Sprouts
The moment you’ve been waiting for! Harvesting your homegrown goodness.
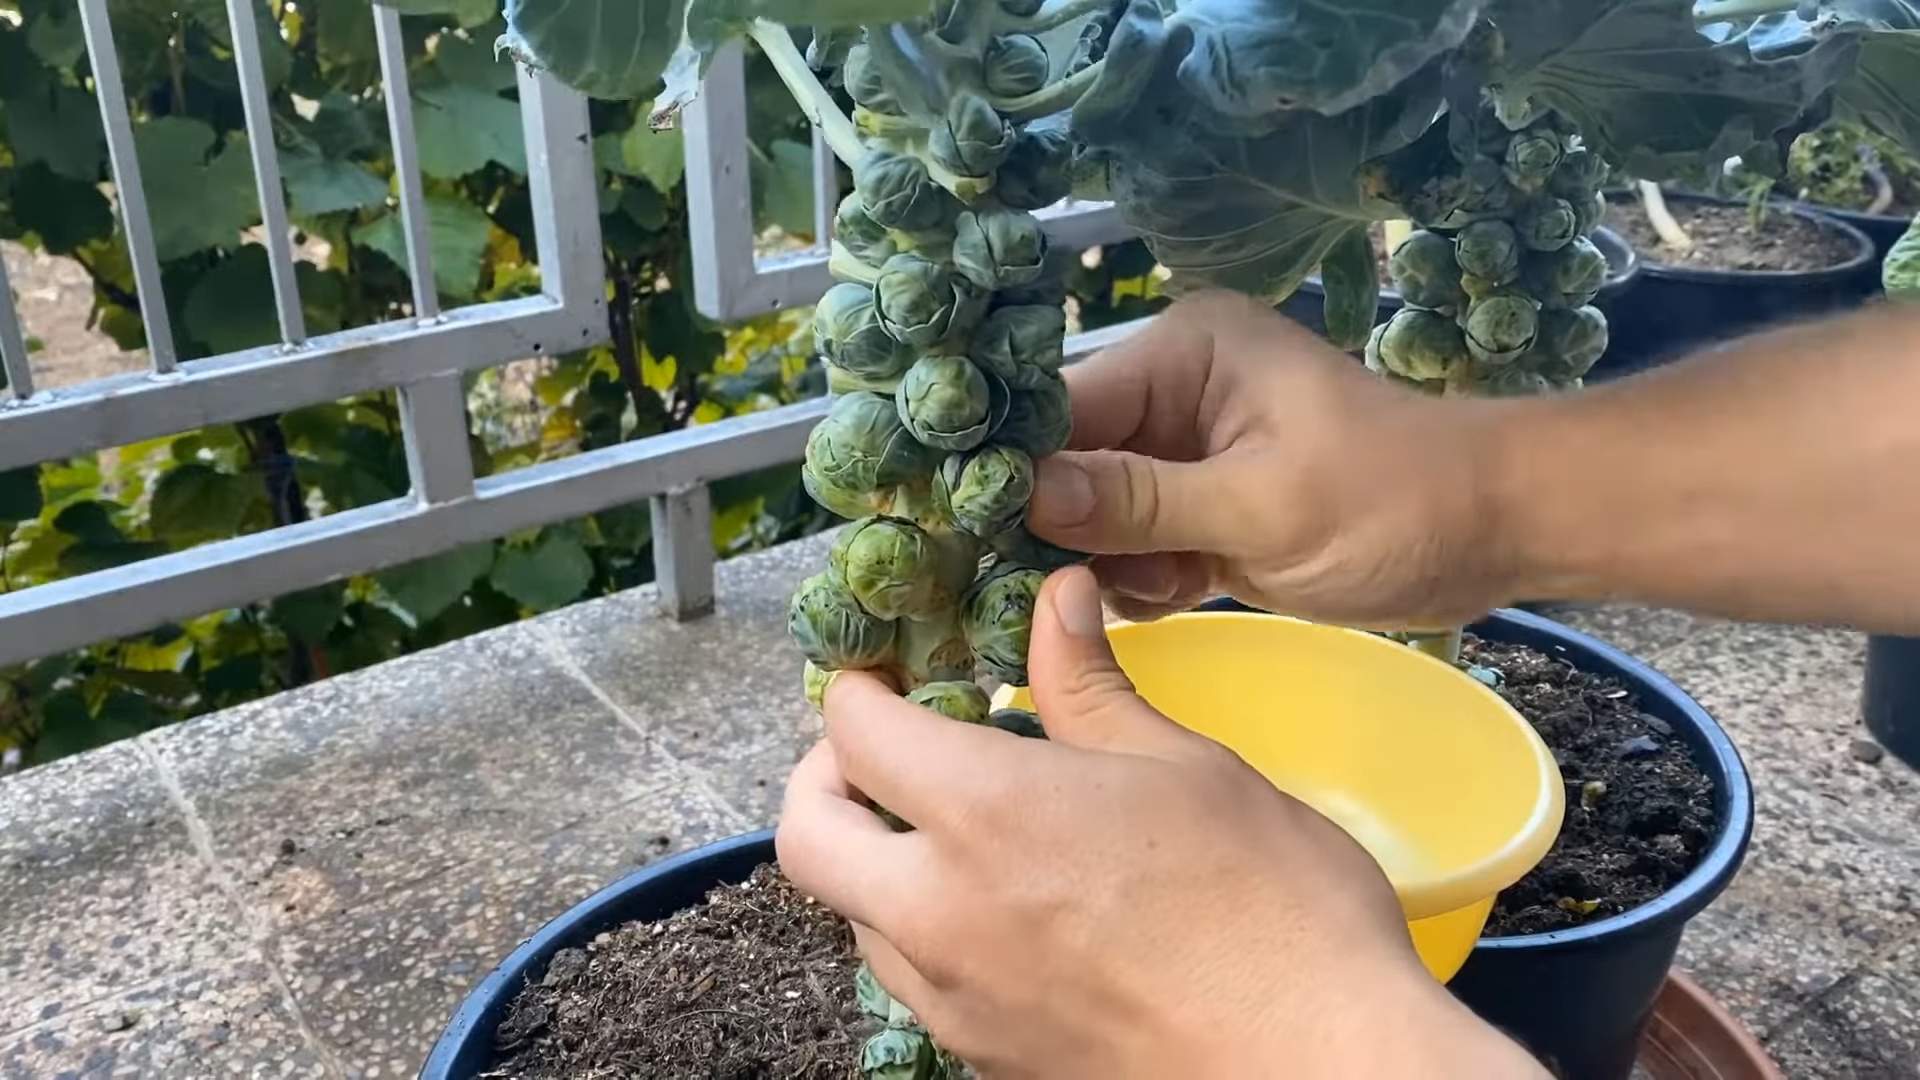
1. Timing: Brussels sprouts are typically ready to harvest about 90-100 days after planting. The sprouts should be firm, green, and about 1-2 inches in diameter.
2. Harvesting Technique: Start harvesting from the bottom of the plant and work your way up. Twist the sprouts off the stem. You can harvest individual sprouts as they mature, or you can harvest the entire stalk at once.
3. Post-Harvest Care: After harvesting, you can store Brussels sprouts in the refrigerator for up to a week.
Troubleshooting
Even with the best care, you might encounter some problems. Here are a few common issues and how to deal with them:
* Yellowing Leaves: This could be a sign of nutrient deficiency, overwatering, or underwatering. Check the soil moisture and fertilize if necessary.
* Sprouts Not Forming: This could be due to lack of sunlight, poor soil, or insufficient fertilization. Make sure your plants are getting enough sunlight and nutrients.
* Pest Infestations: As mentioned earlier, keep an eye out for pests and take action to control them.
* Root Rot: This is caused by overwatering. Make sure your container has good drainage and avoid overwatering.
Choosing the Right Variety
Not all Brussels sprouts are created equal! Some varieties are better suited for container growing than others. Here are a few of my favorites:
* ‘Jade Cross’: This is a classic variety that produces high yields of uniform sprouts.
* ‘Long Island Improved’: This is another popular variety that’s known for its good flavor and disease resistance.
* ‘Redarling’: If you want something a little different, try ‘Redarling’. It produces beautiful red-purple sprouts.
* ‘Divino’: A newer variety that is known for its early maturity and compact growth habit, making it ideal for containers.
Extending the Growing Season
Brussels sprouts are a cool-season crop, meaning they grow best in cooler temperatures. If you live in a warmer climate, you can extend the growing season by planting in the fall for a winter harvest.
* Fall Planting: Start seeds indoors in late summer and transplant them outdoors in early fall.
* Protection from Frost: If you experience frost, cover your plants with row covers or blankets to protect them.
* Overwintering: In mild climates, you can overwinter Brussels sprouts and harvest them in the spring.
Tips for Success
Here are a few extra tips to help you grow the best Brussels sprouts possible:
* Rotate Your Crops: Don’t plant Brussels sprouts in the same container year after year. This can deplete the soil of nutrients and increase the risk of disease.
* Companion Planting: Plant Brussels sprouts with companion plants like marigolds, nasturtiums, and rosemary. These plants can help repel pests and attract beneficial insects.
* Pinch Out the Top: About a month before you want to harvest, pinch out the top of the plant. This will encourage the sprouts to mature more quickly.
* Be Patient: Brussels sprouts take time to grow. Don’t get discouraged if you don’t see results right away. Just keep watering, fertilizing, and protecting your plants, and you’ll be rewarded with a delicious harvest.
Enjoying Your Harvest
Finally, the best part! You’ve grown your own Brussels sprouts. Now what?
* Roasting: Roasting Brussels sprouts is a classic way to prepare them. Toss them with olive oil, salt, and pepper, and roast them in a hot oven until they’re tender and slightly browned.
* Shredding: Shredded Brussels sprouts are a great addition to salads and slaws.
* Sautéing: Sauté Brussels sprouts with garlic, onions, and other vegetables for a quick and easy side
Conclusion
So, there you have it! Growing Brussels sprouts in containers isn’t just a possibility; it’s a rewarding and surprisingly accessible way to enjoy fresh, homegrown vegetables, even if you’re short on space. We’ve walked through the entire process, from selecting the right container and soil to nurturing your plants and harvesting those delicious little sprouts.
But why is this DIY trick a must-try? It boils down to control, convenience, and the sheer satisfaction of cultivating your own food. Container gardening allows you to precisely manage the growing environment, protecting your Brussels sprouts from soil-borne diseases and pests that might plague them in a traditional garden. It also offers unparalleled convenience – you can move your containers to chase the sun, shelter them from harsh weather, or simply keep them close at hand for easy monitoring and harvesting.
Beyond the practical benefits, there’s an undeniable joy in watching your Brussels sprouts thrive, knowing that you played an active role in their growth. The taste of homegrown vegetables is simply unmatched, and the sense of accomplishment you’ll feel when you harvest your first batch of Brussels sprouts will be truly gratifying.
Ready to take your container gardening to the next level? Consider these variations and suggestions:
* Experiment with different varieties: While we’ve focused on general guidelines, different Brussels sprout varieties may have slightly different needs. Research specific varieties that are known to thrive in containers, such as ‘Redarling’ or ‘Long Island Improved.’
* Companion planting: Enhance your container garden by planting companion plants alongside your Brussels sprouts. Marigolds can deter pests, while herbs like rosemary and thyme can improve the flavor of your sprouts.
* Succession planting: Extend your harvest season by planting Brussels sprouts in stages. Start a new batch of seeds every few weeks to ensure a continuous supply of fresh sprouts.
* Fertilizer adjustments: Monitor your plants closely and adjust your fertilizer regimen as needed. If your Brussels sprouts are showing signs of nutrient deficiency, consider using a balanced liquid fertilizer or adding compost tea to your watering routine.
* Vertical gardening: If you’re truly limited on space, explore vertical gardening options. You can train your Brussels sprouts to grow up a trellis or use stacked planters to maximize your growing area.
Don’t be intimidated by the prospect of growing Brussels sprouts in containers. With a little planning and effort, you can enjoy a bountiful harvest of these nutritious and delicious vegetables. We encourage you to give this DIY trick a try and experience the rewards of homegrown produce firsthand.
And most importantly, we want to hear about your experiences! Share your tips, successes, and challenges in the comments below. Let’s create a community of container gardening enthusiasts and learn from each other. What variety did you choose? What challenges did you face, and how did you overcome them? Your insights could be invaluable to other readers who are just starting out. So, get your hands dirty, embrace the process, and let’s grow some amazing Brussels sprouts together! Remember, successful **growing Brussels sprouts containers** is within your reach!
Frequently Asked Questions (FAQ)
1. What size container is best for growing Brussels sprouts?
The ideal container size for growing Brussels sprouts is at least 12 inches in diameter and 12 inches deep. However, larger is generally better, especially if you plan to grow multiple plants in the same container. A 5-gallon container is a good starting point, but a 10-gallon container will provide even more room for root development and nutrient uptake. Ensure the container has adequate drainage holes to prevent waterlogging, which can lead to root rot. Remember that Brussels sprouts are heavy feeders, so a larger container also provides more soil volume to support their nutritional needs.
2. What type of soil should I use for growing Brussels sprouts in containers?
Use a well-draining potting mix specifically formulated for containers. Avoid using garden soil, as it can become compacted in containers and restrict root growth. A good potting mix will typically contain a blend of peat moss, perlite, and vermiculite, which provide excellent drainage and aeration. You can also amend your potting mix with compost or other organic matter to improve its fertility and water-holding capacity. Aim for a slightly acidic to neutral pH (around 6.0 to 7.0) for optimal Brussels sprout growth.
3. How often should I water my Brussels sprouts in containers?
Water your Brussels sprouts regularly, especially during hot and dry weather. The frequency of watering will depend on factors such as the size of your container, the type of potting mix you’re using, and the weather conditions. Check the soil moisture regularly by sticking your finger about an inch into the soil. If the soil feels dry to the touch, it’s time to water. Water deeply until water drains out of the drainage holes, ensuring that the entire root ball is thoroughly moistened. Avoid overwatering, as this can lead to root rot.
4. How much sunlight do Brussels sprouts need?
Brussels sprouts require at least 6 hours of direct sunlight per day to thrive. Choose a location for your container garden that receives ample sunlight throughout the day. If you live in a particularly hot climate, you may need to provide some afternoon shade to prevent the plants from overheating. If you’re growing Brussels sprouts indoors, you’ll need to supplement with artificial lighting, such as grow lights, to provide them with the necessary light intensity.
5. What are some common pests and diseases that affect Brussels sprouts, and how can I prevent them?
Common pests that affect Brussels sprouts include aphids, cabbage worms, and flea beetles. You can prevent pest infestations by inspecting your plants regularly and removing any pests you find by hand. You can also use insecticidal soap or neem oil to control pests. Common diseases that affect Brussels sprouts include clubroot and black rot. To prevent these diseases, use disease-resistant varieties, practice crop rotation, and avoid overwatering. Ensure good air circulation around your plants to prevent fungal diseases.
6. When should I harvest my Brussels sprouts?
Brussels sprouts are typically ready to harvest in the fall or early winter, about 90 to 100 days after planting. The sprouts should be firm, green, and about 1 to 2 inches in diameter. Start harvesting from the bottom of the plant upwards, as the lower sprouts will mature first. Twist or cut the sprouts off the stem, leaving the leaves intact. You can continue to harvest sprouts as they mature, or you can harvest the entire plant at once.
7. Can I grow Brussels sprouts in containers indoors?
Yes, you can grow Brussels sprouts in containers indoors, but it requires careful attention to lighting, temperature, and humidity. You’ll need to provide your plants with at least 6 hours of direct sunlight per day, or supplement with grow lights. Maintain a consistent temperature between 60 and 70 degrees Fahrenheit and provide adequate humidity. Indoor growing can be more challenging than outdoor growing, but it’s possible with the right conditions and care.
8. How do I fertilize Brussels sprouts in containers?
Brussels sprouts are heavy feeders and require regular fertilization to thrive. Start fertilizing your plants about two weeks after transplanting them into their containers. Use a balanced liquid fertilizer or a slow-release granular fertilizer, following the instructions on the product label. Fertilize every two to three weeks throughout the growing season. You can also amend your soil with compost or other organic matter to provide additional nutrients. Avoid over-fertilizing, as this can lead to excessive foliage growth and reduced sprout production.
Leave a Comment