
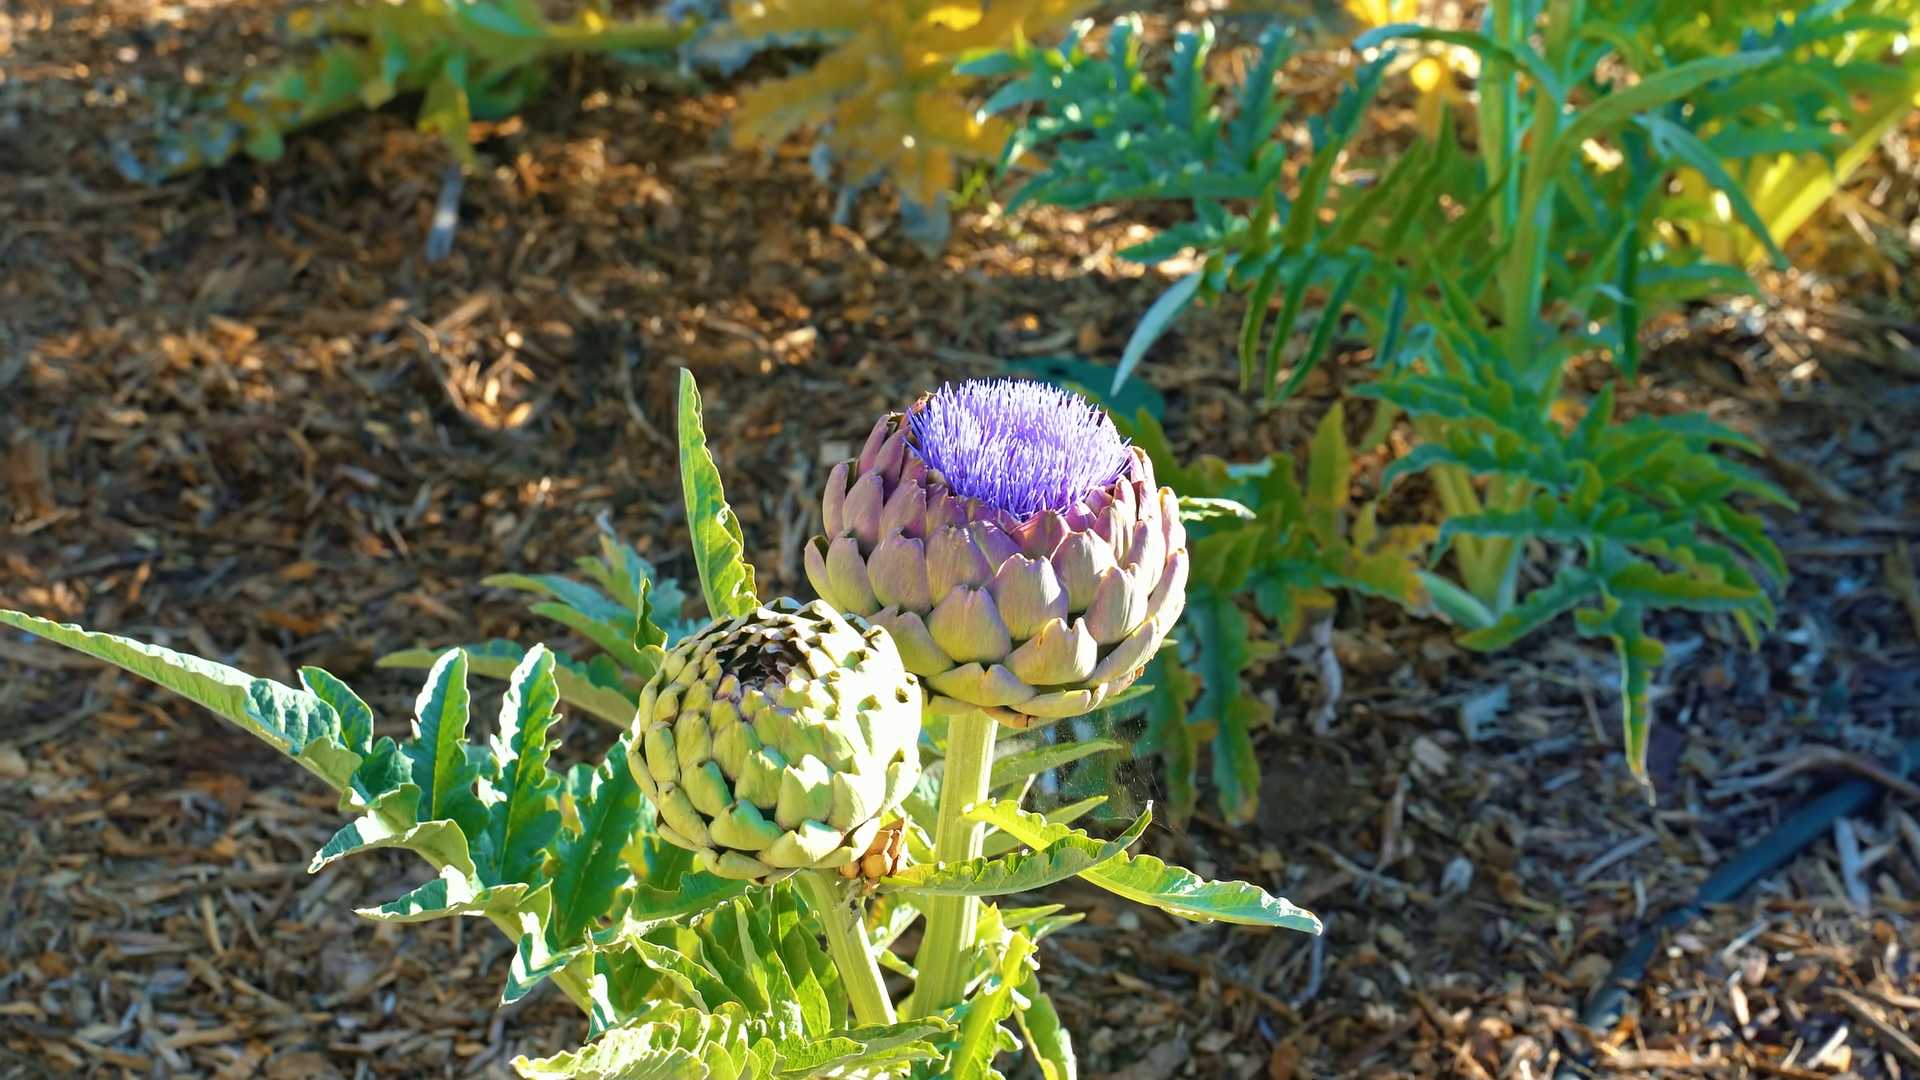
Grow artichokes at home? Absolutely! Imagine stepping into your backyard and harvesting your own spiky treasures, ready to be steamed, grilled, or transformed into a delectable dip. It might sound intimidating, but I’m here to tell you that cultivating these architectural beauties is more achievable than you think, even if you’re a beginner gardener.
Artichokes, with their thistle-like appearance, have a rich history dating back to ancient times. The Romans considered them a delicacy, and they’ve been prized in Mediterranean cuisine for centuries. Beyond their culinary appeal, artichokes are packed with nutrients and offer a unique ornamental value to your garden.
But why should you bother to grow artichokes at home? Well, for starters, homegrown artichokes taste infinitely better than anything you’ll find at the grocery store. Plus, you’ll have the satisfaction of knowing exactly where your food comes from and how it was grown. In this DIY guide, I’ll share my favorite tips and tricks for successfully growing artichokes, from selecting the right variety to protecting them from pests. Get ready to embark on a rewarding gardening adventure and enjoy the fruits (or rather, the buds) of your labor!
DIY Home Cleaning Hacks: Sparkling Clean on a Budget!
Okay, let’s be honest, cleaning isn’t exactly anyone’s favorite pastime. But a clean home is a happy home, right? And it doesn’t have to break the bank or involve harsh chemicals. I’m going to share some of my favorite DIY cleaning hacks that will leave your place sparkling and smelling fresh, all while saving you money and being kinder to the environment.
Hack 1: The Magic of Baking Soda and Vinegar
This dynamic duo is a powerhouse for cleaning! Baking soda is a mild abrasive and deodorizer, while vinegar is a natural disinfectant and descaler. Together, they create a fizzing action that helps loosen grime and dirt.
Cleaning a Clogged Drain
A clogged drain is a common household problem. Before you reach for those harsh chemical drain cleaners, try this natural solution.
1. Pour Baking Soda Down the Drain: Start by pouring about 1/2 cup of baking soda down the clogged drain. Try to get as much of it down the drain as possible.
2. Add Vinegar: Next, slowly pour 1 cup of white vinegar down the drain. You’ll hear a fizzing sound – that’s the magic happening!
3. Let it Fizz: Let the mixture fizz and bubble for about 30 minutes. This allows the baking soda and vinegar to break down the clog.
4. Flush with Hot Water: After 30 minutes, flush the drain with a pot of boiling water. Be careful when handling boiling water! This will help clear away any remaining debris.
5. Repeat if Necessary: If the drain is still clogged, repeat the process. For stubborn clogs, you might need to repeat it a couple of times.
Cleaning a Grimy Oven
Oven cleaning is the worst, I know! But this baking soda paste makes it much easier.
1. Remove Oven Racks: Take out the oven racks and set them aside. You can soak them in hot, soapy water while you’re cleaning the oven.
2. Make a Baking Soda Paste: In a bowl, mix 1/2 cup of baking soda with enough water to form a thick paste. It should be spreadable but not too runny.
3. Apply the Paste: Spread the baking soda paste all over the inside of your oven, avoiding the heating elements. Pay special attention to areas with baked-on grease and grime.
4. Let it Sit Overnight: This is the key! Let the paste sit overnight (or for at least 12 hours). This gives the baking soda time to loosen the grime.
5. Scrub and Wipe: The next day, use a damp sponge or cloth to scrub away the baking soda paste. It should come off fairly easily, taking the grime with it. For stubborn spots, use a plastic scraper.
6. Rinse Thoroughly: Rinse the oven thoroughly with clean water to remove any remaining baking soda residue.
7. Replace Oven Racks: Once the oven is dry, replace the oven racks.
Hack 2: Lemon Power for a Fresh Scent and Clean Shine
Lemons are not just for lemonade! Their acidity makes them a fantastic natural cleaner and deodorizer. Plus, they leave a fresh, citrusy scent.
Microwave Cleaning Made Easy
Microwaves can get pretty gross with splatters and spills. This lemon trick makes cleaning them a breeze.
1. Slice a Lemon: Slice a lemon in half.
2. Place in a Bowl of Water: Place the lemon halves in a microwave-safe bowl filled with about 1 cup of water.
3. Microwave for a Few Minutes: Microwave the bowl on high for 3-5 minutes, or until the water is boiling and the microwave is steamy.
4. Let it Sit: Leave the microwave door closed for another 5-10 minutes. The steam will loosen the grime.
5. Wipe Clean: Carefully remove the bowl (it will be hot!) and wipe down the inside of the microwave with a damp cloth or sponge. The grime should wipe away easily.
Shining Stainless Steel
Lemon juice can also be used to polish stainless steel appliances.
1. Apply Lemon Juice: Dip a soft cloth into lemon juice.
2. Wipe Down Stainless Steel: Wipe down your stainless steel appliances with the lemon juice, following the grain of the metal.
3. Rinse and Dry: Rinse the appliances with clean water and dry them with a clean, soft cloth. This will leave them shiny and streak-free.
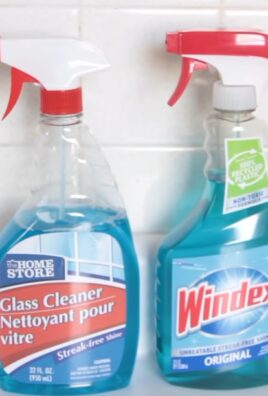
Hack 3: White Vinegar: Your All-Purpose Cleaning Solution
White vinegar is a true cleaning workhorse. It’s a natural disinfectant, deodorizer, and descaler. You can use it for so many things!
Cleaning Showerheads
Hard water can cause mineral buildup on showerheads, reducing water pressure. Vinegar can dissolve this buildup.
1. Fill a Plastic Bag with Vinegar: Fill a plastic bag with white vinegar.
2. Secure the Bag to the Showerhead: Secure the bag around the showerhead with a rubber band or twist tie, ensuring that the showerhead is submerged in the vinegar.
3. Soak Overnight: Let the showerhead soak in the vinegar overnight.
4. Remove and Rinse: Remove the bag and rinse the showerhead thoroughly with water. You can use an old toothbrush to scrub away any remaining mineral deposits.
Cleaning Coffee Makers
Coffee makers can also accumulate mineral buildup over time, affecting the taste of your coffee. Vinegar can help descale them.
1. Fill the Water Reservoir with Vinegar: Fill the water reservoir of your coffee maker with equal parts white vinegar and water.
2. Run a Brewing Cycle: Run a full brewing cycle with the vinegar solution.
3. Run Several Cycles with Water: After the vinegar cycle, run several cycles with fresh water to rinse away any remaining vinegar.
Hack 4: Essential Oils for a Natural Scent Boost
While not strictly cleaners, essential oils can add a lovely, natural scent to your cleaning solutions. Plus, some essential oils have antibacterial and antifungal properties.
DIY All-Purpose Cleaner
This is my go-to all-purpose cleaner. It’s effective and smells amazing!
1. Combine Ingredients: In a spray bottle, combine 1 cup of white vinegar, 1 cup of water, and 10-20 drops of your favorite essential oil (I love lemon, lavender, or tea tree).
2. Shake Well: Shake the bottle well to combine the ingredients.
3. Spray and Wipe: Spray the cleaner onto surfaces and wipe clean with a cloth or sponge.
Freshening Up Laundry
Add a few drops of essential oil to your laundry for a natural scent boost.
1. Add to Washing Machine: Add 5-10 drops of your favorite essential oil to the washing machine during the rinse cycle. Lavender, eucalyptus, and tea tree are great options.
2. Dry as Usual: Dry your clothes as usual.
Hack 5: Cleaning with Borax
Borax, also known as sodium borate, is a naturally occurring mineral with cleaning, deodorizing, and disinfecting properties. It’s a great addition to your DIY cleaning arsenal, but remember to handle it with care and keep it out of reach of children and pets.
Boosting Laundry Detergent
Borax can help boost the cleaning power of your laundry detergent, especially for tough stains.
1. Add Borax to the Washing Machine: Add 1/2 cup of borax to the washing machine along with your regular laundry detergent.
2. Wash as Usual: Wash your clothes as usual.
Cleaning Mold and Mildew
Borax is effective at killing mold and mildew.
1. Make a Borax Solution: Mix 1 cup of borax with 1 gallon of water.
2. Apply to Moldy Surfaces: Apply the borax solution to the moldy surfaces with a sponge or cloth.
3. Let it Sit: Let the solution sit for a few minutes.
4. Scrub and Rinse: Scrub the surfaces with a brush and rinse with water.
Important Safety Tips
* Always test cleaning solutions in an inconspicuous area first to make sure they don’t damage the surface.
* Never mix bleach with vinegar or ammonia, as this can create toxic fumes.
* Keep cleaning products out of reach of children and pets.
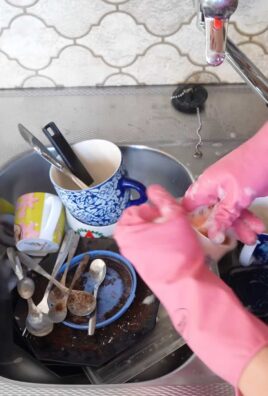
* Wear gloves when cleaning to protect your hands.
* Ventilate the area when cleaning.
These are just a few of my favorite DIY cleaning hacks. With a little creativity and some common household ingredients, you can keep your home sparkling clean without spending a fortune or using harsh chemicals. Happy cleaning!
Conclusion
So, there you have it! Growing artichokes at home, while it might seem daunting at first, is an incredibly rewarding experience. It’s a chance to connect with your food on a deeper level, to nurture something from a tiny seed (or transplant) into a magnificent, edible thistle. Forget those expensive, sometimes lackluster artichokes at the grocery store. Imagine plucking your own, fresh from the garden, knowing exactly where they came from and how they were grown. That’s the power of this DIY project.
But why is this a must-try? Beyond the satisfaction of homegrown produce, growing your own artichokes offers unparalleled flavor. Freshly harvested artichokes have a sweetness and tenderness that you simply can’t find in store-bought varieties that have been shipped and stored. Plus, you get to enjoy the entire plant! While the buds are the main attraction, the stems are also delicious when peeled and cooked, and the leaves can be used to make a flavorful tea.
Don’t be afraid to experiment! There are several artichoke varieties to choose from, each with its own unique characteristics. ‘Green Globe’ is a classic choice, known for its large, round buds. ‘Violetta’ offers a beautiful purple hue and a slightly sweeter flavor. ‘Imperial Star’ is a good option for cooler climates, as it matures more quickly. Consider your local climate and personal preferences when selecting your variety.
And the fun doesn’t stop there. You can also explore different growing methods. While we’ve focused on traditional garden planting, artichokes can also thrive in large containers, making them accessible even to those with limited space. Just be sure to choose a pot that’s at least 24 inches in diameter to accommodate their extensive root system.
Furthermore, consider companion planting to enhance your artichoke’s growth and deter pests. Planting herbs like rosemary, thyme, and sage nearby can help repel common artichoke pests like aphids and snails. Marigolds are also a great addition, as they attract beneficial insects that prey on these pests.
Ultimately, growing artichokes at home is more than just a gardening project; it’s an investment in your health, your taste buds, and your connection to the natural world. It’s a chance to learn new skills, to challenge yourself, and to reap the rewards of your hard work. So, grab your gardening gloves, prepare your soil, and get ready to embark on this exciting adventure.
We’re confident that you’ll find the experience incredibly fulfilling. And once you’ve harvested your first crop of homegrown artichokes, we encourage you to share your experiences with us! Tell us about your successes, your challenges, and your favorite ways to prepare these delicious thistles. Let’s build a community of artichoke enthusiasts and inspire others to discover the joys of growing their own food. Happy gardening!
Frequently Asked Questions (FAQ)
What is the best time of year to plant artichokes?
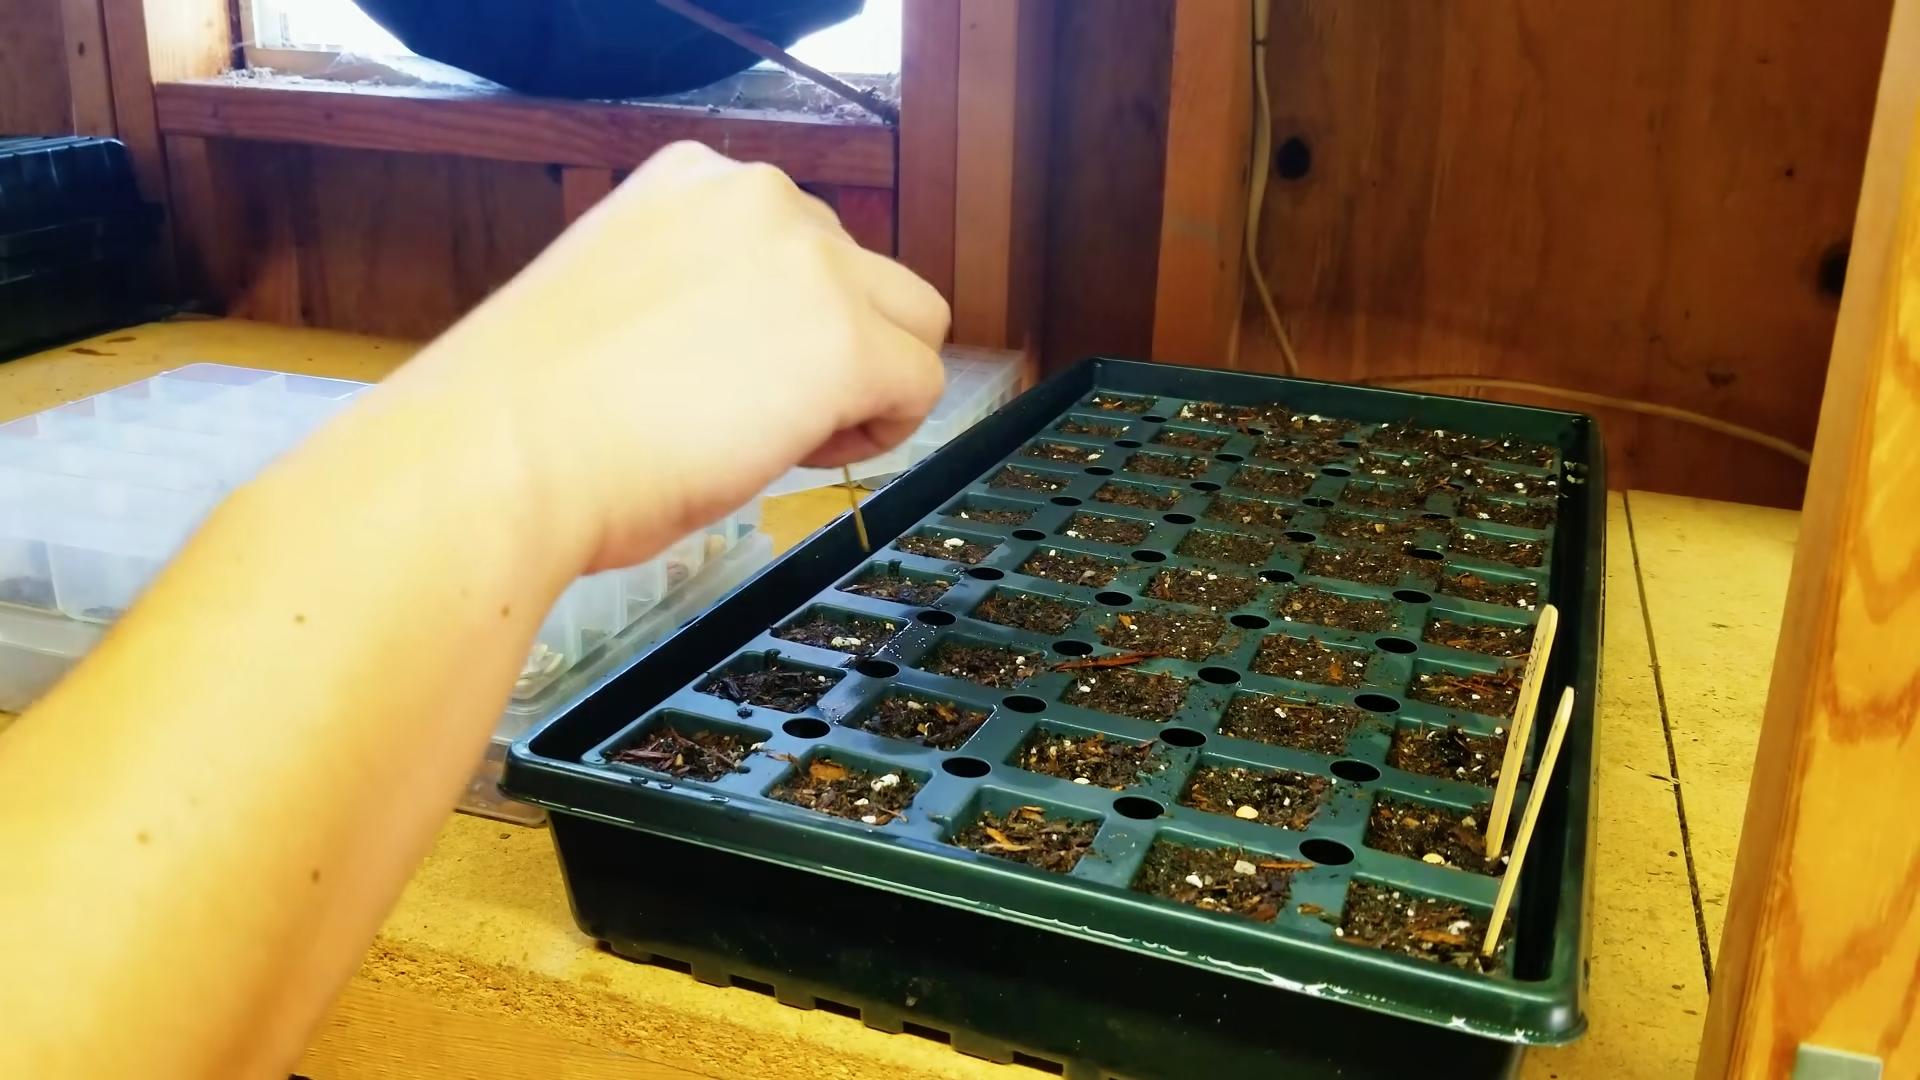
The ideal time to plant artichokes depends on your climate. In regions with mild winters (zones 7-10), you can plant artichokes in the fall for a spring harvest. In colder climates (zones 6 and below), it’s best to start artichokes indoors 8-10 weeks before the last expected frost and transplant them outdoors in the spring after the danger of frost has passed. This gives them a head start and allows them to establish themselves before the heat of summer.
How much space do artichoke plants need?
Artichoke plants are large and require ample space to grow. Each plant needs at least 3-4 feet of space in all directions. This allows for proper air circulation and prevents overcrowding, which can lead to disease. If you’re planting multiple artichokes, space them 4-6 feet apart in rows that are 6-8 feet apart.
What kind of soil do artichokes prefer?
Artichokes thrive in well-drained, fertile soil that is rich in organic matter. The ideal soil pH is between 6.0 and 7.0. Before planting, amend your soil with compost, aged manure, or other organic materials to improve its fertility and drainage. If your soil is heavy clay, consider adding sand or perlite to improve drainage.
How often should I water artichoke plants?
Artichokes need consistent moisture, especially during the growing season. Water deeply and regularly, especially during dry spells. Aim to keep the soil consistently moist but not waterlogged. Avoid overhead watering, as this can promote fungal diseases. A good rule of thumb is to water when the top inch of soil feels dry to the touch.
Do artichokes need fertilizer?
Yes, artichokes are heavy feeders and benefit from regular fertilization. Apply a balanced fertilizer (e.g., 10-10-10) in the spring when new growth appears. You can also side-dress with compost or aged manure throughout the growing season to provide additional nutrients. Avoid over-fertilizing, as this can lead to excessive foliage growth at the expense of bud production.
How do I protect artichokes from pests and diseases?
Artichokes are susceptible to several pests and diseases, including aphids, snails, slugs, and powdery mildew. To prevent pest problems, inspect your plants regularly and remove any pests by hand. You can also use organic pest control methods, such as insecticidal soap or neem oil. To prevent diseases, ensure good air circulation around your plants and avoid overhead watering. If you notice signs of disease, remove affected leaves promptly and treat with a fungicide if necessary.
When are artichokes ready to harvest?
Artichokes are typically ready to harvest in the spring or early summer, depending on your climate and the variety you’re growing. The buds are ready to harvest when they are still tight and firm, but the bracts (the outer leaves) have begun to slightly open. Use a sharp knife to cut the stem about 2-3 inches below the bud. Harvest artichokes before the bracts open fully, as they will become tough and less flavorful.
Can I grow artichokes in containers?
Yes, artichokes can be grown in containers, but you’ll need to choose a large pot (at least 24 inches in diameter) to accommodate their extensive root system. Use a well-draining potting mix and water regularly. Container-grown artichokes may need more frequent fertilization than those grown in the ground.
How do I overwinter artichoke plants in cold climates?
In cold climates, artichokes need to be protected from freezing temperatures. After the first frost, cut back the foliage to about 6 inches above the ground. Mulch heavily around the base of the plant with straw, leaves, or other organic materials to insulate the roots. In very cold regions, you may need to dig up the plants and store them in a cool, dark place over the winter. Replant them in the spring after the danger of frost has passed.
Are artichokes perennial?
In mild climates (zones 7-10), artichokes are perennial and will continue to produce for several years. In colder climates, they are often grown as annuals, as they may not survive the winter. However, with proper protection, you can overwinter artichokes in colder climates and enjoy them for multiple seasons.

Leave a Comment