
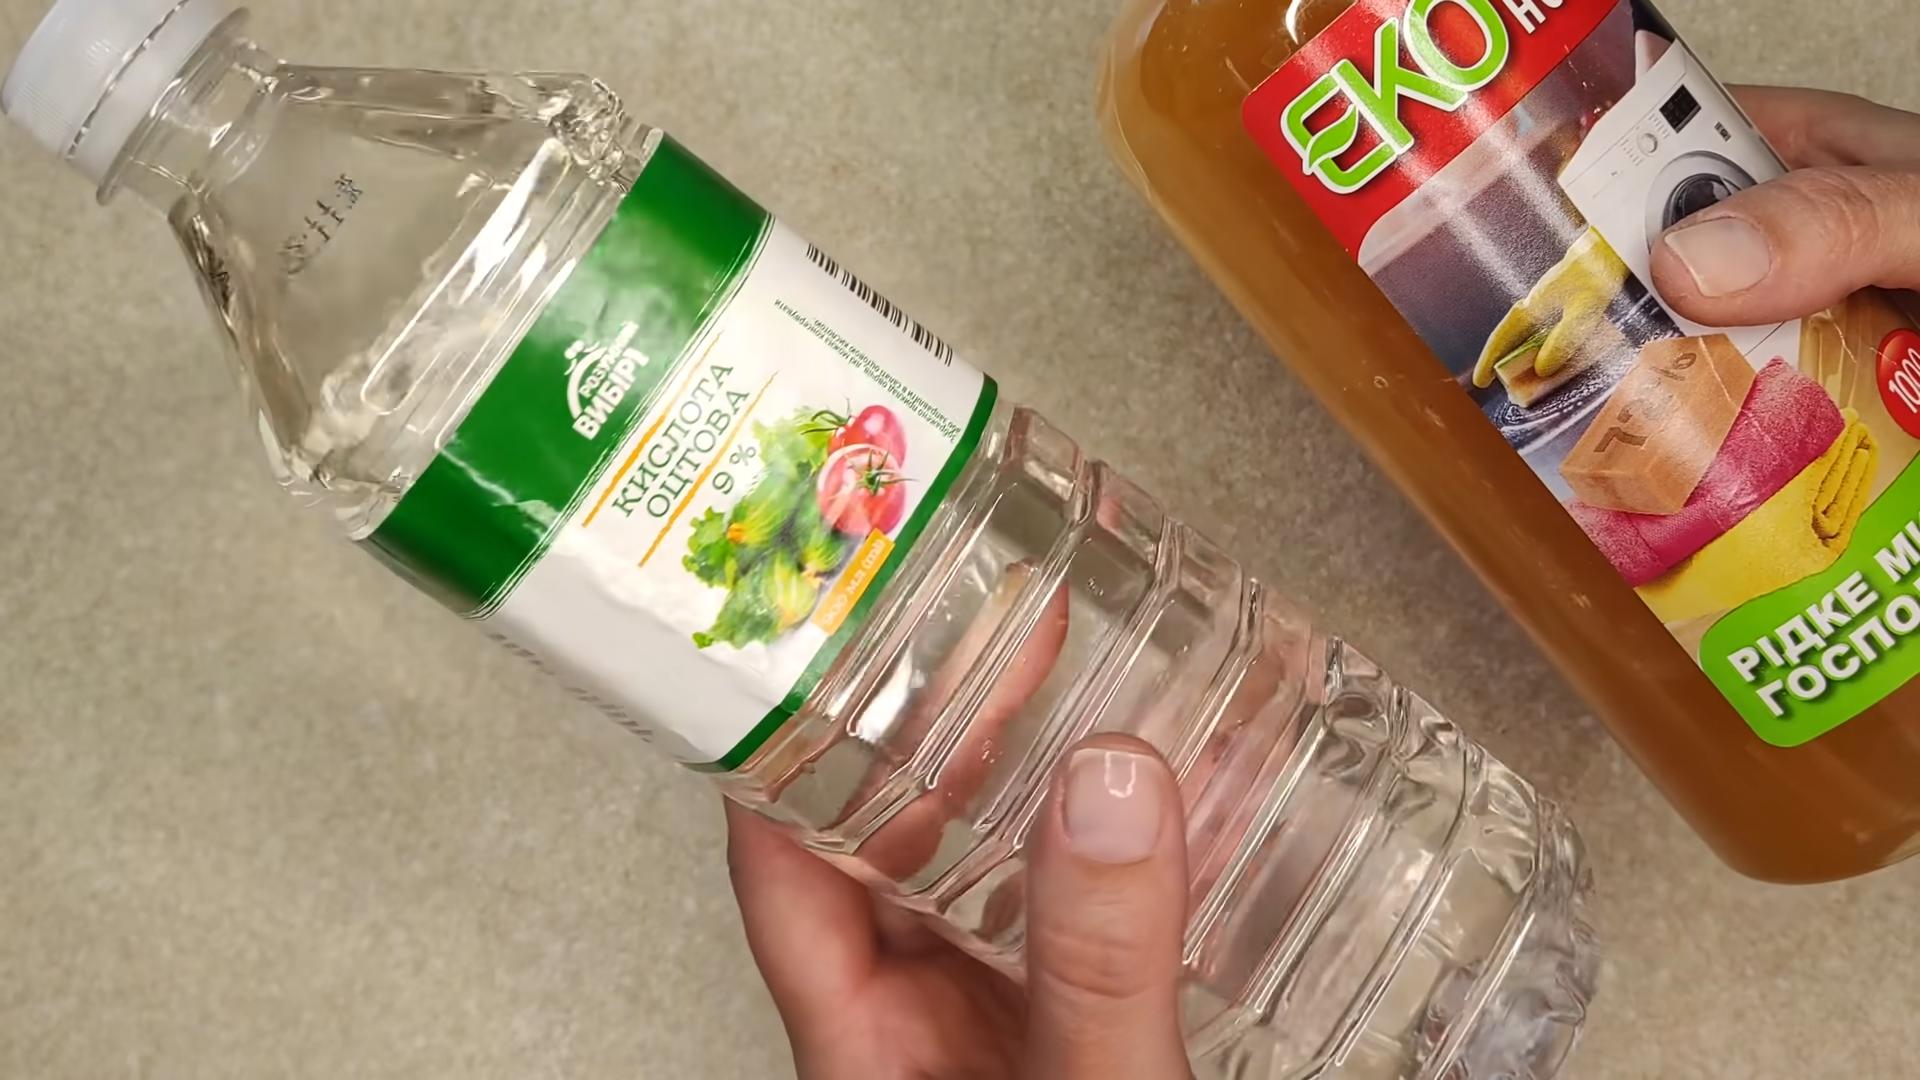
Laundry soap and vinegar cleaning: Sounds like an odd combination, right? But trust me, this dynamic duo is about to revolutionize your cleaning routine! Forget those expensive, chemical-laden cleaners – we’re going back to basics with a DIY approach that’s both effective and eco-friendly.
For generations, vinegar has been a staple in households, prized for its natural cleaning and disinfecting properties. Its use dates back to ancient civilizations, where it was used not only for culinary purposes but also for medicinal and cleaning applications. Combining it with the cleaning power of laundry soap creates a potent solution that tackles everything from stubborn stains to grimy surfaces.
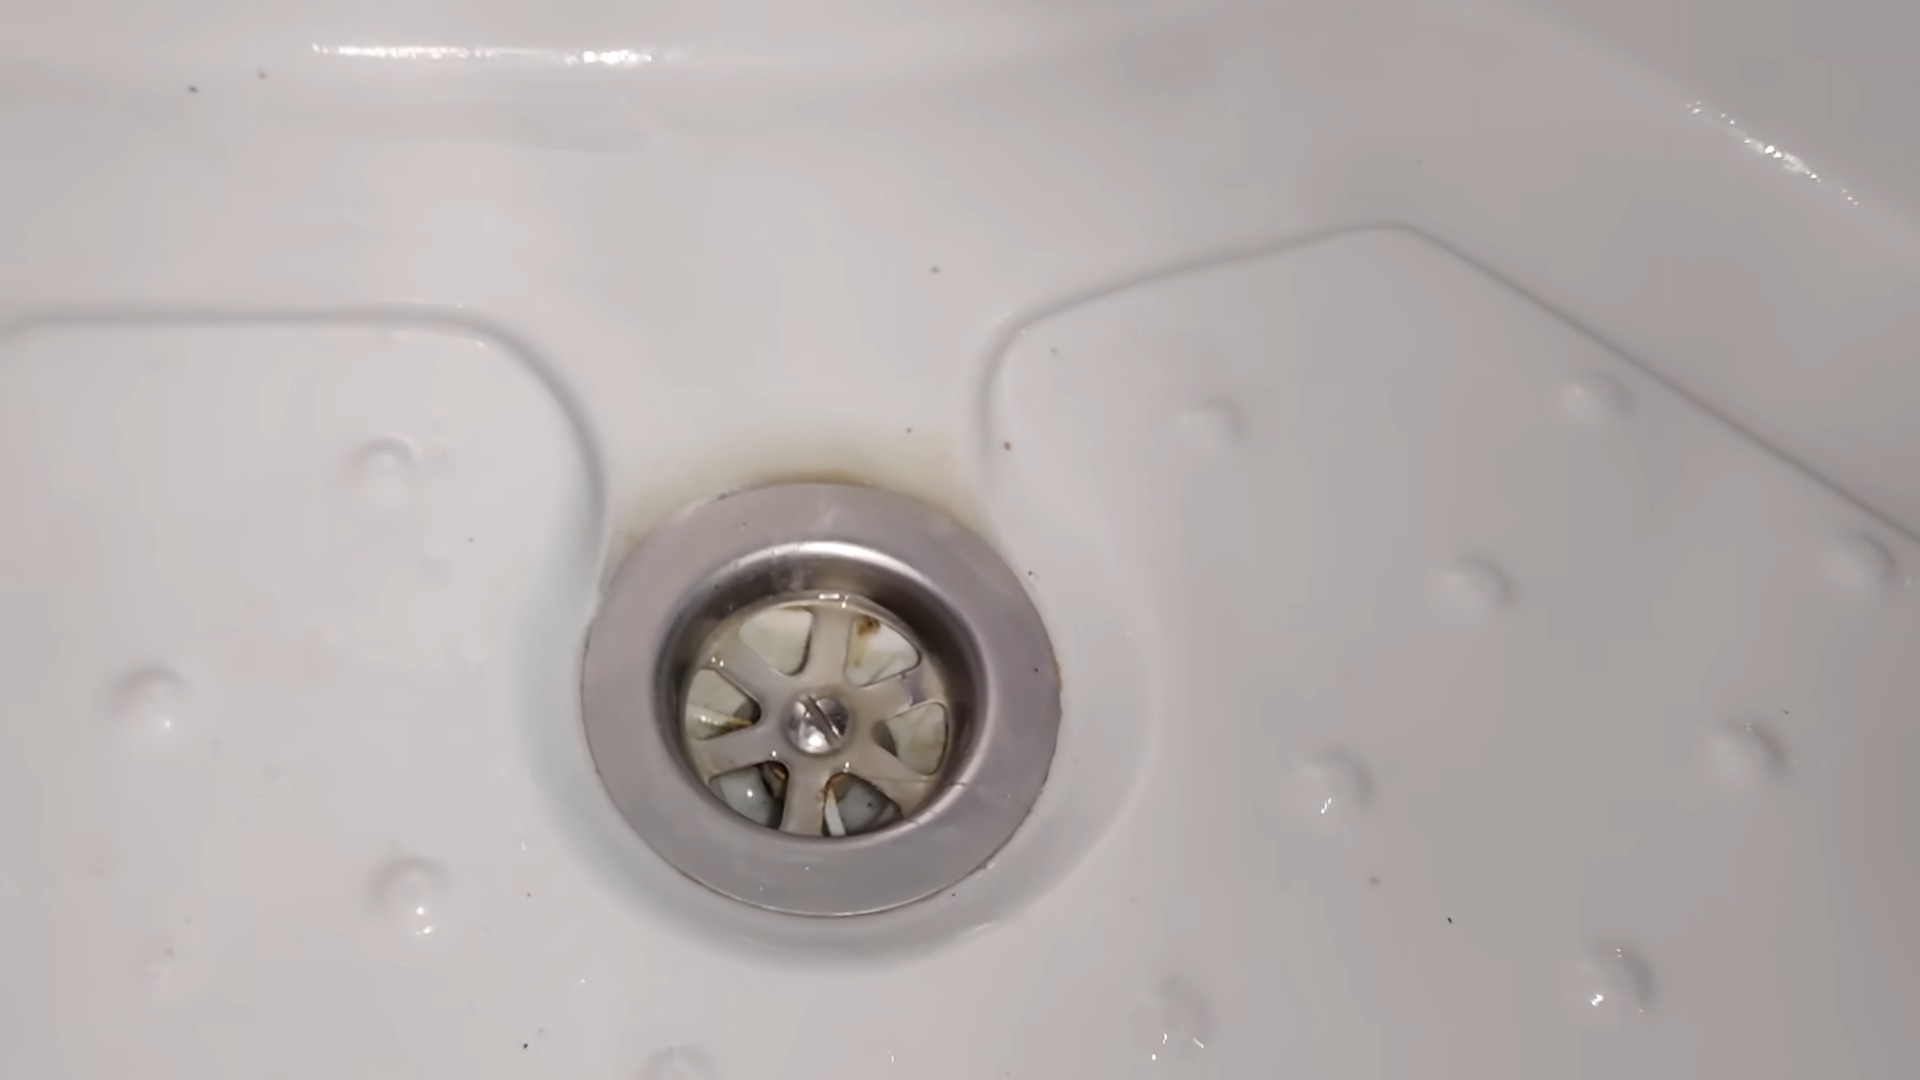
In today’s world, we’re all looking for ways to simplify our lives and reduce our environmental impact. That’s where this laundry soap and vinegar cleaning hack comes in. It’s a cost-effective, non-toxic alternative to commercial cleaners that can save you money and protect your family’s health. Plus, it’s incredibly versatile! I’m going to show you how to use this simple mixture to clean your bathroom, kitchen, and even your laundry, leaving your home sparkling and fresh. So, ditch the harsh chemicals and let’s get cleaning with this amazing DIY solution!
DIY: Grow Gorgeous Pink Radishes in a Container!
Hey there, fellow gardening enthusiasts! I’m so excited to share this super simple and rewarding DIY project with you: growing your own vibrant pink radishes in a container! Radishes are incredibly fast-growing, making them perfect for impatient gardeners like myself. Plus, the bright pink color adds a delightful pop to salads and snacks. Let’s get started!
What You’ll Need:
Before we dive in, let’s gather all the necessary supplies. Trust me, having everything ready beforehand will make the whole process much smoother.
* A Container: Choose a container that’s at least 6 inches deep. Radishes need room to grow downwards. I prefer using a wide, shallow container as it allows for more radishes to be planted. A plastic pot, a repurposed bucket, or even a large trough will work perfectly. Just make sure it has drainage holes!
* Potting Mix: Use a high-quality potting mix. Avoid using garden soil directly, as it can be too heavy and compact, hindering root development. A well-draining mix is crucial for healthy radish growth.
* Radish Seeds: Opt for pink radish varieties like ‘French Breakfast’ (which has a pink top and white bottom) or ‘Pink Beauty’. You can find these at most garden centers or online.
* Watering Can or Hose: Gentle watering is key, especially when the seeds are first sown.
* Optional: A small hand trowel or gardening fork for loosening the soil.
* Optional: Organic fertilizer (like compost tea or diluted fish emulsion) for an extra boost.
* Optional: A marker and labels to identify your radish variety and planting date.
Preparing Your Container:
This is a crucial step to ensure your radishes have the best possible start.
1. Clean Your Container: If you’re using a recycled container, give it a good scrub with soap and water to remove any dirt or debris. This helps prevent the spread of diseases.
2. Ensure Drainage: Double-check that your container has adequate drainage holes. Radishes don’t like soggy soil, so good drainage is essential. If the holes seem small, you can enlarge them slightly.
3. Fill with Potting Mix: Fill the container with your chosen potting mix, leaving about an inch of space at the top. Gently pat down the soil to remove any large air pockets.
4. Moisten the Soil: Water the potting mix thoroughly until it’s evenly moist but not waterlogged. This will help the seeds germinate.
Sowing Your Radish Seeds:
Now for the fun part – planting those tiny seeds!
1. Spacing is Key: Radishes need a little space to develop properly. Sow the seeds about ½ inch deep and 1 inch apart. You can use your finger to make small indentations in the soil.
2. Sow the Seeds: Carefully drop one or two seeds into each indentation. I usually sow two seeds per hole just in case one doesn’t germinate.
3. Cover the Seeds: Gently cover the seeds with a thin layer of potting mix.
4. Water Again: Lightly water the soil again to ensure good seed-to-soil contact. Use a gentle spray to avoid disturbing the seeds.
5. Label Your Container (Optional): If you’re planting multiple varieties or want to keep track of the planting date, label your container.
Caring for Your Radishes:
Radishes are relatively low-maintenance, but here are a few tips to keep them happy and healthy.
1. Watering: Keep the soil consistently moist, but not soggy. Water regularly, especially during hot or dry weather. Check the soil moisture by sticking your finger about an inch into the soil. If it feels dry, it’s time to water.
2. Sunlight: Radishes need at least 6 hours of sunlight per day. Place your container in a sunny location. If you don’t have a sunny spot, you can supplement with grow lights.
3. Thinning (If Necessary): If both seeds in a hole germinate, thin out the weaker seedling to give the stronger one room to grow. This is usually done a week or two after germination.
4. Fertilizing (Optional): Radishes don’t need a lot of fertilizer, but a light feeding with organic fertilizer can give them a boost. I like to use diluted compost tea or fish emulsion every couple of weeks.
5. Weed Control: Keep an eye out for weeds and remove them promptly. Weeds can compete with your radishes for nutrients and water.
Harvesting Your Radishes:
This is the most exciting part! Radishes are typically ready to harvest in just 3-4 weeks.
1. Check for Maturity: Gently brush away some of the soil around the base of the radish to check its size. Radishes are usually ready to harvest when they are about 1 inch in diameter.
2. Harvest Carefully: Gently pull the radishes from the soil. If the soil is dry, you may need to loosen it with a small trowel or gardening fork.
3. Wash and Enjoy: Wash the radishes thoroughly to remove any dirt. You can eat them raw in salads, slice them for sandwiches, or even roast them. The greens are also edible and can be used in salads or stir-fries.
4. Succession Planting: To enjoy a continuous harvest of radishes, sow a new batch of seeds every 2-3 weeks.
Troubleshooting:
Even with the best care, you might encounter a few challenges. Here are some common problems and how to address them:
* Radishes are cracking: This is usually caused by inconsistent watering. Make sure to water regularly and evenly.
* Radishes are small and tough: This can be due to overcrowding, lack of sunlight, or poor soil. Thin out the seedlings, provide more sunlight, and amend the soil with compost.
* Radishes are bolting (going to seed): This is often caused by hot weather. Radishes prefer cool temperatures. Try planting them in the spring or fall.
* Pests: Flea beetles can sometimes be a problem. Cover your plants with row covers to protect them.
Extra Tips for Radish Success:
Here are a few extra tips that I’ve learned over the years:
* Choose the Right Variety: Some radish varieties are better suited for container gardening than others. Look for varieties that are compact and fast-growing.
* Don’t Overcrowd: Overcrowding can lead to small and tough radishes. Make sure to space the seeds properly.
* Keep the Soil Cool: Radishes prefer cool soil. Mulch around the plants to help keep the soil cool and moist.
* Harvest Promptly: Radishes can become tough and bitter if they are left in the ground for too long. Harvest them as soon as they are ready.
* Experiment: Don’t be afraid to experiment with different varieties and growing techniques. The best way to learn is by doing!
Growing pink radishes in a container is a fun and easy way to add fresh, homegrown produce to your diet. With a little bit of care and attention, you’ll be enjoying delicious, vibrant radishes in no time. Happy gardening!
Conclusion
So, there you have it! Ditching the expensive, chemical-laden detergents and embracing the power of homemade laundry soap and vinegar cleaning is not just a trend; it’s a revolution in how we care for our clothes and our planet. We’ve explored a simple yet effective method that promises cleaner, fresher laundry without the hefty price tag or the environmental guilt.
But why is this DIY trick a must-try? It boils down to several compelling reasons. First, the cost savings are undeniable. Commercial detergents can be surprisingly expensive, especially if you’re buying eco-friendly or hypoallergenic brands. Making your own laundry soap with simple ingredients like washing soda, borax, and a bar of natural soap drastically reduces your laundry expenses. Think of all the things you could do with that extra cash!
Second, you have complete control over the ingredients. This is particularly beneficial for individuals with sensitive skin or allergies. You can tailor the recipe to exclude any potential irritants and opt for fragrance-free options or essential oils that you know and love. No more deciphering long lists of unpronounceable chemicals!
Third, it’s an environmentally conscious choice. Many commercial detergents contain phosphates, surfactants, and other chemicals that can pollute waterways and harm aquatic life. By making your own laundry soap, you’re reducing your contribution to this pollution and opting for a more sustainable laundry routine.
Fourth, the cleaning power is surprisingly effective. The combination of washing soda and borax works to lift dirt and grime, while the vinegar acts as a natural fabric softener and brightener. You’ll be amazed at how clean and fresh your clothes come out, without the harsh chemicals.
Ready to take it a step further? Here are a few suggestions and variations to personalize your homemade laundry soap and vinegar cleaning experience:
* Scent Sensations: Experiment with different essential oils to create your own signature scent. Lavender, lemon, tea tree, and eucalyptus are all popular choices for their refreshing and antibacterial properties. Just add a few drops to your laundry soap mixture or directly to the washing machine.
* Boost the Brightness: For extra whitening power, add a tablespoon of hydrogen peroxide to your washing machine along with your laundry soap and vinegar. Be sure to test it on a small, inconspicuous area of fabric first to ensure it doesn’t cause any discoloration.
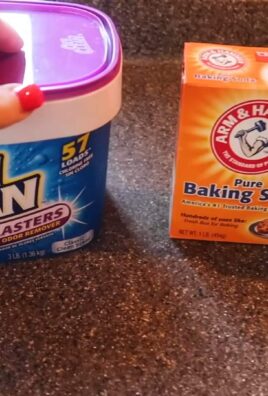
* Tackle Tough Stains: For stubborn stains, pretreat the affected area with a paste made from baking soda and water. Let it sit for a few minutes before washing as usual.
* Liquid vs. Powder: While this article focuses on powder laundry soap, you can easily adapt the recipe to create a liquid version. Simply dissolve the ingredients in hot water before adding them to your washing machine.
* Vinegar Alternatives: While white vinegar is the most common and affordable option, you can also use apple cider vinegar for its added benefits.
We wholeheartedly encourage you to try this DIY laundry soap and vinegar cleaning method. It’s a simple, cost-effective, and environmentally friendly way to keep your clothes clean and fresh. Once you’ve given it a try, we’d love to hear about your experience! Share your tips, variations, and results in the comments below. Let’s build a community of DIY laundry enthusiasts! Embrace the change and discover the joy of truly clean laundry, the natural way.
Frequently Asked Questions (FAQ)
Is homemade laundry soap safe for all types of washing machines?
Yes, homemade laundry soap is generally safe for all types of washing machines, including high-efficiency (HE) machines. However, it’s crucial to use the correct amount of soap. Overusing any type of detergent, including homemade, can lead to buildup and residue in your machine, potentially causing problems over time. For HE machines, use only 1-2 tablespoons of homemade laundry soap per load. For standard machines, you can use 2-3 tablespoons. Always check your washing machine’s manual for specific recommendations. Also, ensure the soap is fully dissolved before adding clothes, especially in cold water washes.
Will vinegar damage my clothes or washing machine?
No, vinegar is actually beneficial for both your clothes and your washing machine. It acts as a natural fabric softener, helping to reduce static cling and keep your clothes feeling soft and comfortable. It also helps to brighten colors and remove odors. In your washing machine, vinegar can help to dissolve mineral buildup and prevent mildew growth. It’s a safe and effective alternative to harsh chemical fabric softeners and washing machine cleaners. Just be sure to use distilled white vinegar, as other types of vinegar may contain dyes or additives that could stain your clothes.
How much vinegar should I use in my laundry?
A good rule of thumb is to use about 1/2 cup of distilled white vinegar per load of laundry. You can add it directly to the fabric softener dispenser or pour it into the washing machine during the rinse cycle. For heavily soiled or smelly clothes, you can increase the amount of vinegar to 1 cup. Don’t worry about your clothes smelling like vinegar; the scent will dissipate as they dry.
Can I use any type of soap for making homemade laundry soap?
It’s best to use a natural, unscented bar soap for making homemade laundry soap. Castile soap, such as Dr. Bronner’s, is a popular choice. Avoid using soaps that contain moisturizers or lotions, as these can leave a residue on your clothes. Grate the soap finely using a cheese grater or food processor to ensure it dissolves easily in the washing machine.
What are the benefits of using borax in laundry soap?
Borax, also known as sodium borate, is a natural mineral that acts as a water softener, stain remover, and deodorizer. It helps to boost the cleaning power of your laundry soap and remove tough stains and odors. It also helps to prevent mildew growth in your washing machine. While borax is generally considered safe, some people may be sensitive to it. If you have sensitive skin, you may want to reduce the amount of borax in your recipe or omit it altogether.
Can I use essential oils in my homemade laundry soap?
Yes, you can definitely add essential oils to your homemade laundry soap for a natural fragrance and added benefits. Lavender, lemon, tea tree, and eucalyptus are all popular choices for their refreshing and antibacterial properties. Add a few drops of your favorite essential oil to your laundry soap mixture or directly to the washing machine. Be sure to use high-quality, pure essential oils for the best results.
How do I store homemade laundry soap?
Store your homemade laundry soap in an airtight container in a cool, dry place. A glass jar or plastic container with a tight-fitting lid works well. Keep it away from moisture to prevent clumping. If your laundry soap does clump, simply break it up with a spoon or fork before using it.
My homemade laundry soap is leaving a residue on my clothes. What am I doing wrong?
If you’re experiencing residue on your clothes, it could be due to several factors. First, make sure you’re not using too much laundry soap. Start with a smaller amount and increase it if needed. Second, ensure the soap is fully dissolved before adding clothes to the washing machine. You can dissolve it in hot water first if necessary. Third, check your water hardness. Hard water can make it more difficult for soap to dissolve properly. You may need to use a water softener or add more vinegar to your laundry. Finally, make sure you’re using a natural, unscented bar soap without added moisturizers or lotions.
Is this laundry soap recipe safe for septic systems?
Yes, this laundry soap recipe is generally considered safe for septic systems. The ingredients are biodegradable and don’t contain harsh chemicals that can harm the bacteria in your septic tank. However, it’s always a good idea to use the correct amount of soap and avoid overloading your septic system with excessive amounts of water.
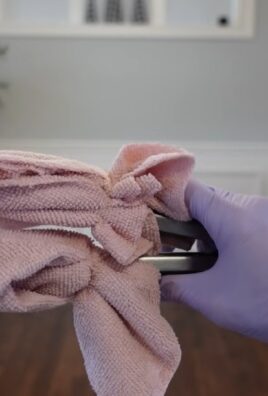
Can I use this laundry soap for hand washing clothes?
Yes, you can use this laundry soap for hand washing clothes. Simply dissolve a small amount of the soap in warm water and wash your clothes as usual. Rinse thoroughly with clean water.
Leave a Comment