
Grow Pink Radish Container gardening is easier than you think! Have you ever dreamed of plucking vibrant, peppery pink radishes straight from your own patio? I know I have! There’s something incredibly satisfying about nurturing your own food, and radishes are the perfect gateway vegetable for beginner gardeners.
Radishes have a surprisingly long and fascinating history, dating back to ancient Egypt, where they were a staple food. From humble beginnings, they’ve spread across the globe, becoming a beloved ingredient in countless cuisines. But beyond their culinary appeal, growing your own radishes offers a unique connection to the earth and a sense of accomplishment that’s hard to beat.
In today’s busy world, finding time for gardening can feel like a luxury. That’s where container gardening comes in! It’s a fantastic way to enjoy fresh, homegrown produce, even if you have limited space. And that’s why I’m so excited to share these simple, effective DIY tricks for successfully grow pink radish container gardens. These hacks will help you overcome common challenges, maximize your yield, and enjoy a bountiful harvest of delicious, crunchy radishes. So, let’s get our hands dirty and start growing!
Grow Your Own Pink Radishes in a Container: A Beginner’s Guide
Hey there, fellow gardening enthusiasts! I’m so excited to share this super easy and rewarding DIY project with you: growing pink radishes in a container. Radishes are incredibly fast-growing, making them perfect for impatient gardeners like me! Plus, who can resist the charm of vibrant pink veggies? This guide will walk you through every step, from choosing the right container to harvesting your delicious, homegrown radishes. Let’s get started!
Choosing the Right Container and Soil
Before we even think about seeds, we need to set the stage for success. The right container and soil are crucial for healthy radish growth.
* Container Size: Radishes don’t need a ton of space, but they do need some depth. I recommend a container that’s at least 6 inches deep and wide. A rectangular planter box works great, or even a large, deep pot. The bigger the container, the more radishes you can grow!
* Drainage: This is non-negotiable! Your container *must* have drainage holes. Radishes hate soggy soil, and poor drainage can lead to root rot. If your container doesn’t have holes, you’ll need to drill some.
* Soil: Radishes thrive in loose, well-draining soil. A good quality potting mix is your best bet. Avoid using garden soil directly in your container, as it can be too heavy and compacted. I like to amend my potting mix with a bit of compost for added nutrients.
Planting Your Radish Seeds
Now for the fun part! Planting the seeds is quick and easy.
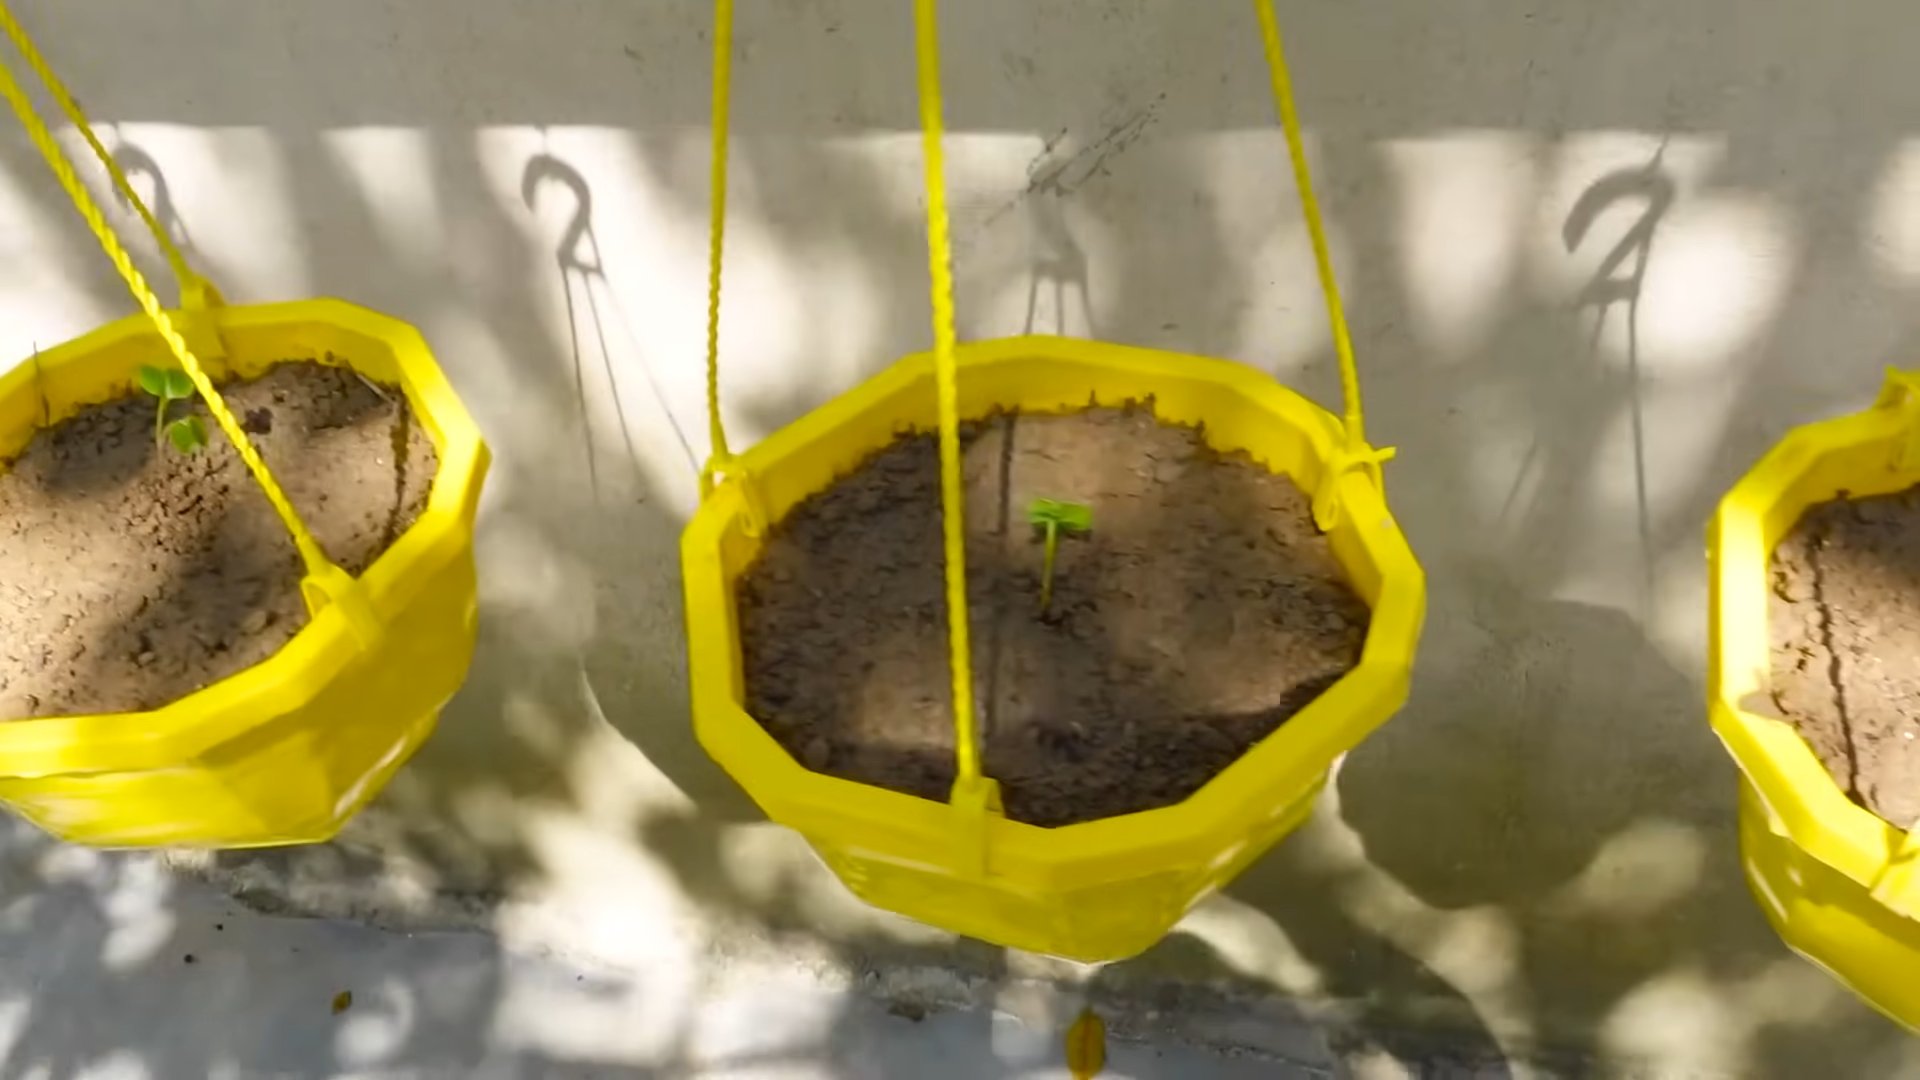
1. Prepare the Soil: Fill your container with potting mix, leaving about an inch of space at the top. Gently pat down the soil to create a level surface.
2. Sow the Seeds: Radish seeds are small, so handle them carefully. I like to sprinkle them evenly across the surface of the soil, spacing them about an inch apart. You can also create shallow furrows (about 1/4 inch deep) and sow the seeds in the furrows.
3. Cover the Seeds: Lightly cover the seeds with a thin layer of potting mix. You don’t want to bury them too deep, as this can hinder germination.
4. Water Gently: Use a watering can with a gentle rose attachment to water the soil thoroughly. Be careful not to dislodge the seeds. The soil should be moist but not waterlogged.
5. Label Your Container: It’s always a good idea to label your container with the type of radish you’re growing and the date you planted them. This will help you keep track of your progress.
Caring for Your Radishes
Radishes are relatively low-maintenance, but they do need a little TLC to thrive.
* Watering: Keep the soil consistently moist, but not soggy. Water whenever the top inch of soil feels dry to the touch. Overwatering can lead to root rot, while underwatering can cause the radishes to become tough and bitter.
* Sunlight: Radishes need at least 6 hours of sunlight per day. Place your container in a sunny spot in your garden or on your balcony. If you don’t have enough sunlight, you can supplement with a grow light.
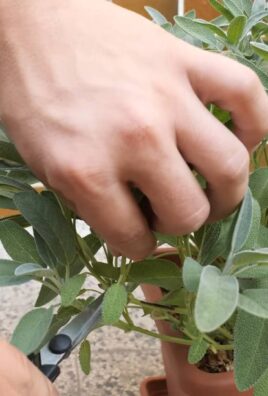
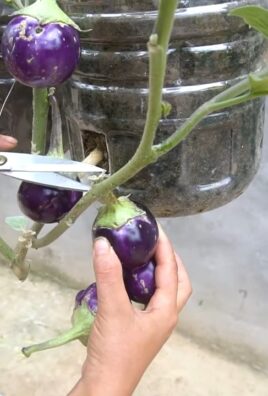
* Thinning: Once your radish seedlings emerge (usually within a few days), you’ll need to thin them out. This means removing some of the seedlings to give the remaining ones enough space to grow. Thin the seedlings so that they are about 2 inches apart. You can use small scissors to snip off the unwanted seedlings at the soil line.
* Fertilizing: Radishes don’t need a lot of fertilizer, but a light feeding can help them grow faster. I like to use a balanced liquid fertilizer diluted to half strength. Apply the fertilizer every two weeks, following the instructions on the label.
* Weed Control: Keep an eye out for weeds and remove them promptly. Weeds can compete with your radishes for nutrients and water.
Choosing the Right Pink Radish Variety
While all radishes are delicious, some varieties are known for their vibrant pink color and mild flavor. Here are a few of my favorites:
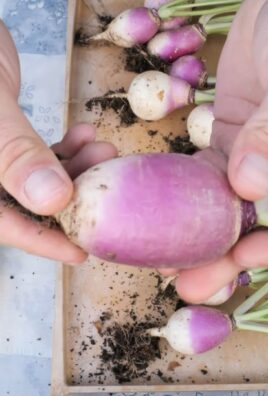
* French Breakfast: These radishes are elongated and have a beautiful pink and white color. They have a mild, slightly peppery flavor.
* Cherry Belle: These are classic round, bright red radishes. They are crisp and have a slightly spicy flavor.
* Pink Beauty: As the name suggests, these radishes are known for their stunning pink color. They are round and have a mild, sweet flavor.
* Easter Egg Blend: This is a mix of radishes in various colors, including pink, red, purple, and white. It’s a fun and colorful option for your container garden.
Troubleshooting Common Problems
Even with the best care, you might encounter a few problems while growing your radishes. Here are some common issues and how to address them:
* Root Rot: This is caused by overwatering and poor drainage. The roots of the radishes will turn brown and mushy. To prevent root rot, make sure your container has drainage holes and avoid overwatering. If you suspect root rot, you can try transplanting the radishes to a new container with fresh soil.
* Pests: Radishes can be susceptible to pests such as flea beetles and aphids. Flea beetles chew small holes in the leaves, while aphids suck the sap from the plants. You can control these pests with insecticidal soap or neem oil.
* Bolting: Bolting is when the radishes start to flower prematurely. This can happen if the weather is too hot or if the radishes are stressed. Bolted radishes tend to be tough and bitter. To prevent bolting, try to keep the soil cool and moist, and harvest the radishes as soon as they are ready.
* Splitting: Radishes can split if they are exposed to inconsistent watering. This means that the soil is allowed to dry out and then suddenly gets a lot of water. To prevent splitting, water your radishes regularly and consistently.
Harvesting Your Pink Radishes
This is the moment we’ve all been waiting for! Radishes are incredibly fast-growing, and you can usually harvest them within 3-4 weeks of planting.
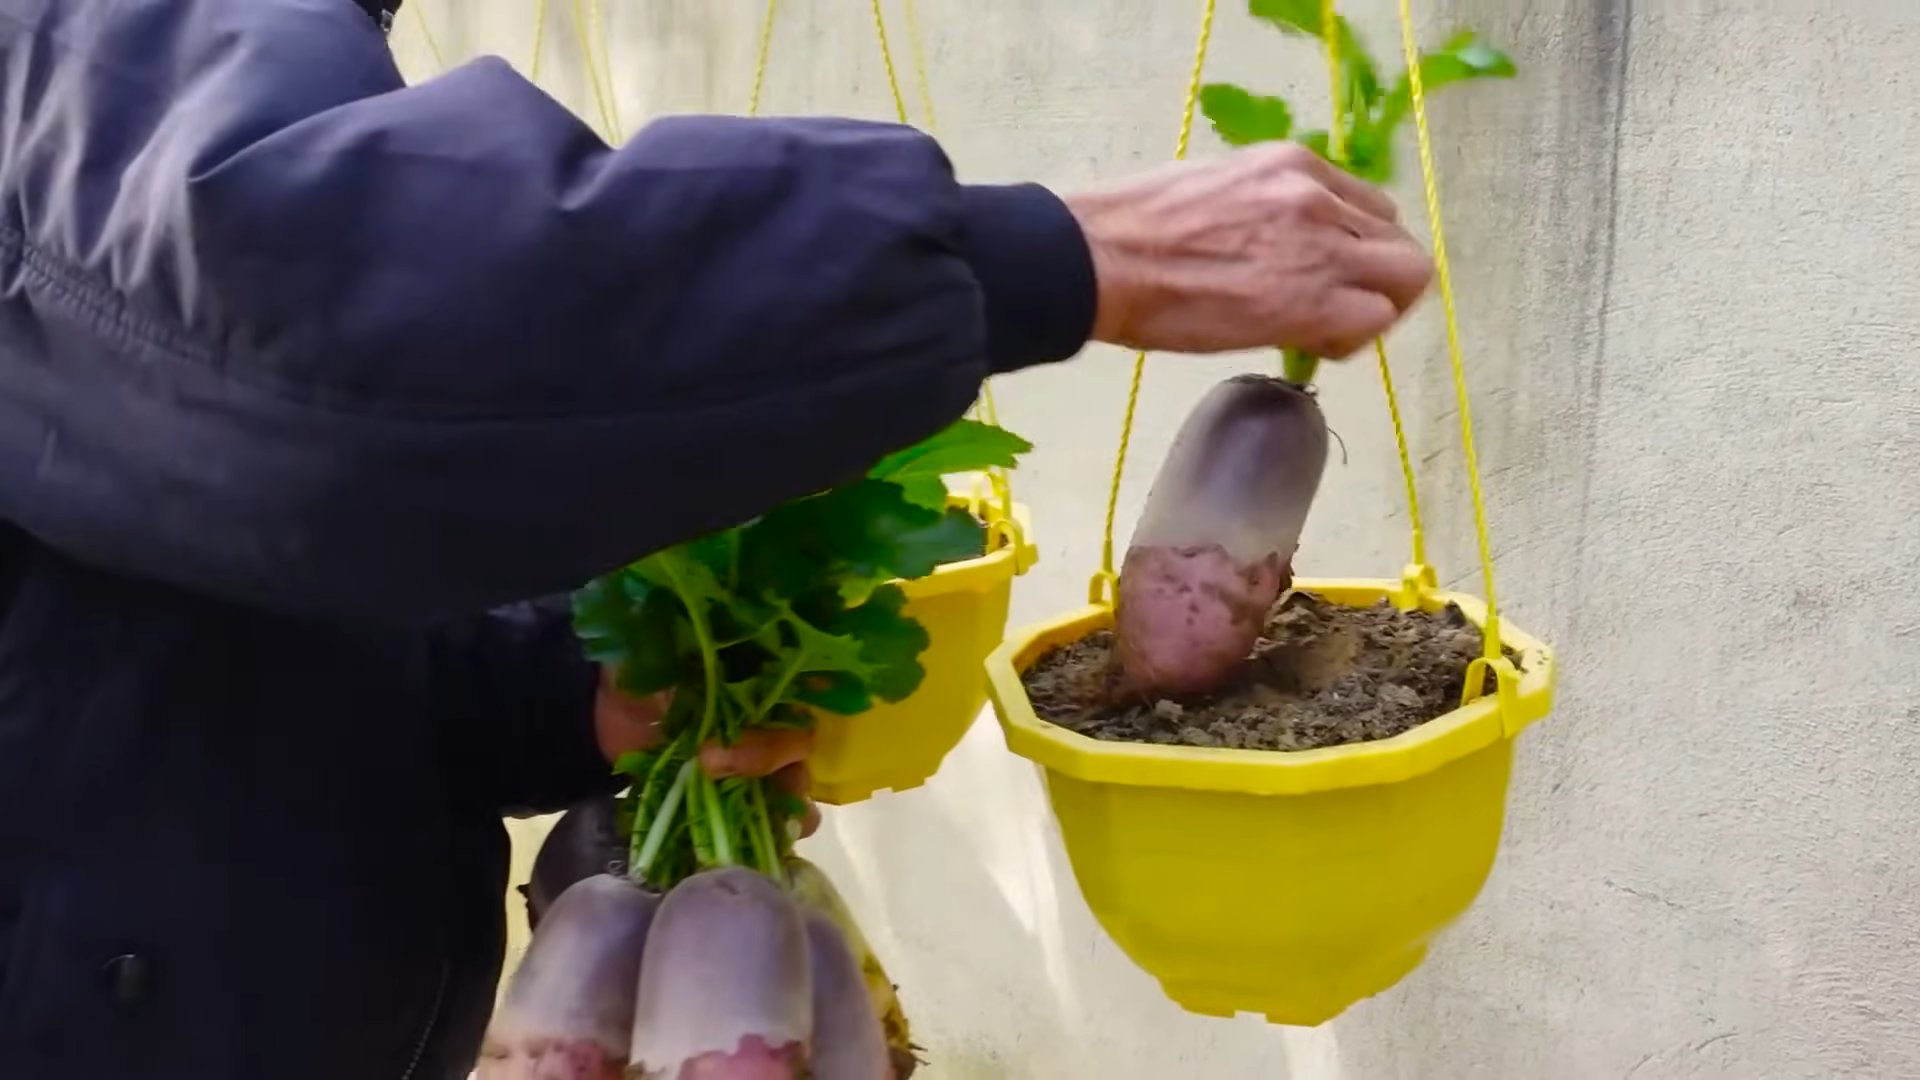
1. Check for Maturity: The size of your radishes will depend on the variety you’re growing, but generally, they are ready to harvest when they are about 1 inch in diameter. You can gently brush away some of the soil around the base of the radish to check its size.
2. Pull the Radishes: To harvest your radishes, simply grasp the leaves near the base of the plant and gently pull. The radish should come out of the soil easily. If it doesn’t, you can loosen the soil around the radish with a trowel.
3. Wash and Store: Wash your radishes thoroughly to remove any dirt. You can store them in the refrigerator for up to a week. To keep them fresh, trim off the leaves and store the radishes in a plastic bag with a damp paper towel.
Enjoying Your Homegrown Radishes
Now that you’ve harvested your beautiful pink radishes, it’s time to enjoy them! Radishes are incredibly versatile and can be used in a variety of dishes.
* Eat them raw: Radishes are delicious eaten raw as a snack or in a salad. Their peppery flavor adds a nice kick to any dish.
* Roast them: Roasting radishes mellows out their flavor and makes them slightly sweet. Toss them with olive oil, salt, and pepper and roast them in the oven until they are tender.
* Pickle them: Pickled radishes are a tangy and flavorful condiment. They are great on sandwiches, tacos, or as a side dish.
* Use the greens: Don’t throw away the radish greens! They are edible and nutritious. You can add them to salads, soups, or stir-fries.
Successive Planting for Continuous Harvest
To ensure a continuous supply of fresh radishes, consider successive planting. This means planting a new batch of seeds every week or two. This way, you’ll always have radishes ready to harvest. I usually plant a small batch every 10 days to keep the radish party going!
Extra Tips for Radish Growing Success
* Choose the right time of year: Radishes are a cool-season crop, so they grow best in the spring and fall. Avoid planting them in the heat of summer, as they are likely to bolt.
* Use a light-colored container: Dark-colored containers can absorb heat and cause the soil to dry out quickly. Light-colored containers reflect heat and help keep the soil cool.
* Rotate your crops: To prevent soilborne diseases, rotate your crops each year. This means planting different types of vegetables in the same container each year.
* Have fun! Gardening should be enjoyable. Don’t be
Conclusion
So, there you have it! Growing pink radishes in containers is not only achievable, but it’s also incredibly rewarding. Forget those bland, store-bought radishes that lack that peppery zing and vibrant color. With this simple DIY trick, you can cultivate a continuous supply of fresh, crisp, and beautifully pink radishes right on your balcony, patio, or even a sunny windowsill.
Why is this a must-try? Because it puts you in control. You dictate the quality of the soil, the amount of sunlight, and the watering schedule, ensuring your radishes are bursting with flavor and free from harmful chemicals. Plus, it’s a fantastic way to introduce children to the joys of gardening and the satisfaction of eating something they’ve grown themselves. Imagine the look on their faces when they pull up their very own bright pink radish!
But the fun doesn’t stop there. Feel free to experiment with different radish varieties. While we’ve focused on pink radishes, you can easily adapt this method to grow other colors and shapes, from classic red globes to long, slender French Breakfast radishes. You can also try companion planting. Marigolds, for example, can help deter pests, while nasturtiums add a peppery flavor to your salad and attract beneficial insects.
Consider the container itself. While a standard pot works perfectly well, you could also repurpose old buckets, tubs, or even grow bags. Just make sure whatever you choose has adequate drainage. For a truly unique touch, paint your container with bright colors or decorate it with stencils.
And don’t forget the soil! While a good quality potting mix is essential, you can enrich it with compost or worm castings to provide your radishes with extra nutrients. A little bit of bone meal can also help promote strong root growth.
Ultimately, the key to success is observation. Pay attention to your radishes. Are the leaves wilting? Are the roots developing properly? Adjust your watering and feeding accordingly.
Growing pink radishes in containers is a simple, satisfying, and delicious way to connect with nature and enjoy fresh, homegrown produce. It’s a project that anyone can undertake, regardless of their gardening experience. So, grab a container, some soil, and a packet of radish seeds, and get ready to experience the joy of growing your own food.
We’re confident that you’ll be amazed by the results. And once you’ve harvested your first batch of pink radishes, we encourage you to share your experience with us. Post photos of your radishes on social media using #ContainerRadishes and tell us about your successes and challenges. We can’t wait to see what you create! Let’s spread the joy of homegrown radishes, one container at a time.
Frequently Asked Questions (FAQ)
What is the best size container for growing pink radishes?
A container that is at least 6 inches deep and 6 inches wide is generally sufficient for growing pink radishes. However, a larger container, such as a 12-inch pot, will allow you to grow more radishes and provide them with more room to develop. The key is to ensure adequate drainage. Multiple smaller containers are also a great option if you want to stagger your planting for a continuous harvest.
How much sunlight do pink radishes need?
Pink radishes need at least 6 hours of direct sunlight per day. If you don’t have a spot that receives that much sunlight, you can supplement with grow lights. Insufficient sunlight can result in leggy plants and smaller, less flavorful radishes. A south-facing window or balcony is often ideal.
What type of soil is best for growing pink radishes in containers?
A well-draining potting mix is essential for growing pink radishes in containers. Avoid using garden soil, as it can be too heavy and compact, hindering root development. Look for a potting mix that contains peat moss, perlite, and vermiculite. You can also amend the potting mix with compost or worm castings to provide extra nutrients.
How often should I water my pink radishes?
Radishes need consistent moisture to grow properly. Water them deeply whenever the top inch of soil feels dry to the touch. Avoid overwatering, as this can lead to root rot. A good rule of thumb is to water every 2-3 days, depending on the weather and the drainage of your container. Check the soil moisture regularly, especially during hot, dry periods.
How long does it take for pink radishes to mature?
Pink radishes are one of the fastest-growing vegetables. They typically mature in just 3-4 weeks. Check the seed packet for specific maturity times for the variety you are growing. You can start harvesting radishes when they reach about 1 inch in diameter.
How do I know when my pink radishes are ready to harvest?
You can tell when your pink radishes are ready to harvest by gently feeling the top of the radish near the soil surface. If it feels firm and round, it’s likely ready to be pulled. You can also gently brush away some of the soil to check the size of the radish. Don’t wait too long to harvest, as radishes can become woody and bitter if they are left in the ground for too long.
What are some common problems when growing pink radishes in containers?
Some common problems when growing pink radishes in containers include pests, diseases, and nutrient deficiencies. Pests such as flea beetles and aphids can damage the leaves of your radishes. Diseases such as root rot can occur if the soil is too wet. Nutrient deficiencies can result in stunted growth and poor root development. Regularly inspect your plants for signs of problems and take appropriate action.
Can I grow pink radishes indoors?
Yes, you can grow pink radishes indoors, but you will need to provide them with adequate light. A sunny windowsill or grow lights are essential. Make sure to rotate the container regularly to ensure that all sides of the plant receive equal light.
Can I grow pink radishes in the summer?
Yes, you can grow pink radishes in the summer, but you will need to provide them with some shade during the hottest part of the day. Radishes prefer cooler temperatures and can bolt (go to seed) if they are exposed to excessive heat.
What are some ways to use pink radishes?
Pink radishes can be eaten raw in salads, sandwiches, or as a snack. They can also be cooked in stir-fries, soups, or stews. The greens of the radish are also edible and can be used in salads or cooked like spinach. Radishes add a peppery flavor and a crisp texture to any dish.
Can I save seeds from my pink radishes?
Yes, you can save seeds from your pink radishes, but it’s a bit more involved than simply harvesting the radishes. You need to allow the radish plants to bolt (go to seed). Once the seed pods have dried and turned brown, you can harvest them and extract the seeds. Store the seeds in a cool, dry place. Be aware that radishes are cross-pollinated, so if you are growing multiple varieties, the seeds may not be true to type.
How can I prevent my radishes from becoming too spicy?
The spiciness of radishes is influenced by several factors, including the variety, the growing conditions, and the age of the radish. To prevent your radishes from becoming too spicy, choose a milder variety, provide them with consistent moisture, and harvest them when they are young and tender. Overcrowding can also contribute to increased spiciness, so ensure adequate spacing between plants.
What are some good companion plants for pink radishes?
Good companion plants for pink radishes include carrots, lettuce, spinach, and peas. These plants can help to deter pests and improve the overall health of your radish plants. Avoid planting radishes near hyssop, as it can inhibit their growth.
How do I deal with pests on my pink radish plants?
Common pests that affect pink radish plants include flea beetles, aphids, and cabbage root flies. Flea beetles can be controlled with insecticidal soap or diatomaceous earth. Aphids can be washed off with a strong stream of water or treated with insecticidal soap. Cabbage root flies can be prevented by using row covers or by planting radishes in containers.
My pink radishes are all leaves and no root. What am I doing wrong?
This is a common problem, and it’s usually caused by one of a few things: too much nitrogen in the soil, overcrowding, or insufficient sunlight. Avoid using fertilizers that are high in nitrogen. Thin out your radish plants to provide them with more space. And make sure they are getting at least 6 hours of direct sunlight per day.
Leave a Comment