
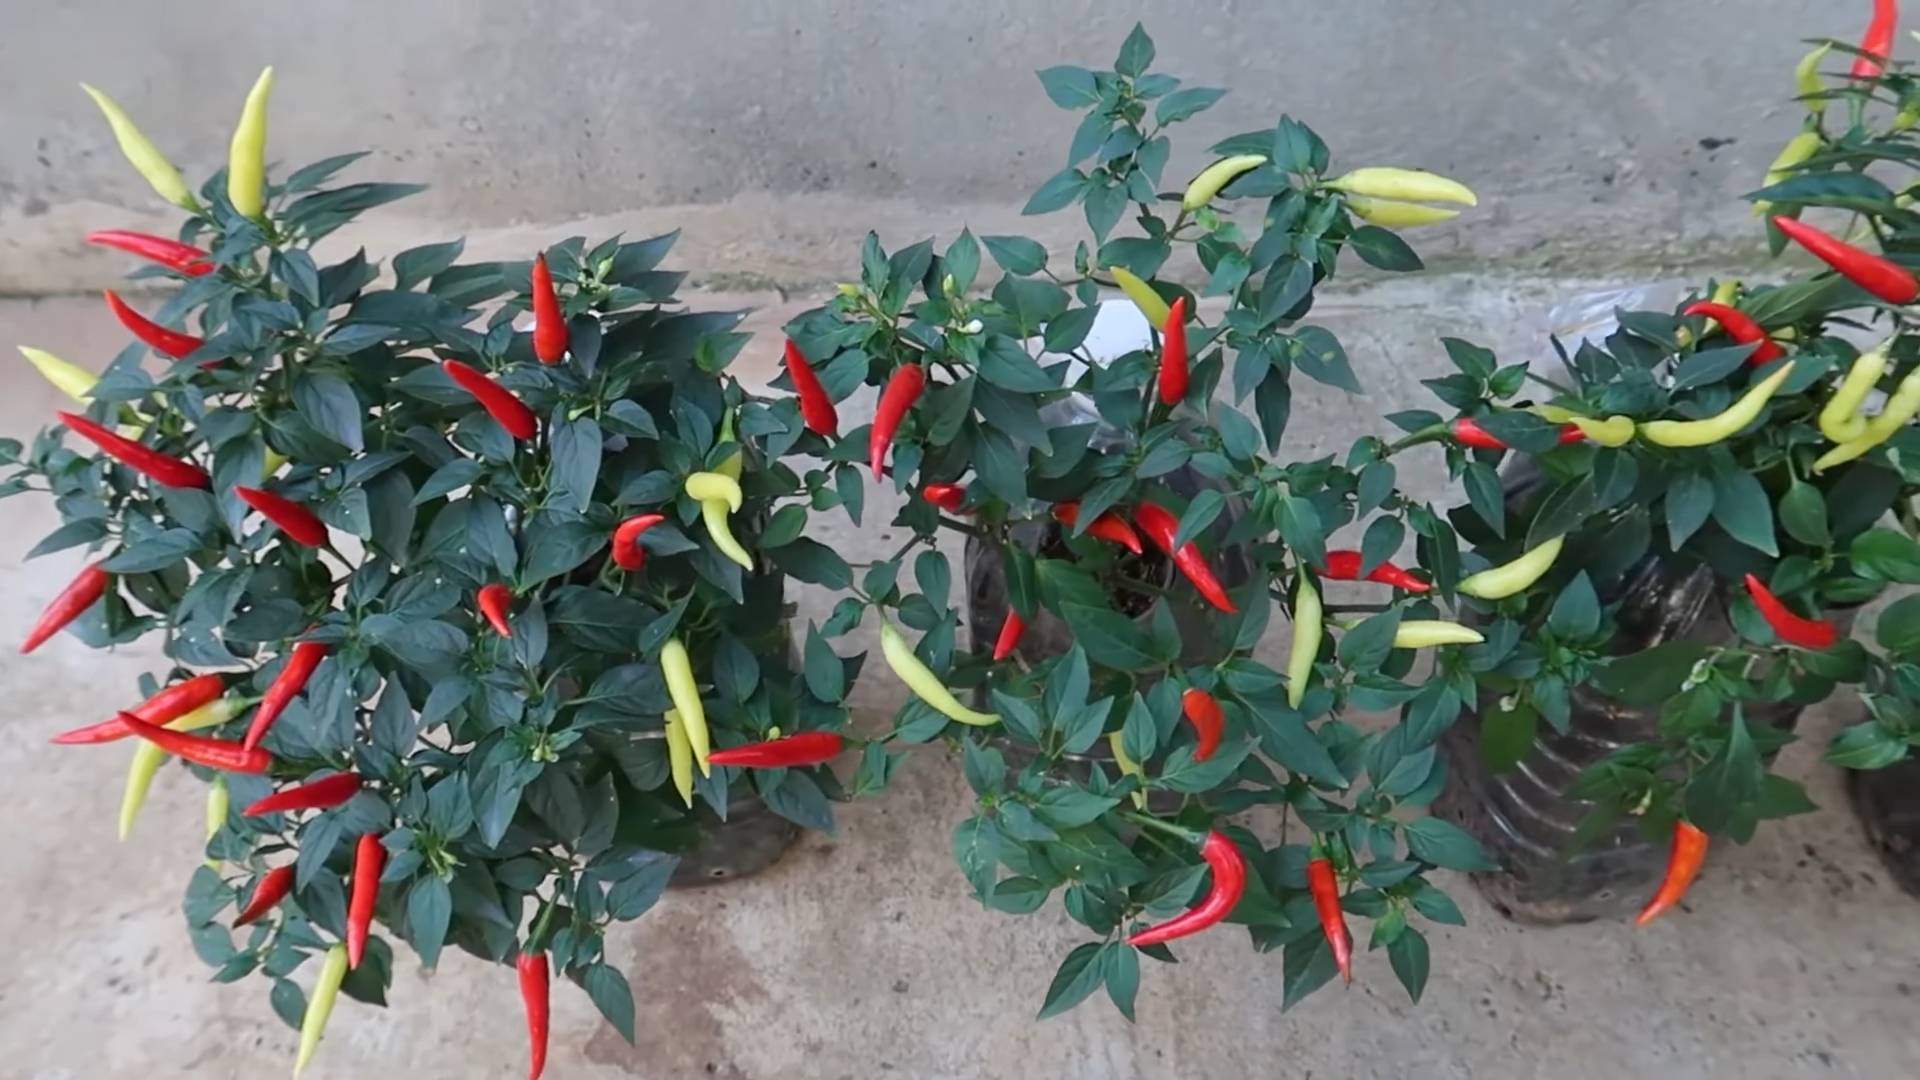
Chili Pepper Recycling Bottles: Who knew your empty plastic bottles could be the secret to a thriving chili pepper garden? I’m always on the lookout for clever ways to boost my harvest, and this DIY trick is a game-changer! For centuries, gardeners have sought innovative methods to protect and nurture their precious plants. From ancient Roman greenhouses to modern-day hydroponics, the quest for the perfect growing environment is a timeless pursuit.
But you don’t need fancy equipment to achieve amazing results. This simple yet effective method of using recycled bottles to grow chili peppers is not only eco-friendly but also provides a mini-greenhouse effect, creating the ideal conditions for these heat-loving plants to flourish.
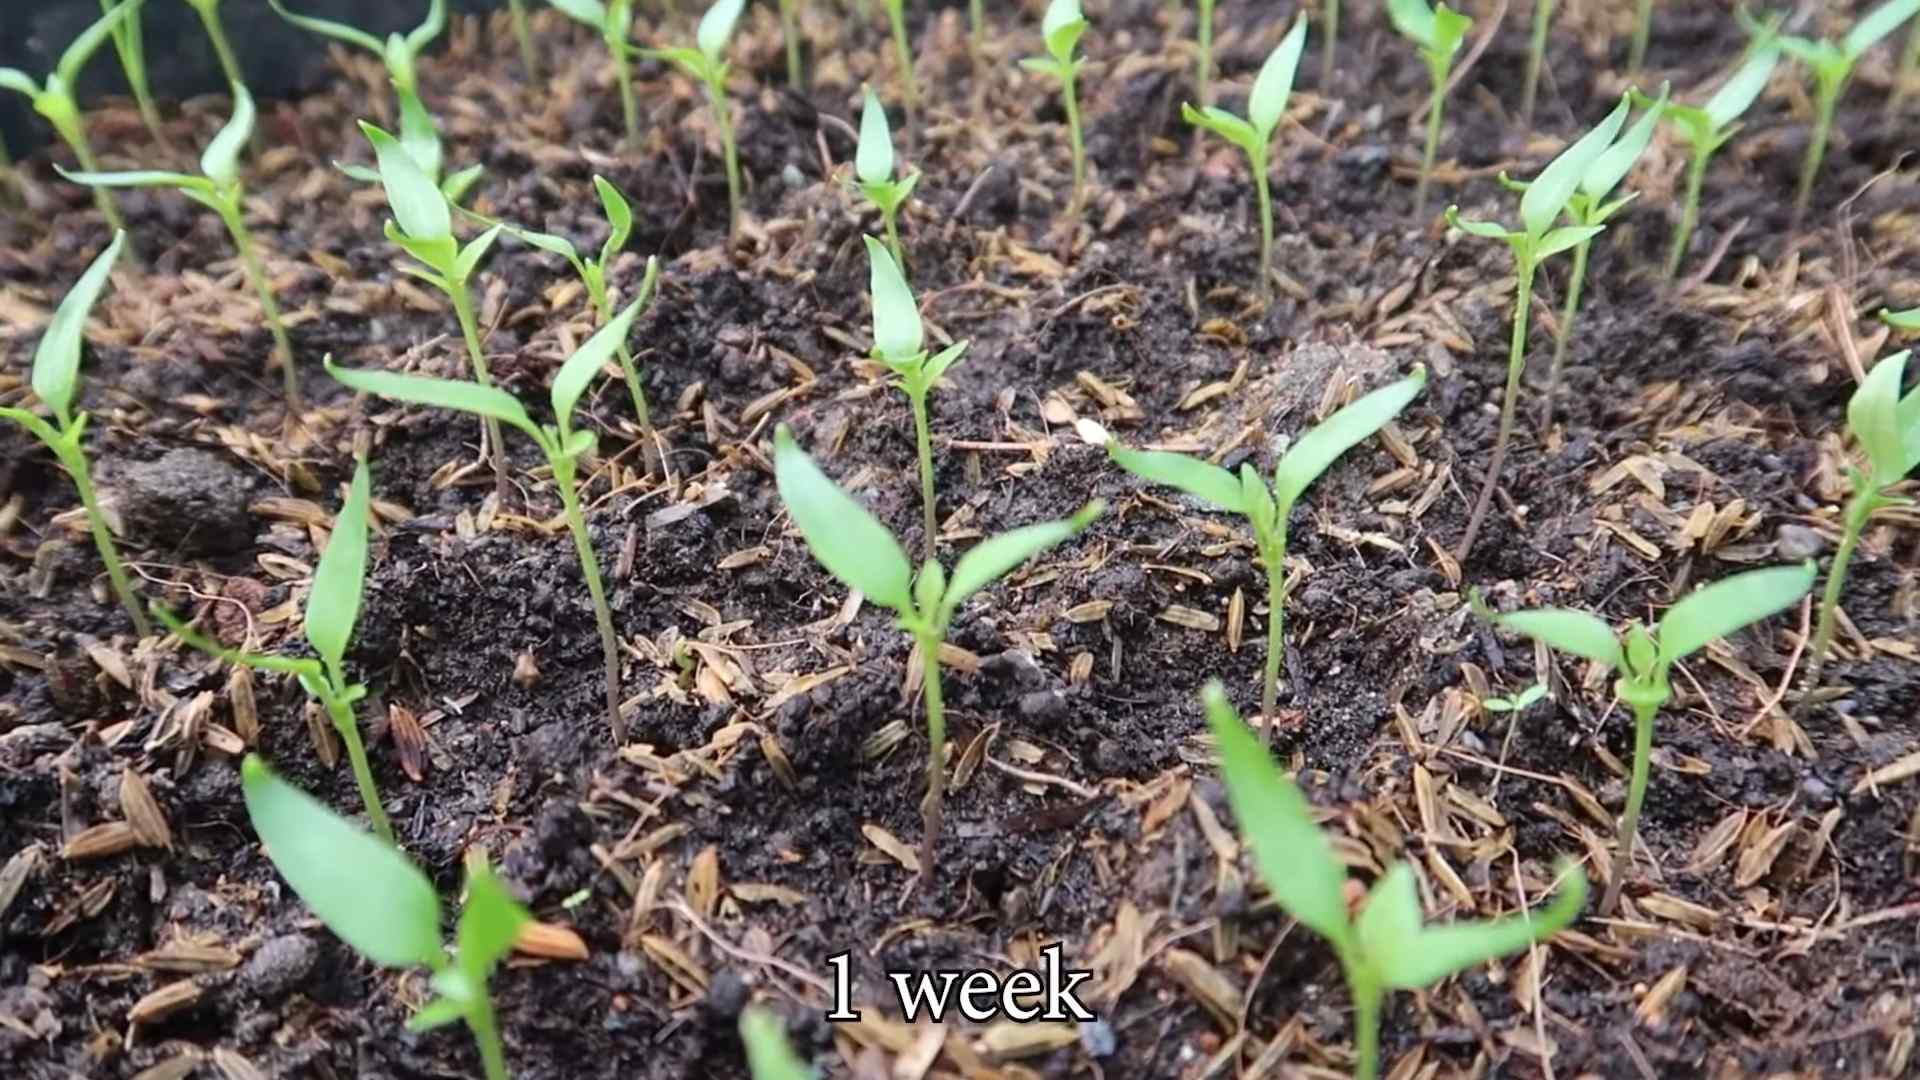
Why is this so important? Well, chili peppers can be a bit finicky. They need consistent warmth and protection from harsh weather, especially when they’re young. By using recycled bottles, you’re essentially creating a personalized climate control system for each plant, shielding them from wind, pests, and sudden temperature drops. Plus, it’s a fantastic way to reduce waste and give those plastic bottles a new lease on life. So, if you’re looking to maximize your chili pepper yield and embrace sustainable gardening practices, stick around! I’m going to show you exactly how to transform those empty bottles into mini-chili pepper paradises. Let’s get started with chili pepper recycling bottles!
DIY: Transforming Chili Pepper Recycling Bottles into Stunning String Lights
Hey there, fellow DIY enthusiasts! I’m super excited to share this project with you. I’ve always been fascinated by upcycling and finding creative ways to give discarded items a new life. And let me tell you, this project is not only eco-friendly but also adds a unique and vibrant touch to any space. We’re going to transform those colorful chili pepper recycling bottles (you know, the ones that usually end up in the trash) into beautiful string lights!
This project is perfect for adding a festive atmosphere to your patio, balcony, or even your living room. Plus, it’s a fantastic conversation starter! So, gather your supplies, put on some music, and let’s get started!
Materials You’ll Need:
* Empty Chili Pepper Recycling Bottles (as many as you want lights)
* String Lights (LED string lights are recommended for energy efficiency and safety)
* Drill with appropriate drill bits (a small drill bit for pilot holes and a larger one to accommodate the string light bulbs)
* Safety Glasses
* Gloves (optional, but recommended for handling glass)
* Sandpaper (medium grit)
* Hot Glue Gun and Glue Sticks (or other strong adhesive)
* Wire Cutters (if needed to adjust the string light length)
* Measuring Tape or Ruler
* Pencil or Marker
* Clean Cloth or Paper Towels
* Optional: Spray Paint (if you want to change the color of the bottle caps)
* Optional: Decorative elements like ribbon, twine, or beads
Preparing the Bottles: The Foundation of Your Lights
This is a crucial step, so take your time and be careful! We’re working with glass, so safety is paramount.
1. Cleaning the Bottles: First things first, we need to thoroughly clean the chili pepper bottles. Remove any labels and adhesive residue. I usually soak them in warm soapy water for a while, then scrub them with a sponge. For stubborn glue, try using a bit of Goo Gone or rubbing alcohol. Rinse them well and let them dry completely. A clean bottle ensures better adhesion for any decorative elements you might add later.
2. Planning the Hole Placement: Decide where you want the hole for the string light bulb to be on each bottle. I prefer to place it on the back, near the bottom, so the cord is less visible. Use a pencil or marker to mark the spot. Make sure the mark is large enough to see clearly. Consider the size of your string light bulbs when determining the hole size. You want it to be snug but not too tight.
3. Drilling the Pilot Hole: Put on your safety glasses and gloves. Using a small drill bit (smaller than the final hole size), carefully drill a pilot hole at the marked spot. This will help guide the larger drill bit and prevent the glass from chipping or cracking. Apply gentle pressure and let the drill do the work. Don’t force it! If you’re having trouble, try applying a small amount of cutting oil to the drill bit.
4. Enlarging the Hole: Now, switch to a larger drill bit that’s the appropriate size for your string light bulbs. Slowly and carefully enlarge the pilot hole. Again, apply gentle pressure and let the drill do the work. Keep the drill bit cool by dipping it in water occasionally. This will also help prevent the glass from overheating and cracking. Take your time and be patient! This is the most delicate part of the process.
5. Smoothing the Edges: Once the hole is drilled, use sandpaper to smooth any sharp edges around the hole. This will prevent the cord from being damaged and make the bottle safer to handle. Fold the sandpaper and gently rub it around the inside and outside of the hole.
6. Cleaning Again: After drilling and sanding, clean the bottles again to remove any glass dust or debris. Use a clean cloth or paper towel to wipe them inside and out.
Preparing the String Lights: Getting Ready to Illuminate
Now that the bottles are ready, let’s prepare the string lights.
1. Choosing the Right Lights: I highly recommend using LED string lights for this project. They’re energy-efficient, produce very little heat, and last a long time. Plus, they come in a variety of colors and styles. Make sure the lights are suitable for outdoor use if you plan to hang them outside.
2. Testing the Lights: Before you start, plug in the string lights and make sure all the bulbs are working. It’s much easier to replace a bulb now than after you’ve assembled the entire string.
3. Planning the Bulb Placement: Decide how you want to space the bottles along the string lights. I usually measure the distance between each bulb and then space the bottles accordingly. You can use a measuring tape or ruler to ensure even spacing.
4. Adjusting the Length (Optional): If the string lights are too long for your needs, you can shorten them. However, this requires some electrical knowledge and should only be done if you’re comfortable working with wires. Use wire cutters to cut the string lights to the desired length. Then, strip the ends of the wires and reconnect them using wire connectors. Make sure to properly insulate the connections to prevent short circuits. If you’re not comfortable doing this, it’s best to leave the string lights as they are and simply coil up any excess cord.
Assembling the String Lights: Bringing It All Together
This is where the magic happens! We’re going to combine the prepared bottles and string lights to create our stunning illuminated masterpiece.
1. Inserting the Bulbs: Carefully insert each string light bulb through the hole in the corresponding bottle. Gently push the bulb until it’s securely seated in the hole. Be careful not to force it, as you could break the bulb or the bottle.
2. Securing the Bottles (Hot Glue Method): Once the bulb is in place, use a hot glue gun to secure the bottle to the string light cord. Apply a generous amount of hot glue around the hole, where the bottle meets the cord. This will prevent the bottle from sliding off the cord and provide extra stability. Hold the bottle in place until the glue cools and hardens.
3. Alternative Securing Methods: If you don’t want to use hot glue, you can use other strong adhesives, such as epoxy or silicone sealant. Follow the manufacturer’s instructions for application and drying time. You can also use small rubber grommets or O-rings to create a snug fit between the bulb and the bottle.
4. Adding Decorative Elements (Optional): Now’s the time to get creative and add any decorative elements you like. You can wrap ribbon or twine around the necks of the bottles, add beads or charms, or even paint designs on the bottles. Let your imagination run wild!
5. Hanging Your Lights: Once the glue is dry and any decorative elements are in place, it’s time to hang your lights! Choose a suitable location, such as a patio, balcony, or living room. Use hooks, nails, or zip ties to secure the string lights in place. Make sure the lights are hung securely and won’t be blown around by the wind.
Finishing Touches: Making Your Lights Shine
Almost there! Just a few final steps to ensure your lights look their absolute best.
1. Checking the Alignment: Take a step back and admire your creation. Make sure the bottles are evenly spaced and hanging straight. Adjust them as needed.
2. Replacing Any Broken Bulbs: If any bulbs broke during the assembly process, replace them now.
3. Cleaning Up: Clean up any mess you made during the project. Dispose of any glass shards or debris safely.
4. Enjoying Your Lights: Plug in your string lights and enjoy the warm, inviting glow. You’ve successfully transformed discarded chili pepper bottles into a beautiful and unique lighting fixture!
Tips and Tricks for Success:
* Practice Drilling: If you’re nervous about drilling into glass, practice on a scrap piece of glass first.
* Use a Diamond Drill Bit: Diamond drill bits are designed specifically for drilling into glass and tile. They’re more expensive than regular drill bits, but they’ll give you cleaner, more precise holes.
* Keep the Drill Bit Cool: As mentioned earlier, keeping the drill bit cool is crucial for preventing the glass from cracking. Dip the drill bit in water frequently or use a spray bottle to keep it lubricated.
* Work in a Well-Ventilated Area: When working with adhesives or spray paint, make sure to work in a well-ventilated area to avoid inhaling harmful fumes.
* Get Creative with the Design: Don’t be afraid to experiment with different colors, patterns, and decorative elements. The possibilities are endless!
* Safety First: Always wear safety glasses and gloves when working with glass. Be careful when handling sharp objects and power tools.
I hope you enjoyed this DIY project as much as I did! It’s a fun and rewarding way to upcycle materials and create something beautiful and unique. Happy crafting!
Conclusion
So, there you have it! Transforming those humble chili pepper recycling bottles into vibrant, practical, and utterly charming additions to your home is not just a craft project; it’s a statement. It’s a statement about sustainability, about creativity, and about finding beauty in the everyday. We’ve walked you through the simple steps, highlighting how easy it is to repurpose something destined for the landfill into something truly special.
Why is this DIY trick a must-try? Because it’s more than just recycling; it’s upcycling. It’s taking something discarded and giving it a new life, a new purpose, and a new aesthetic appeal. Think about the satisfaction of knowing that you’ve reduced waste while simultaneously adding a unique, personalized touch to your living space. And let’s be honest, who wouldn’t love a conversation starter that also happens to be incredibly useful?
But the beauty of this project lies in its adaptability. Feel free to experiment with different paints, embellishments, and functionalities. Instead of simple vases, consider turning your chili pepper recycling bottles into quirky planters for herbs or succulents. Drill small holes in the bottom for drainage, add some potting soil, and watch your little green friends thrive in their repurposed homes.
Or, perhaps you’re feeling particularly artistic? Try decoupage! Cut out images from magazines, newspapers, or even old photographs and adhere them to the bottles using Mod Podge. This is a fantastic way to personalize your creations and make them truly one-of-a-kind. You could even theme them based on the contents they once held – spicy imagery for chili pepper bottles, perhaps?
Another variation involves using the bottles as organizers. In the bathroom, they can hold cotton balls, Q-tips, or makeup brushes. In the kitchen, they can store spices, dried herbs, or even small utensils. The possibilities are truly endless. Just remember to thoroughly clean and sanitize the bottles before using them for food-related items.
And don’t forget about lighting! With a little creativity, you can transform these bottles into stunning decorative lamps. Simply insert a string of fairy lights into the bottle for a soft, ambient glow. Or, for a more ambitious project, you could even wire a bottle to create a unique table lamp. Just be sure to consult with a qualified electrician if you’re not comfortable working with electrical components.
The key takeaway here is that this DIY project is all about embracing your creativity and having fun. Don’t be afraid to experiment, to try new things, and to put your own personal stamp on your creations. The more you personalize them, the more special they will become.
We are confident that you will find this project rewarding and enjoyable. So, gather your chili pepper recycling bottles, unleash your inner artist, and get ready to transform trash into treasure. We can’t wait to see what you create!
Now, we want to hear from you! Have you tried this DIY trick? What variations did you come up with? What challenges did you face, and how did you overcome them? Share your experiences, your tips, and your photos in the comments below. Let’s inspire each other and create a community of upcycling enthusiasts! Your feedback is invaluable, and it helps us to improve our instructions and provide even more helpful tips in the future. Let’s turn those chili pepper recycling bottles into something amazing, together!
FAQ
What kind of chili pepper recycling bottles work best for this project?
The best bottles are those that are clean, clear (or easily paintable), and free of any stubborn labels or residue. Glass bottles are generally preferred for their durability and aesthetic appeal, but sturdy plastic bottles can also work well, especially for projects where weight is a concern. Consider the shape and size of the bottle in relation to your intended use. Taller, slender bottles are great for vases, while shorter, wider bottles might be better suited for storage containers.
How do I remove the labels and adhesive from the bottles?
Removing labels can be tricky, but here are a few effective methods:
* **Soaking:** Submerge the bottles in warm, soapy water for at least 30 minutes. This often loosens the labels enough to peel them off easily.
* **Heat:** Use a hairdryer to gently heat the label. The heat will soften the adhesive, making it easier to peel off. Be careful not to overheat the glass, as it could crack.
* **Vinegar or Baking Soda Paste:** Apply white vinegar or a paste made from baking soda and water to the label. Let it sit for a few minutes, then scrub with a sponge or cloth.
* **Goo Gone or WD-40:** These products are specifically designed to remove adhesive residue. Apply them to the affected area, let them sit for a few minutes, and then wipe clean.
* **Razor Blade (with caution):** For stubborn residue, you can carefully use a razor blade to scrape it off. Hold the blade at a shallow angle and be extremely cautious to avoid scratching the glass or cutting yourself.
After removing the label, wash the bottles thoroughly with soap and water to remove any remaining residue.
What kind of paint should I use for decorating the bottles?
The best type of paint depends on the material of the bottle and the desired finish.
* **Glass:** Acrylic enamel paints are a good choice for glass, as they adhere well and are durable. Glass-specific paints are also available, which offer excellent adhesion and resistance to scratching. Consider using spray paint for a smooth, even finish, or brush-on paint for more detailed designs.
* **Plastic:** Acrylic paints are generally suitable for plastic, but it’s important to choose a paint that is specifically designed for use on plastic. Look for paints that are labeled as “adhesion promoters” or “plastic paints.” You may also need to prime the plastic surface before painting to ensure proper adhesion.
Always follow the manufacturer’s instructions for drying times and application techniques.
How can I make the paint more durable and prevent it from chipping?
To protect your painted bottles and prevent chipping, consider these tips:
* **Prime the surface:** Applying a primer before painting can help the paint adhere better to the surface.
* **Apply multiple coats:** Several thin coats of paint are better than one thick coat. This will create a more durable and even finish.
* **Seal the paint:** After the paint is completely dry, apply a clear sealant or varnish. This will protect the paint from scratches and moisture. Choose a sealant that is compatible with the type of paint you used.
* **Handle with care:** Avoid dropping or scratching the painted bottles. When cleaning, use a soft cloth and mild soap.
Are there any safety precautions I should take when working with glass bottles?
Yes, safety is paramount when working with glass bottles. Here are some important precautions:
* **Wear safety glasses:** Protect your eyes from flying glass shards.
* **Wear gloves:** Protect your hands from cuts and scrapes.
* **Work in a well-lit area:** This will help you see what you’re doing and avoid accidents.
* **Be careful when cutting or drilling glass:** These tasks can be dangerous and should only be attempted by experienced individuals with the proper tools and safety equipment. Consider taking a class or watching instructional videos before attempting these techniques.
* **Dispose of broken glass safely:** Wrap broken glass in newspaper or cardboard and label it clearly before disposing of it.
Can I use these bottles for food storage?
While you can repurpose chili pepper recycling bottles for various uses, it’s crucial to exercise caution when considering them for food storage. If the bottles were originally used for food products and are thoroughly cleaned and sanitized, they *might* be suitable for storing dry goods like spices or dried herbs. However, it’s generally not recommended to use them for storing perishable foods or liquids, as they may not provide an airtight seal and could potentially contaminate the food. Always prioritize food safety and use containers specifically designed for food storage whenever possible.
Where can I find inspiration for decorating my chili pepper recycling bottles?
The internet is a treasure trove of inspiration! Search for “DIY bottle crafts,” “upcycled bottle ideas,” or “painted bottle projects” on Pinterest, Instagram, and YouTube. You’ll find countless examples of creative and beautiful bottle transformations. Also, don’t be afraid to experiment and come up with your own unique designs!
Leave a Comment