
Best Oven Cleaner for Grease: Let’s face it, cleaning the oven is nobody’s favorite chore. It’s right up there with scrubbing toilets and doing taxes! But what if I told you that tackling that greasy, grimy oven mess could be easier, faster, and even…dare I say…satisfying?
For generations, a sparkling clean oven has been a symbol of a well-maintained home and a welcoming kitchen. Think about it – from grandma’s perfectly baked pies to holiday feasts, the oven is the heart of many cherished memories. But all that deliciousness often leaves behind a stubborn residue of baked-on grease that seems impossible to remove.
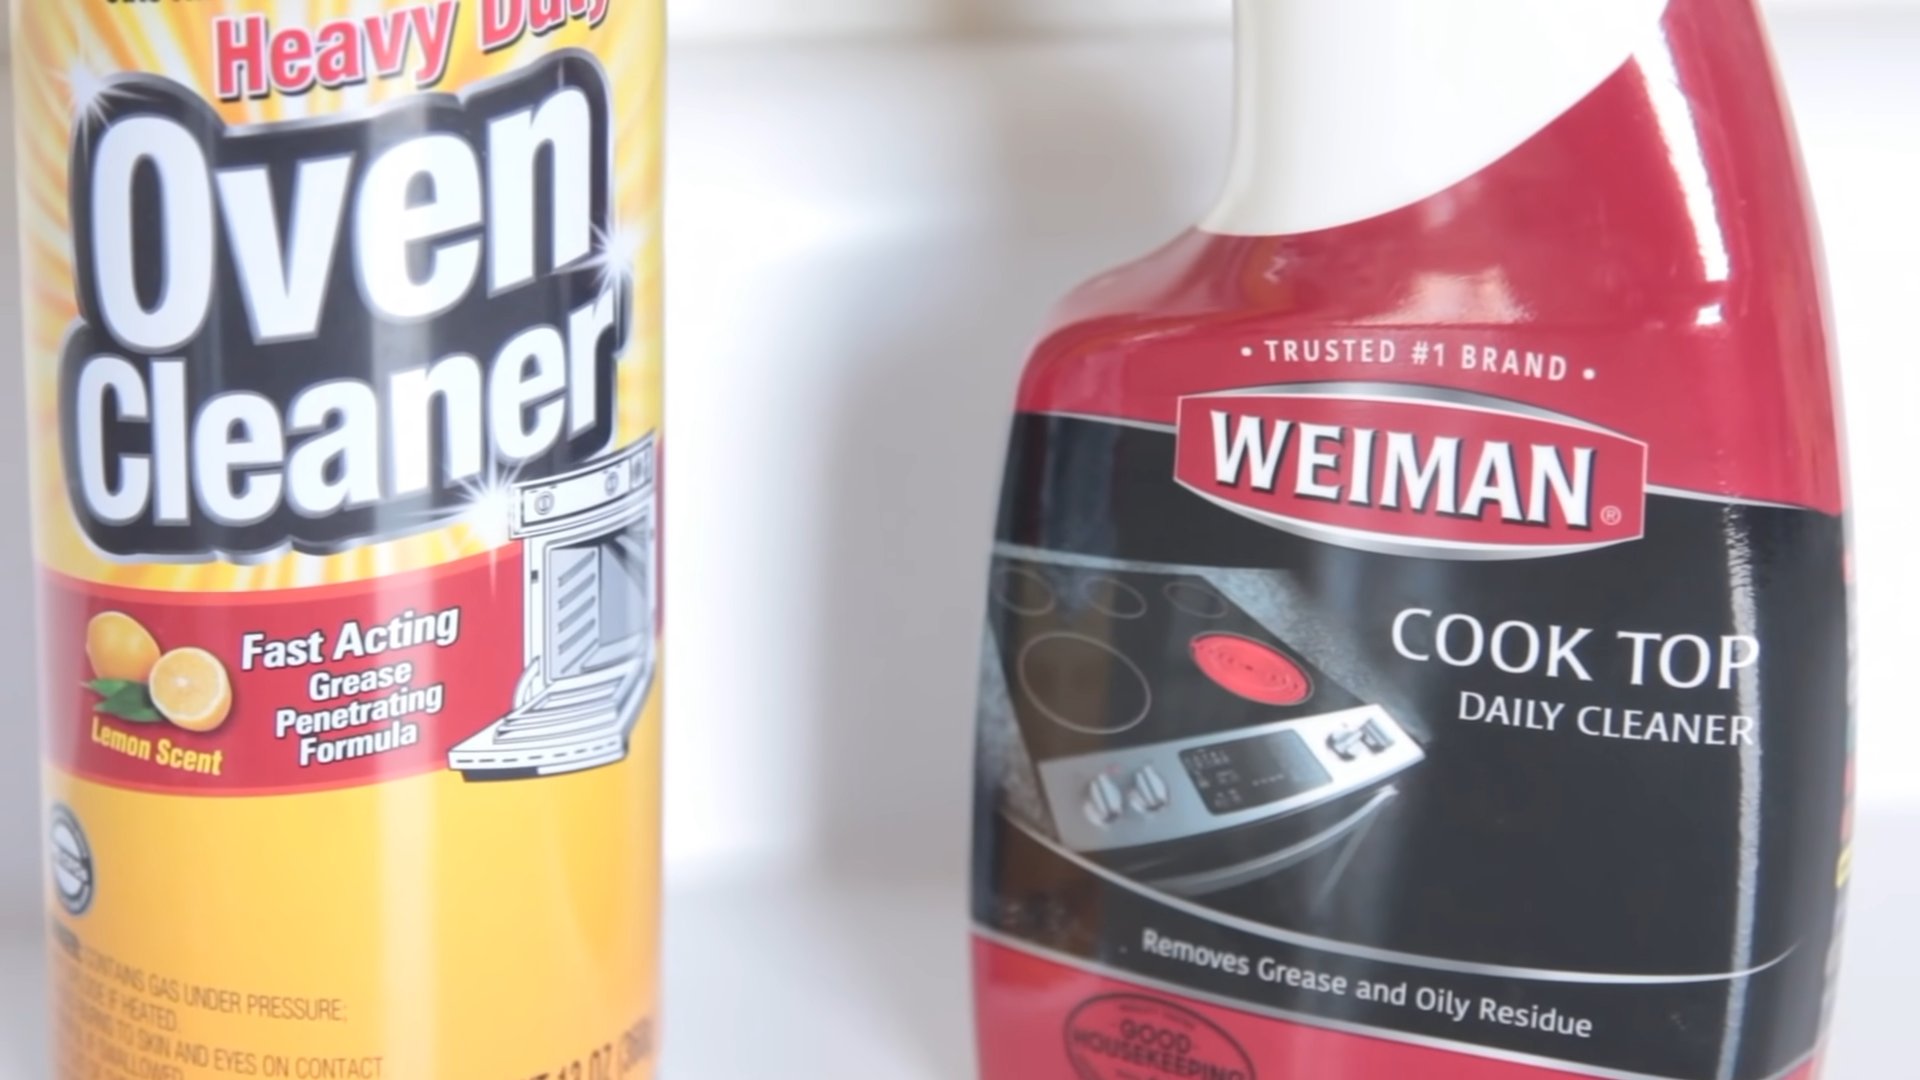
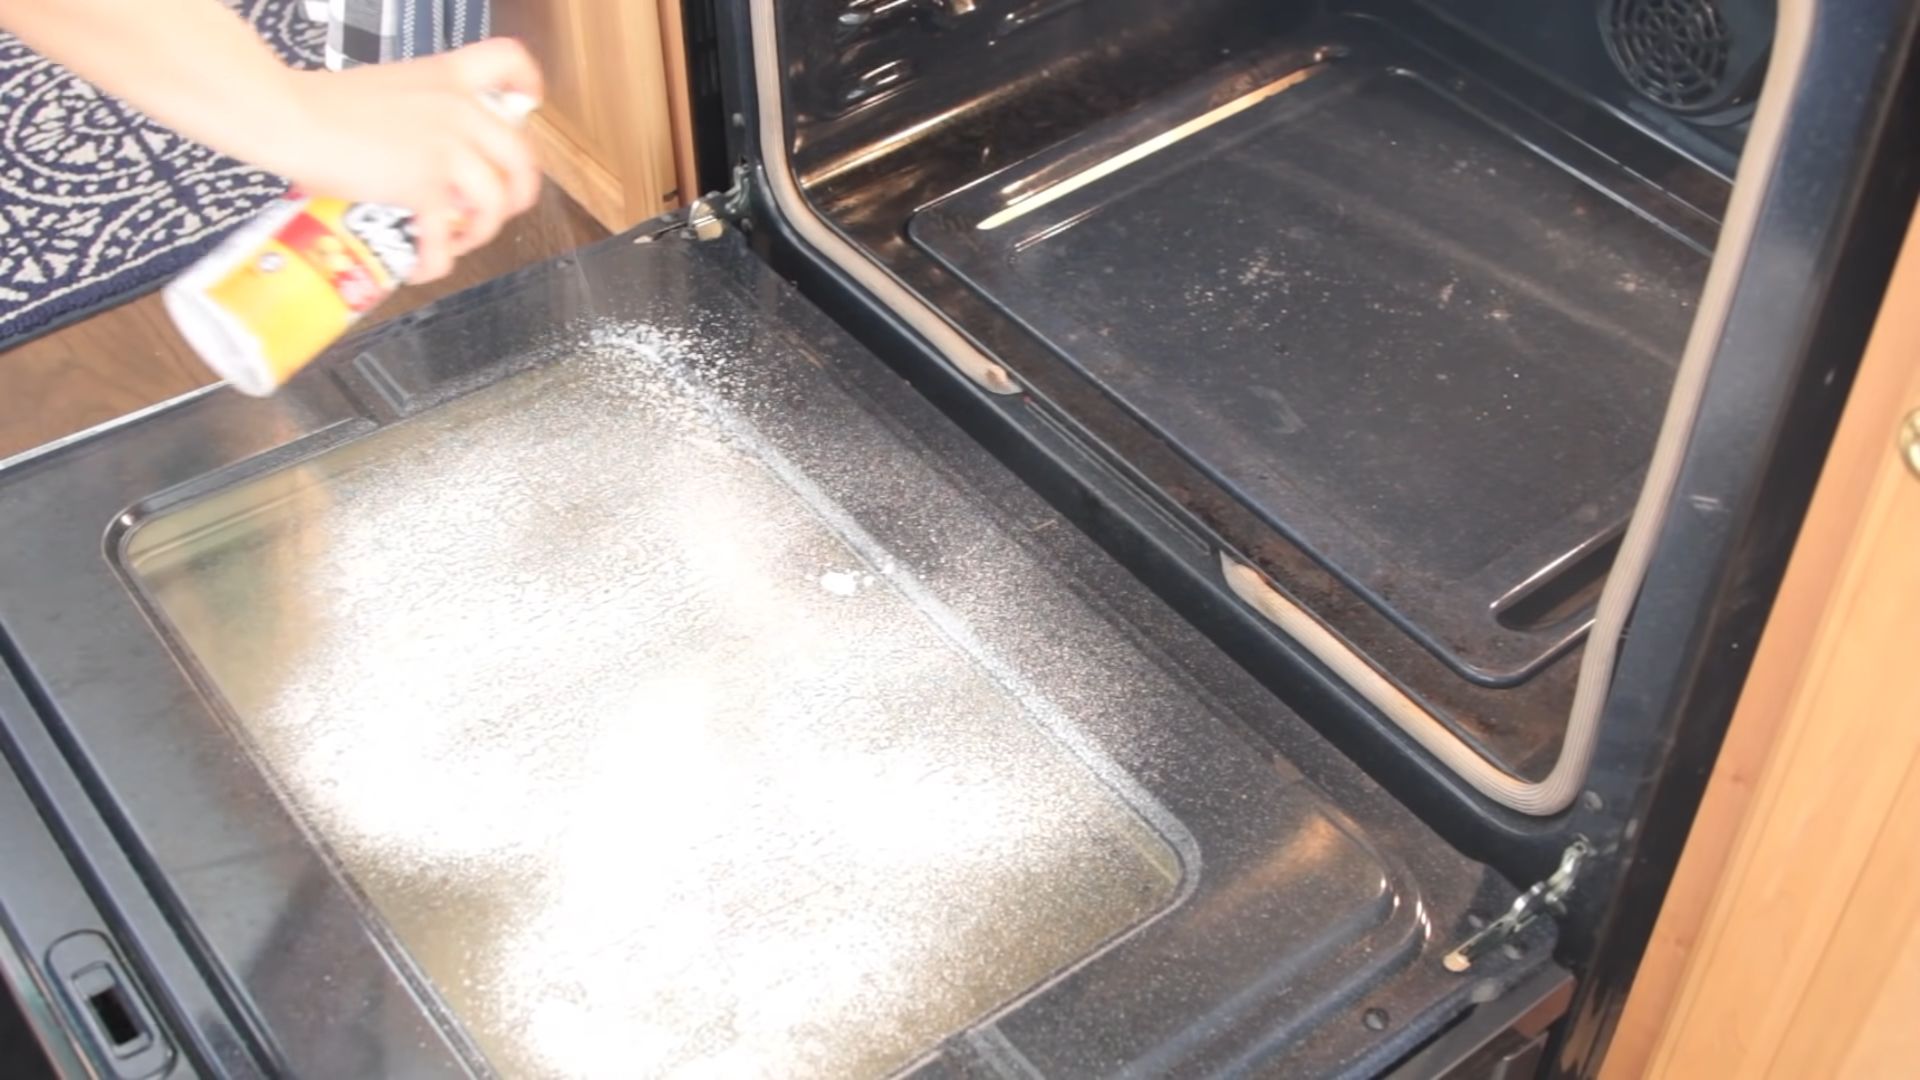
That’s where this DIY guide comes in! We’re diving deep into the world of oven cleaning, exploring the best oven cleaner for grease solutions that you can whip up right in your own kitchen. Forget harsh chemicals and endless scrubbing. I’m going to share some tried-and-true methods that are not only effective but also budget-friendly and environmentally conscious.
Why do you need these DIY tricks? Because a clean oven isn’t just about aesthetics. It’s about food safety, energy efficiency, and even the taste of your cooking! A greasy oven can affect the temperature and airflow, leading to unevenly cooked meals and potentially even posing a fire hazard. So, let’s get started and transform your oven from a greasy nightmare into a sparkling clean dream!
DIY Plastic Bottle Vertical Garden: A Thrifty & Green Project
Hey there, fellow garden enthusiasts! Are you short on space but long on gardening dreams? Or maybe you just want a fun and eco-friendly project to tackle? Well, I’ve got just the thing for you: a DIY vertical garden made from recycled plastic bottles! This project is not only a fantastic way to reuse those plastic bottles that often end up in landfills, but it also allows you to create a beautiful and thriving garden, even in the smallest of spaces. Let’s get started!
What You’ll Need:
Before we dive into the nitty-gritty, let’s gather all the necessary materials. Trust me, having everything ready beforehand will make the process much smoother and more enjoyable.
* Plastic Bottles: The star of the show! You’ll need a good number of plastic bottles – think soda bottles, water bottles, juice bottles, anything goes! The number will depend on how big you want your vertical garden to be. Aim for at least 10-15 to start. Make sure they are clean and dry.
* Scissors or a Utility Knife: For cutting the plastic bottles. Be careful and always cut away from yourself!
* Strong Rope or Twine: To hang the bottles. Choose a durable material that can withstand the weight of the soil and plants. I prefer using nylon rope, but thick twine works well too.
* Soil: Good quality potting soil is essential for healthy plant growth.
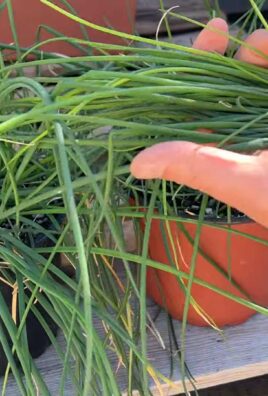
* Plants: Choose plants that are suitable for vertical gardening and the amount of sunlight your garden will receive. Herbs, strawberries, lettuce, and succulents are all great options.
* Drill or Awl: To create drainage holes in the bottles.
* Measuring Tape or Ruler: To ensure even spacing between the bottles.
* Marker or Pen: For marking cutting lines on the bottles.
* Gloves: To protect your hands while working with soil and plastic.
* Optional: Spray Paint: If you want to add a pop of color to your garden, grab some spray paint suitable for plastic.
Preparing the Plastic Bottles:
This is where the magic begins! We’ll transform those ordinary plastic bottles into mini-planters ready to house your green friends.
1. Clean and Dry the Bottles: Make sure all the bottles are thoroughly cleaned and completely dry. Remove any labels or sticky residue. I usually soak them in warm soapy water for a while, then rinse them well.
2. Cut the Bottles: This is a crucial step, so pay close attention. You have a couple of options here, depending on the look you’re going for:
* Option 1: Cut in Half: Cut each bottle in half horizontally. You’ll be using the top half as the planter and the bottom half as a water reservoir. This method is great for plants that need consistent moisture.
* Option 2: Cut a Large Opening: Cut a large rectangular or oval opening on one side of the bottle. This method is simpler and allows for more planting space, but you’ll need to water more frequently.
I personally prefer the first option (cutting in half) because it helps retain moisture and reduces the frequency of watering. If you choose this option, make sure the cut is clean and even.
3. Create Drainage Holes: Now, we need to create drainage holes in the bottom of the top half of each bottle (the planter part). Use a drill or awl to make 3-4 small holes. This will prevent waterlogging and ensure healthy root growth.
4. (Optional) Paint the Bottles: If you want to add some color to your garden, now’s the time to spray paint the bottles. Choose colors that complement your plants and your outdoor space. Make sure to use spray paint that is specifically designed for plastic and apply it in a well-ventilated area. Let the paint dry completely before moving on to the next step.
Assembling the Vertical Garden:
Now comes the fun part – putting everything together! This is where your vision starts to take shape.
1. Measure and Mark: Decide where you want to hang your vertical garden. Measure the desired length and mark the spots where you’ll be attaching the rope or twine.
2. Thread the Rope: Thread the rope or twine through the neck of each bottle (the top half). If you cut the bottles in half, you’ll need to make small holes on either side of the cut edge to thread the rope through. Make sure the bottles are evenly spaced and securely attached to the rope. I usually leave about 6-8 inches between each bottle.
3. Secure the Bottoms (If Using Cut Bottles): If you cut the bottles in half, place the bottom half of each bottle underneath the corresponding top half. This will act as a water reservoir and catch any excess water. You can secure the two halves together with a small piece of tape or glue, but it’s not strictly necessary.
4. Hang the Garden: Hang your vertical garden in your desired location. Make sure the rope or twine is securely attached to a sturdy support, such as a fence, wall, or railing.
Planting Your Garden:
Time to get your hands dirty! This is where you bring your garden to life with beautiful plants.
1. Add Soil: Fill each bottle (the top half) with good quality potting soil. Leave about an inch of space at the top to prevent soil from spilling out when you water.
2. Plant Your Plants: Gently remove your plants from their containers and plant them in the bottles. Make sure the roots are well covered with soil.
3. Water Thoroughly: Water your plants thoroughly after planting. Allow the excess water to drain into the bottom half of the bottles (if you’re using the cut-in-half method).
4. Monitor and Adjust: Keep an eye on your plants and adjust your watering schedule as needed. Remember that plants in vertical gardens tend to dry out more quickly than plants in traditional pots, so you may need to water them more frequently.
Tips and Tricks for a Thriving Vertical Garden:
Here are a few extra tips to help you create a successful and beautiful vertical garden:
* Choose the Right Plants: Not all plants are suitable for vertical gardening. Choose plants that are compact, have shallow roots, and can tolerate being grown in containers. Herbs like basil, mint, and thyme are excellent choices, as are strawberries, lettuce, and succulents.
* Consider Sunlight: Pay attention to the amount of sunlight your garden will receive. Choose plants that are appropriate for the light conditions. If your garden is in a shady area, opt for shade-tolerant plants like ferns or impatiens.
* Use Good Quality Soil: Good quality potting soil is essential for healthy plant growth. Avoid using garden soil, as it can be too heavy and compacted for containers.
* Water Regularly: Vertical gardens tend to dry out more quickly than traditional gardens, so you’ll need to water your plants regularly. Check the soil moisture daily and water when the top inch of soil feels dry.
* Fertilize Regularly: Plants in containers need regular fertilization to stay healthy and productive. Use a balanced liquid fertilizer every 2-4 weeks.
* Rotate Your Plants: To ensure even growth, rotate your plants regularly. This will help them receive sunlight from all sides.
* Prune Regularly: Prune your plants regularly to keep them compact and encourage new growth.
* Protect from Extreme Weather: If you live in an area with extreme weather conditions, such as strong winds or heavy rain, you may need to protect your vertical garden. You can move it indoors or cover it with a tarp.
* Get Creative with Design: Don’t be afraid to get creative with the design of your vertical garden. You can arrange the bottles in different patterns, use different colors of spray paint, or add decorative elements like pebbles or shells.
Troubleshooting:
Even with the best planning, you might encounter a few hiccups along the way. Here are some common problems and how to fix them:
* Plants are Drying Out: This is a common problem in vertical gardens. Make sure you’re watering your plants regularly and that the soil is well-draining. You can also add some water-retaining crystals to the soil to help it retain moisture.
* Plants are Turning Yellow: Yellowing leaves can be a sign of overwatering or underwatering. Check the soil moisture and adjust your watering schedule accordingly. It could also be a sign of nutrient deficiency, so try fertilizing your plants.
* Plants are Leggy: Leggy plants are a sign that they’re not getting enough sunlight. Move your garden to a sunnier location or supplement with artificial light.
* Pests: Keep an eye out for pests like aphids, spider mites, and whiteflies. Treat infestations promptly with insecticidal soap or neem oil.
Enjoy Your Green Oasis!
And there you have it! A beautiful and sustainable vertical garden made from recycled plastic bottles. I hope
Conclusion
So, there you have it! Ditching the harsh chemicals and embracing this simple, effective DIY oven cleaner for grease is more than just a cleaning hack; it’s a step towards a healthier home and a happier planet. We’ve shown you how easy it is to create a powerful cleaning solution using ingredients you likely already have in your pantry. No more battling fumes, no more worrying about harmful residues – just a sparkling clean oven achieved with natural power.
Why is this a must-try? Because it works! It tackles stubborn grease and baked-on food with surprising efficiency, often outperforming commercial cleaners without the associated drawbacks. Plus, it’s incredibly cost-effective. Think about all the money you’ll save by not having to repurchase expensive oven cleaners every few months. That’s money you can put towards something far more enjoyable, like a delicious meal cooked in your newly cleaned oven!
But the benefits extend beyond just cost and effectiveness. This DIY approach gives you complete control over what you’re using in your home. You know exactly what’s going into your oven, and you can rest assured that you’re not exposing yourself or your family to potentially harmful chemicals. In a world where we’re increasingly conscious of the products we use, this is a significant advantage.
Looking for variations? Absolutely! For extra stubborn grease, try letting the baking soda paste sit overnight. The longer it sits, the more time it has to break down the grime. You can also add a few drops of your favorite essential oil, like lemon or tea tree, to the vinegar spray for a fresh, clean scent. Just be sure to use essential oils that are safe for use around food. Another variation is to use washing soda (sodium carbonate) instead of baking soda (sodium bicarbonate) for an even more powerful cleaning punch. Washing soda is more alkaline than baking soda, so it will cut through grease more effectively. However, be sure to wear gloves when using washing soda, as it can be irritating to the skin.
We’re confident that once you try this DIY oven cleaner for grease, you’ll be amazed by the results. It’s a simple, safe, and effective way to keep your oven sparkling clean without the harsh chemicals.
Now, we want to hear from you! Give this DIY trick a try and share your experience in the comments below. Did it work as well for you as it did for us? Did you try any variations? What tips and tricks did you discover along the way? Your feedback is invaluable and helps us create even better content for our community. Let’s work together to create a cleaner, healthier, and more sustainable kitchen! Don’t forget to share this recipe with your friends and family who are looking for a natural and effective way to clean their ovens. Let’s spread the word about this amazing DIY oven cleaner for grease!
Frequently Asked Questions (FAQ)
What kind of baking soda should I use?
Regular baking soda (sodium bicarbonate) is perfectly fine for this DIY oven cleaner. You don’t need to buy anything fancy or special. The baking soda you use for baking will work just as well for cleaning your oven. Just make sure it’s not expired!
Can I use this DIY oven cleaner on a self-cleaning oven?
While this cleaner is generally safe, it’s always best to consult your oven’s manual before using any cleaning product, especially on a self-cleaning oven. Some self-cleaning ovens have specific coatings or components that could be damaged by certain ingredients. If your manual advises against using baking soda or vinegar, it’s best to err on the side of caution. However, many people have successfully used this method on self-cleaning ovens without any issues. If you’re unsure, test a small, inconspicuous area first.
How often should I clean my oven with this method?
The frequency of cleaning depends on how often you use your oven and how much it gets soiled. For most people, cleaning the oven every 1-3 months is sufficient. If you cook frequently or tend to have a lot of spills, you may need to clean it more often. Regular spot cleaning of spills as they happen can also help to prevent the buildup of stubborn grease and grime.
What if the grease is really baked on and stubborn?
For extremely stubborn grease, you can try a few things. First, make sure the baking soda paste is thick enough. A thicker paste will have more cleaning power. Second, let the paste sit for a longer period of time, even overnight. The longer it sits, the more time it has to break down the grease. Third, you can try using a non-abrasive scrubbing pad or sponge to help loosen the grease. Be careful not to scratch the oven surface. Finally, as mentioned earlier, you can try using washing soda (sodium carbonate) instead of baking soda for a more powerful cleaning solution.
Is vinegar safe to use on all oven surfaces?
Vinegar is generally safe to use on most oven surfaces, but it’s always a good idea to test it in an inconspicuous area first, especially if you have a newer oven with a special coating. Avoid using vinegar on heating elements or electrical components. If you’re concerned about the acidity of vinegar, you can dilute it with water.
Can I use this cleaner on my oven door glass?
Yes, this DIY oven cleaner is safe and effective for cleaning oven door glass. The baking soda paste will help to loosen baked-on food and grease, and the vinegar spray will help to remove any residue. Just be sure to rinse the glass thoroughly with water after cleaning.
What if I don’t have vinegar? Can I use something else?
While vinegar is the preferred ingredient for this DIY oven cleaner, you can try using lemon juice as a substitute. Lemon juice has similar acidic properties to vinegar and can help to cut through grease and grime. However, vinegar is generally more effective and less expensive.
How do I get the baking soda paste into hard-to-reach areas?
Use an old toothbrush or a small cleaning brush to apply the baking soda paste to hard-to-reach areas, such as corners and crevices. You can also use a spatula or a butter knife to spread the paste evenly.
Does this DIY oven cleaner have a strong smell?
One of the great things about this DIY oven cleaner is that it doesn’t have a strong, chemical smell like many commercial oven cleaners. The baking soda has a neutral odor, and the vinegar smell dissipates quickly. If you want to add a pleasant scent, you can add a few drops of your favorite essential oil to the vinegar spray.
What are the benefits of using a DIY oven cleaner over a commercial one?
There are many benefits to using a DIY oven cleaner over a commercial one. DIY cleaners are generally safer, more cost-effective, and more environmentally friendly. They don’t contain harsh chemicals that can be harmful to your health or the environment. They’re also often made with ingredients you already have in your pantry, so you don’t have to spend extra money on expensive cleaning products. Plus, you have complete control over what you’re using in your home.
What safety precautions should I take when using this DIY oven cleaner?
While this DIY oven cleaner is generally safe, it’s always a good idea to take some basic safety precautions. Wear gloves to protect your hands from irritation, especially if you’re using washing soda. Avoid getting the cleaner in your eyes. If you do, rinse them thoroughly with water. And as with any cleaning product, keep it out of reach of children and pets.
How do I prevent grease buildup in my oven in the future?
Preventing grease buildup is key to keeping your oven clean and reducing the need for frequent deep cleanings. Here are a few tips:
* Use oven liners or baking sheets to catch spills and drips.
* Clean up spills immediately after they happen.
* Avoid overfilling baking dishes.
* Use a splatter screen when cooking greasy foods.
* Wipe down the oven interior regularly with a damp cloth.
By following these tips, you can keep your oven cleaner for longer and reduce the amount of time and effort you spend cleaning it. Remember, a little prevention goes a long way!

Leave a Comment