
DIY Plastic Garden: Transform Trash into Treasure for Thriving Plants!
Have you ever looked at a pile of discarded plastic bottles and thought, “There has to be a better use for this?” Well, you’re not alone! For centuries, resourceful gardeners have found innovative ways to repurpose materials, and today, we’re taking that tradition to a whole new level with the magic of a DIY plastic garden. Imagine turning those unwanted plastic containers into a vibrant, thriving oasis right in your backyard, balcony, or even windowsill.
The concept of repurposing isn’t new. Historically, cultures around the world have embraced resourcefulness out of necessity, transforming discarded items into functional and beautiful objects. Think of ancient civilizations using broken pottery shards to create mosaics or turning old clothing into quilts. Now, we’re applying that same ingenuity to gardening, and it’s not just about saving money – it’s about sustainability and reducing our environmental impact.
Why should you embrace the DIY plastic garden trend? Because it’s a win-win! You’ll be reducing waste, saving money on expensive pots and planters, and creating a unique and personalized garden space. Plus, it’s incredibly rewarding to watch your plants flourish in containers you’ve created yourself. In this article, I’ll share some simple yet effective DIY tricks and hacks to help you create your own stunning plastic garden, regardless of your experience level. Let’s get started!
DIY Plastic Bottle Vertical Garden: A Step-by-Step Guide
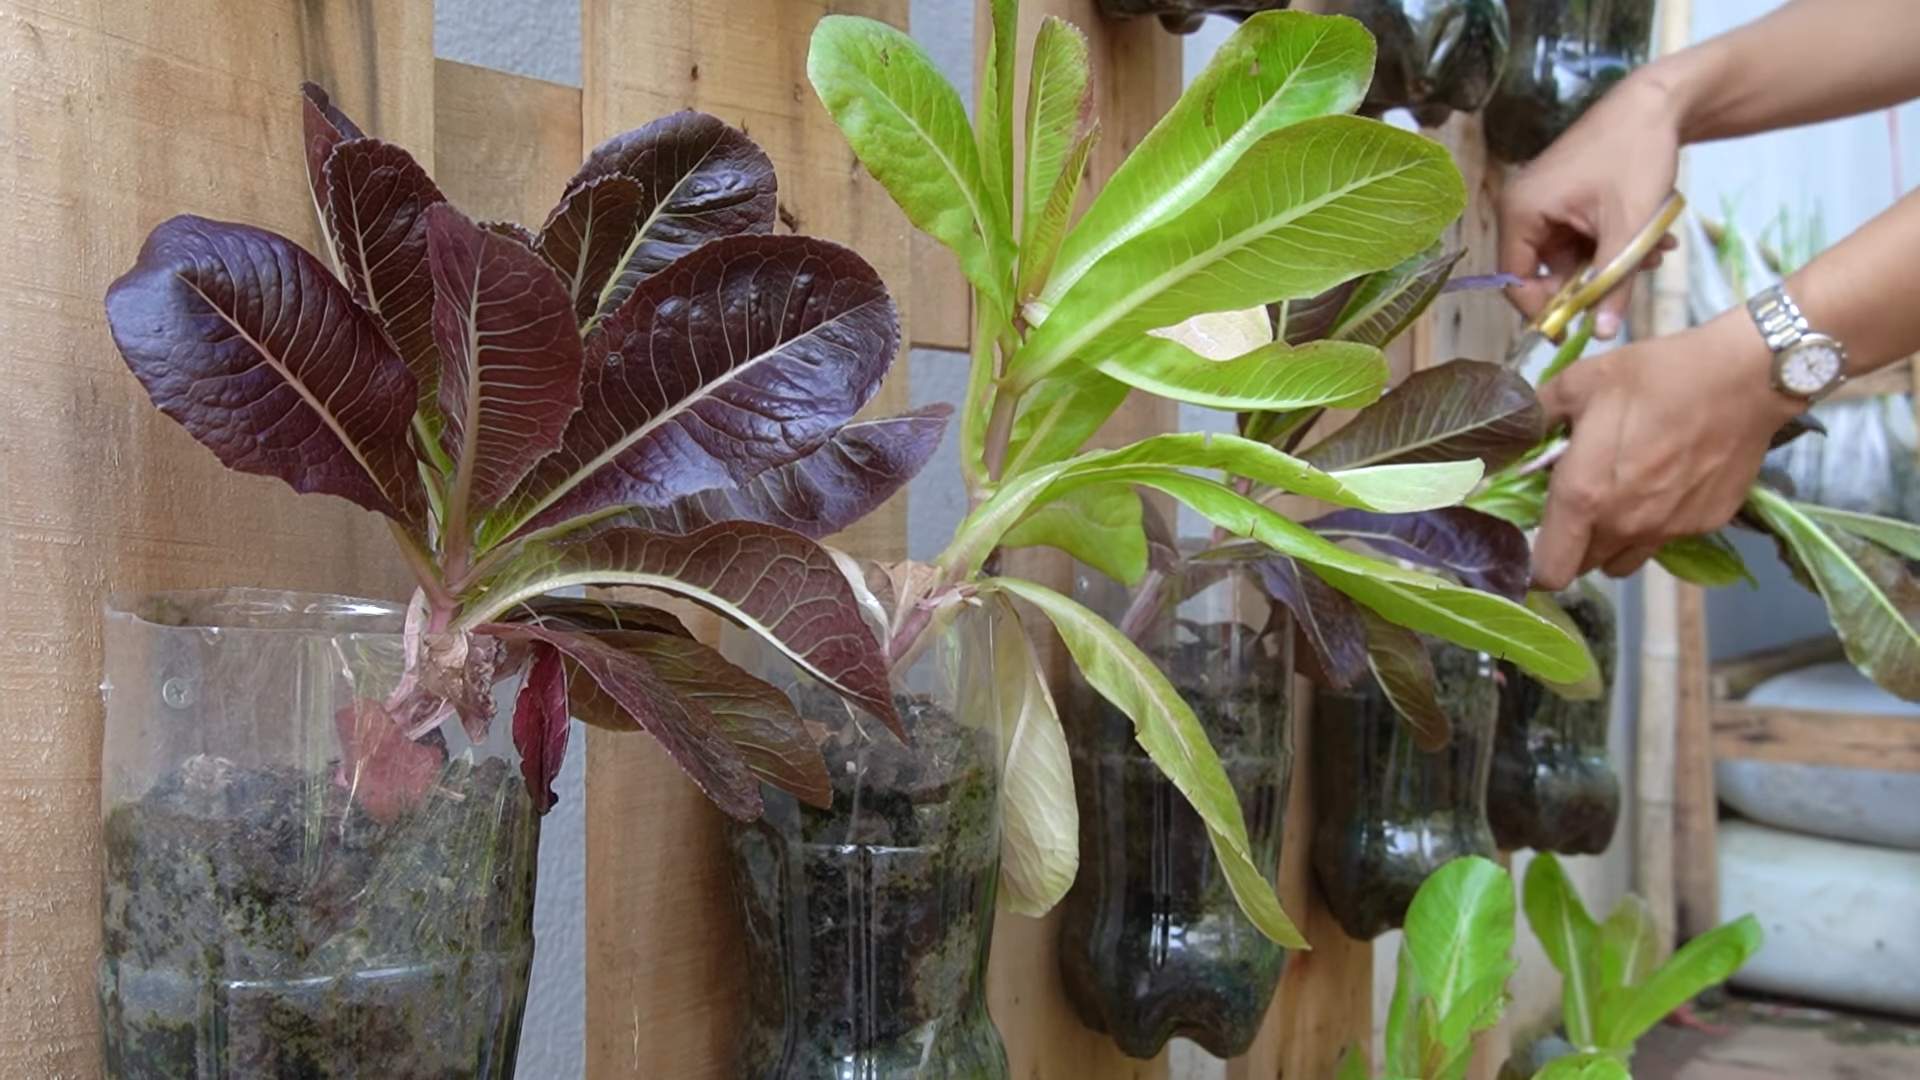
Hey there, fellow garden enthusiasts! I’m super excited to share this awesome DIY project with you: a vertical garden made entirely from recycled plastic bottles! Not only is it a fantastic way to reuse those bottles that would otherwise end up in a landfill, but it’s also a brilliant space-saving solution for anyone with limited gardening space – think balconies, patios, or even just a sunny wall. Plus, it looks incredibly cool!
This project might seem a little daunting at first, but trust me, it’s totally manageable. I’ve broken it down into easy-to-follow steps, so you’ll be enjoying your own lush vertical garden in no time. Let’s get started!
What You’ll Need
Before we dive in, let’s gather all the necessary materials. Having everything on hand will make the process much smoother.
* Plastic Bottles: This is the star of the show! Aim for a variety of sizes (2-liter soda bottles, water bottles, juice bottles – anything goes!). The number of bottles you need will depend on the size of your garden. I recommend starting with at least 10-15 bottles for a decent-sized display. Make sure they are clean and dry.
* Scissors or Utility Knife: For cutting the bottles. Be careful! A sharp utility knife will make cleaner cuts, but scissors work just fine too.
* Strong Rope or Twine: To hang the bottles. Choose a durable material that can withstand the weight of the soil and plants, and the elements. I prefer using nylon rope, but thick jute twine also works well for a more rustic look.
* Soil: Use a good quality potting mix suitable for the plants you intend to grow.
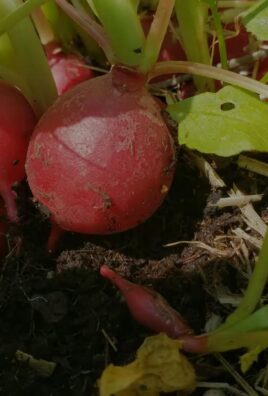
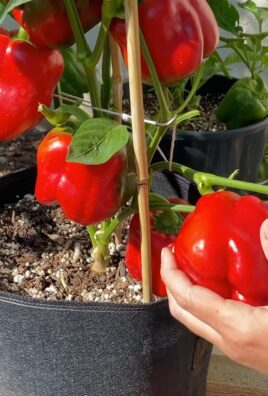
* Plants: Herbs, strawberries, lettuce, succulents, flowers – the possibilities are endless! Choose plants that are relatively small and have shallow root systems.
* Drill or Awl: To create drainage holes and holes for the rope.
* Measuring Tape or Ruler: To ensure even spacing.
* Marker or Pen: To mark cutting lines and hole locations.
* Gloves: To protect your hands.
* Optional: Spray Paint: If you want to add a pop of color to your bottles.
Preparing the Bottles
This is where the magic begins! We’ll transform those ordinary plastic bottles into mini-planters.
1. Clean and Dry the Bottles: Make sure all the bottles are thoroughly cleaned and completely dry inside. Remove any labels or sticky residue. A little warm soapy water and a good rinse will do the trick.
2. Cut the Bottles: This is where you’ll create the opening for your plants. There are a couple of ways to do this, depending on the look you’re going for.
* Option 1: Horizontal Cut: Cut a rectangular or oval opening on one side of the bottle. This is a good option if you want to plant larger plants or have more visibility of the soil. I usually cut about halfway down the bottle, leaving enough of the bottom intact to hold the soil.
* Option 2: Circular Cut: Cut a circular opening near the top of the bottle. This is a more discreet option, and it’s great for smaller plants like herbs or succulents. I usually cut a circle about 3-4 inches in diameter.
Important Safety Tip: Always cut away from yourself and use a stable surface. If you’re using a utility knife, be extra careful!
3. Create Drainage Holes: This is crucial for healthy plants! Use a drill or awl to create several small drainage holes in the bottom of each bottle. I usually make about 4-5 holes, evenly spaced.
4. (Optional) Paint the Bottles: If you want to add some personality to your garden, now’s the time to paint the bottles. Use spray paint specifically designed for plastic. Apply several thin coats, allowing each coat to dry completely before applying the next. I love using bright, cheerful colors, but you can also go for a more natural look with earthy tones. Let the paint dry completely before moving on to the next step.
Assembling the Vertical Garden
Now comes the fun part: putting everything together!
1. Determine Your Layout: Before you start stringing the bottles together, decide how you want your vertical garden to look. Will it be a single vertical line, multiple lines, or a more staggered arrangement? Consider the space you have available and the amount of sunlight each area receives. I like to lay the bottles out on the ground first to get a visual idea of the final result.
2. Create Hanging Holes: Now, you need to create holes for the rope to pass through. The placement of these holes will determine how the bottles hang.
* For Horizontal Cut Bottles: Drill two holes near the top of the bottle, on either side of the opening you created. Make sure the holes are large enough for your rope to pass through easily.
* For Circular Cut Bottles: Drill two holes on opposite sides of the bottle, just below the cut opening.
3. String the Bottles Together: This is where the magic happens! Cut a length of rope long enough to accommodate all the bottles in your chosen row, plus some extra for hanging. Thread the rope through the holes in the first bottle, then through the holes in the second bottle, and so on. Make sure the bottles are hanging straight and evenly spaced. I usually leave about 6-8 inches of space between each bottle.
4. Secure the Rope: Once all the bottles are strung together, tie a secure knot at the top of the rope, creating a loop for hanging. You can also use a metal ring or hook for added security. Double-check that the knot is strong enough to support the weight of the bottles, soil, and plants.
5. Repeat for Additional Rows: If you’re creating multiple rows, repeat steps 3 and 4 for each row. You can hang the rows side-by-side or stagger them for a more visually interesting effect.
Planting Your Garden
Almost there! Now it’s time to bring your vertical garden to life with plants.
1. Fill the Bottles with Soil: Carefully fill each bottle with potting mix, leaving about an inch of space at the top. Gently pat down the soil to remove any air pockets.
2. Plant Your Plants: Gently remove your chosen plants from their containers and loosen the root ball slightly. Plant them in the bottles, making sure the roots are well covered with soil.
3. Water Thoroughly: After planting, water the plants thoroughly until water drains out of the drainage holes. This will help settle the soil and encourage root growth.
4. Hang Your Garden: Find a suitable location for your vertical garden. Make sure it receives adequate sunlight and is protected from strong winds. Hang the garden securely from a sturdy hook or support.
Caring for Your Vertical Garden
Congratulations! You’ve created your own DIY plastic bottle vertical garden. Now, here are a few tips to keep it thriving:
* Watering: Water your plants regularly, especially during hot, dry weather. Check the soil moisture by sticking your finger into the soil. If it feels dry, it’s time to water. Be careful not to overwater, as this can lead to root rot.
* Fertilizing: Feed your plants with a balanced liquid fertilizer every few weeks to provide them with the nutrients they need to grow.
* Pruning: Prune your plants regularly to encourage bushier growth and remove any dead or yellowing leaves.
* Pest Control: Keep an eye out for pests and diseases. Treat any problems promptly with organic pest control methods.
* Sunlight: Make sure your plants are getting enough sunlight. If they’re not, consider moving your garden to a sunnier location or using grow lights.
And that’s it! I hope you enjoyed this tutorial and are inspired to create your own amazing plastic bottle vertical garden. Happy gardening!

Conclusion
So, there you have it! Transforming discarded plastic into a thriving garden isn’t just a fun project; it’s a powerful statement about sustainability and resourcefulness. We’ve shown you how to create a vibrant and functional garden space using materials that would otherwise contribute to landfill waste. This DIY plastic garden approach is a win-win: you get a beautiful garden, and the planet gets a little breather.
But why is this DIY trick a must-try? Beyond the environmental benefits, it’s incredibly cost-effective. Think about it – you’re essentially building your garden infrastructure for free! Plus, it’s a fantastic way to get creative and personalize your outdoor space. Each garden will be unique, reflecting your individual style and the types of plastic you have available.
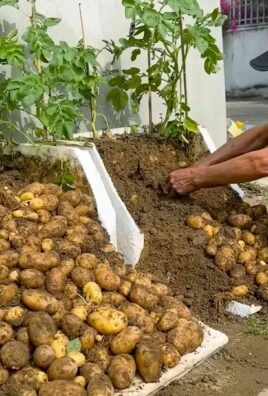
The possibilities are truly endless. You can use plastic bottles to create self-watering planters, perfect for herbs or small vegetables. Larger containers can be transformed into raised beds for tomatoes, peppers, or even strawberries. Consider using different colored plastics to create visually appealing designs and patterns. You can even incorporate other recycled materials, like old tires or wooden pallets, to further enhance your garden’s aesthetic and functionality.
For example, try painting your plastic bottle planters with bright, weather-resistant paints to add a pop of color to your patio. Or, if you’re feeling ambitious, you could construct a vertical garden using plastic bottles, maximizing space and creating a stunning green wall. Another variation is to use plastic grocery bags to create woven planters, adding a unique texture and visual interest to your garden. You can also experiment with different types of soil mixes to optimize the growth of specific plants in your DIY plastic containers. Remember to research the specific needs of your chosen plants and adjust your soil accordingly.
Don’t be afraid to experiment and adapt the techniques to suit your specific needs and resources. The beauty of this DIY project is its flexibility and adaptability. There’s no right or wrong way to do it – the most important thing is to have fun and get creative!
We are confident that you will find this DIY plastic garden project rewarding and fulfilling. It’s a chance to connect with nature, reduce your environmental impact, and create something beautiful and useful with your own two hands.
So, what are you waiting for? Gather your plastic waste, grab your tools, and get started on your own DIY plastic garden adventure! We can’t wait to see what you create.
And most importantly, we want to hear about your experiences! Share your photos, tips, and challenges in the comments section below. Let’s build a community of resourceful gardeners who are passionate about sustainability and creativity. Your insights could inspire others to take on this project and make a positive impact on the environment. Let’s show the world how we can transform waste into wonder, one plastic bottle at a time.
FAQ
What types of plastic are safe to use for gardening?
Generally, HDPE (High-Density Polyethylene) and PP (Polypropylene) plastics are considered safe for gardening. These are commonly found in milk jugs, detergent bottles, and food containers. Avoid using PVC (Polyvinyl Chloride) plastics, as they can leach harmful chemicals into the soil. Always thoroughly clean any plastic containers before using them for planting. Look for recycling codes #2 (HDPE) and #5 (PP) on the bottom of the containers. If you are unsure about the type of plastic, it’s best to err on the side of caution and choose a different container.
How do I prepare plastic containers for planting?
First, thoroughly wash the containers with soap and water to remove any residue. Then, drill drainage holes in the bottom of the containers to prevent waterlogging. The number and size of the holes will depend on the size of the container and the type of plants you’re growing. For larger containers, you may also want to add a layer of gravel or pebbles at the bottom to improve drainage. If the plastic is dark-colored, consider painting it with a light-colored, reflective paint to prevent the soil from overheating in direct sunlight.
Will plants grow well in plastic containers?
Yes, plants can thrive in plastic containers, provided you use the right soil mix and provide adequate drainage. Choose a well-draining potting mix that is appropriate for the type of plants you’re growing. Be mindful of watering, as plastic containers can retain moisture for longer than traditional clay pots. Monitor the soil moisture regularly and water only when the top inch or two feels dry. Also, consider the size of the container and choose plants that are appropriately sized for the space.
How do I prevent plastic containers from overheating in the sun?
Dark-colored plastic containers can absorb a lot of heat, which can damage plant roots. To prevent overheating, paint the containers with a light-colored, reflective paint. You can also place the containers in a shaded area during the hottest part of the day. Another option is to wrap the containers with burlap or other insulating material to help regulate the temperature. Mulching the soil surface can also help to keep the roots cool and moist.
Are there any plants that are not suitable for growing in plastic containers?
While most plants can be grown in plastic containers, some may be better suited for other types of containers. Plants that require excellent drainage, such as succulents and cacti, may not thrive in plastic containers unless you are very careful with watering. Also, large, deep-rooted plants may outgrow plastic containers quickly and require transplanting to larger pots or directly into the ground. Research the specific needs of your chosen plants before planting them in plastic containers.
How do I deal with algae growth in plastic containers?
Algae can sometimes grow on the surface of the soil or on the inside of plastic containers, especially in humid conditions. While algae itself is not harmful to plants, it can indicate that the soil is too moist or that the container is not draining properly. To prevent algae growth, ensure that your containers have adequate drainage and avoid overwatering. You can also try adding a layer of mulch to the soil surface to block sunlight and prevent algae from growing. If algae does appear, you can gently scrape it off the surface of the soil or wipe it off the inside of the container.
How long will a DIY plastic garden last?
The lifespan of your DIY plastic garden will depend on the type of plastic used, the weather conditions, and how well you maintain it. Some plastics, like HDPE, are very durable and can last for many years. However, other plastics may become brittle and crack over time, especially if exposed to direct sunlight and extreme temperatures. To extend the lifespan of your plastic garden, protect it from harsh weather conditions, clean the containers regularly, and replace any damaged or worn-out parts as needed. With proper care, your DIY plastic garden can provide you with years of enjoyment.
Leave a Comment